At its core, the installation of a laboratory press is a systematic process that goes far beyond simple placement and power-up. It involves the physical setup of the core machine, the integration of any necessary ancillary equipment, and a rigorous series of checks to ensure all systems are fully operational and comply with critical safety standards.
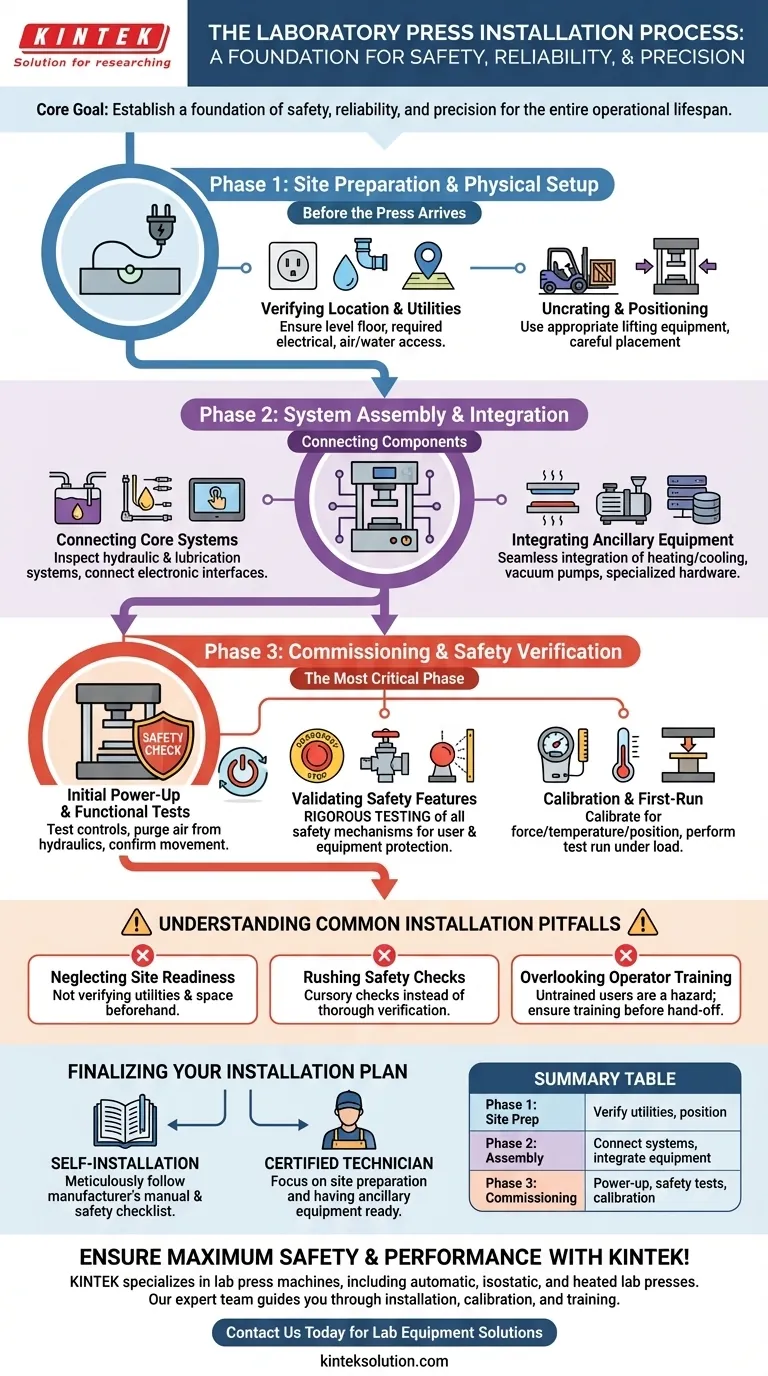
The goal of a proper installation is not merely to make the press function, but to establish a foundation of safety, reliability, and precision that will define its entire operational lifespan.
Phase 1: Site Preparation and Physical Setup
Before the press is even unboxed, the environment must be ready. This initial phase is critical for preventing delays and ensuring the machine's long-term stability and safety.
Verifying Location and Utilities
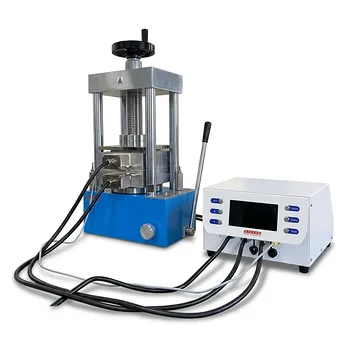
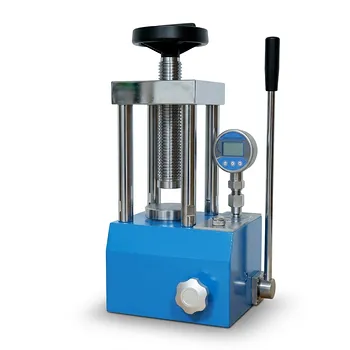
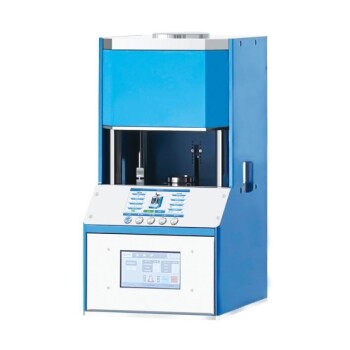
The press, often built with heavy pillar-type structures, requires a level, stable floor capable of supporting its weight. You must also ensure that the required electrical service, and potentially compressed air or water lines, are accessible and meet the manufacturer's specifications.
Uncrating and Positioning
This step involves carefully removing the press from its shipping crate and moving it into its final position. This must be done with appropriate lifting equipment to avoid damaging the machine or causing injury.
Phase 2: System Assembly and Integration
With the press in place, the focus shifts to connecting its core components and any external systems. This is where the machine comes together as an operational unit.
Connecting Core Systems
The primary systems, identified by their key components, must be inspected and prepared. This includes the hydraulic system, automatic lubrication system, and the touchscreen control panel. Checks involve verifying hydraulic fluid levels, ensuring lubrication lines are clear, and connecting all electronic interfaces.
Integrating Ancillary Equipment
Many applications require additional equipment. The installation process includes the seamless integration of these units, such as heating/cooling platens, vacuum pumps, or specialized data acquisition hardware.
Phase 3: Commissioning and Safety Verification
This is the final and most critical phase. Here, the press is powered on for the first time, and its performance and safety features are rigorously tested.
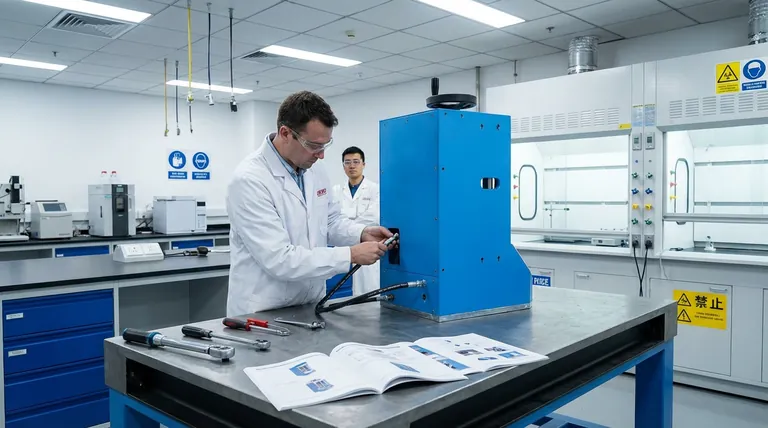
Initial Power-Up and Functional Tests
The machine is powered on to test the control panel, software, and basic functions. The technician will cycle the hydraulic system to purge any air and confirm smooth, controlled movement of the platens.
Validating Safety Features
This step is non-negotiable. It involves testing all safety mechanisms, such as emergency stop buttons, pressure relief valves, and any physical safety guards or light curtains. The goal is to confirm the press will operate in a way that protects both the user and the equipment.
Calibration and First-Run
Finally, the press is calibrated for force, temperature, and position to ensure it meets its specified precision. A test run, often with a non-critical material, is performed to validate that all systems are working together correctly under load.
Understanding Common Installation Pitfalls
A rushed or incomplete installation can undermine the value and safety of your investment. Being aware of common mistakes is the first step to avoiding them.
Neglecting Site Readiness
The most common cause of installation delays is a site that is not ready. Verifying power, space, and floor loading capacity before the press arrives is essential.
Rushing Safety Checks
In an effort to get the machine running quickly, it can be tempting to perform only a cursory check of safety systems. Every safety feature must be individually tested and verified against the manufacturer's protocol.
Overlooking Operator Training
The installation process should conclude with basic operator training. A perfectly installed press is a hazard in the hands of an untrained user. Ensure your team understands the fundamental controls and safety procedures before the technician leaves.
Finalizing Your Installation Plan
Your approach will depend on the complexity of the press and your team's expertise.
- If you are performing a self-installation: Your most critical tool is the manufacturer's manual. Follow it meticulously, paying special attention to the sequence of electrical connections and the comprehensive safety checklist.
- If you are using a certified technician: Your primary role is preparation. Ensure the site is fully prepared and all ancillary equipment is on-hand to make the technician's time as efficient as possible.
A deliberate and thorough installation is the first and most important step in guaranteeing years of safe and accurate results.
Summary Table:
| Phase | Key Steps | Details |
|---|---|---|
| Phase 1: Site Preparation | Verify location and utilities, uncrate and position | Ensure level floor, proper electrical/air/water access, use lifting equipment |
| Phase 2: System Assembly | Connect core systems, integrate ancillary equipment | Inspect hydraulic/lubrication systems, link heating/cooling platens or vacuum pumps |
| Phase 3: Commissioning | Initial power-up, validate safety features, calibration | Test controls, emergency stops, calibrate force/temperature, perform first-run |
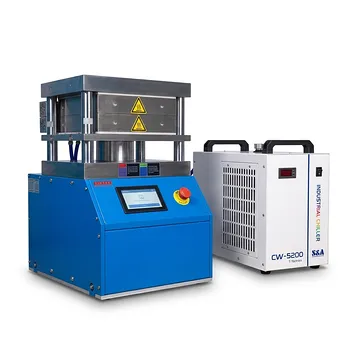
Ensure your laboratory press is installed correctly for maximum safety and performance! KINTEK specializes in lab press machines, including automatic lab presses, isostatic presses, and heated lab presses, designed to meet the precise needs of laboratories. Our expert team can guide you through installation, calibration, and operator training to enhance efficiency and reliability. Contact us today to discuss your requirements and get started with a trusted partner in lab equipment solutions.
Visual Guide
Related Products
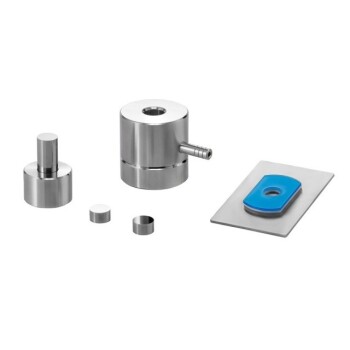
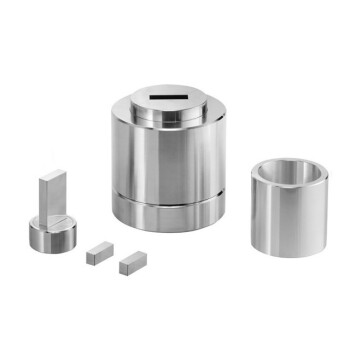
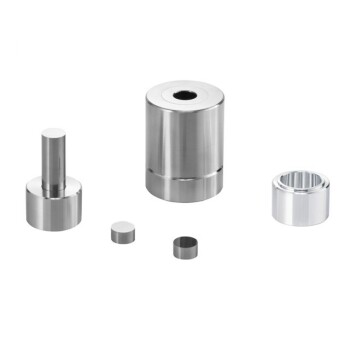
- Laboratory Hydraulic Press Lab Pellet Press Button Battery Press
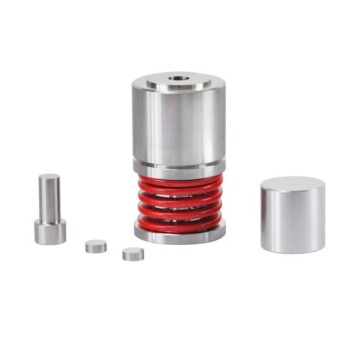
- Laboratory Hydraulic Press 2T Lab Pellet Press for KBR FTIR
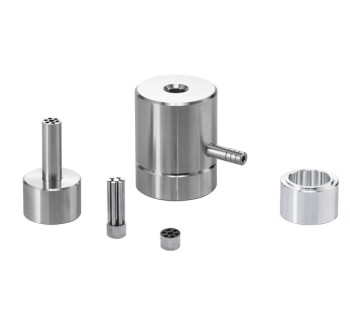
- Laboratory Hydraulic Press Lab Pellet Press Machine for Glove Box
- Laboratory Split Manual Heated Hydraulic Press Machine with Hot Plates
- Laboratory Hydraulic Pellet Press for XRF KBR FTIR Lab Press
People Also Ask
- Why is a laboratory hydraulic press required for PBAT and PLA sample preparation? Achieve Flawless Characterization
- Why is the temperature control precision of a lab hydraulic press critical in micro-structure thermal forming?
- What role does a laboratory hydraulic press play in the preparation of piezoelectric ceramic discs for DC-PG? | KINTEK
- How is a laboratory hydraulic press used for HAP composite gels? Master Mineral Substrate Standardization
- Why is a laboratory hydraulic press necessary when preparing powder catalyst samples for SECM? Ensure Research Precision