To ensure accurate microscopic analysis, an acrylic mounting system is essential. It creates a rigid encapsulation around the spot weld sample, providing the necessary stability to withstand the mechanical stress of grinding and polishing. Without this protective mixture of resin and hardener, the sample would be prone to movement and edge damage, rendering high-precision data impossible to obtain.
The core purpose of the acrylic mounting system is to transform a fragile, irregular weld sample into a solid, level block. This stabilizes the material during preparation, preventing edge rounding and ensuring the flat surface required for clear morphological observation and accurate microhardness testing.
The Mechanics of Sample Integrity
Providing Rigid Structural Support
The primary role of the resin and hardener is to create a solid medium that locks the weld sample in place. Once cured, this acrylic block provides stable support, which is critical during the aggressive stages of grinding and polishing. This rigidity prevents the sample from flexing or vibrating, which would otherwise introduce artifacts into the material surface.
Protecting the Weld Edges
The edges of a cross-section are the most vulnerable areas during preparation. The acrylic encapsulation protects these edges from excessive wear. By matching the abrasion rate of the sample, the mount prevents the edges from rounding off, ensuring the boundary between the weld and the base metal remains sharp and definable.
Achieving a Perfectly Level Surface
Microscopic observation relies on a consistent depth of field. The mounting system ensures the sample surface remains perfectly level relative to the microscope lens. This flatness eliminates the need for constant refocusing and ensures the entire cross-section is visible in a single view.
Enabling Accurate Analysis
Visualizing Nugget Morphology
To properly assess the quality of a spot weld, you must clearly see the nugget morphology. The stability provided by the mounting system allows for the fine polishing steps required to reveal the grain structure and heat-affected zones without scratching or smearing the metal.
Facilitating Microhardness Measurements
Microhardness testing involves pressing a diamond indenter into the material with precise force. The acrylic mount provides a solid backing that resists deformation under this load. This ensures that the measurement reflects the true hardness of the weld, rather than the movement or flexing of an unmounted sample.
Understanding the Process Requirements
The Necessity of Curing
Using a system composed of resin and hardener requires adherence to chemical curing times. You must allow the mixture to solidify completely to achieve the necessary hardness for support. Attempting to grind a sample before the mount is fully hardened will lead to poor edge retention and a gummed-up grinding surface.
Making the Right Choice for Your Goal
To get the most out of your metallographic preparation, consider your specific analytical needs:
- If your primary focus is visual inspection of the nugget: Prioritize a complete cure of the resin to ensure maximum edge retention, allowing for a clear definition of the weld boundaries.
- If your primary focus is gathering quantitative data: Ensure the mounting process results in a perfectly flat face, as microhardness measurements will be invalid if the indenter strikes a tilted surface.
Proper mounting is not just a preparation step; it is the foundation of reliable data.
Summary Table:
| Feature | Benefit for Spot Weld Analysis |
|---|---|
| Structural Support | Prevents sample flexing and vibration during aggressive grinding |
| Edge Protection | Eliminates rounding to keep weld boundaries sharp and definable |
| Surface Leveling | Ensures a consistent depth of field for clear microscopic imaging |
| Mechanical Rigidity | Provides a solid backing for accurate diamond indenter hardness tests |
| Chemical Curing | Creates a durable, heat-resistant block for metallurgical preparation |
Elevate Your Metallographic Precision with KINTEK
High-quality microscopic analysis begins with superior sample preparation. At KINTEK, we specialize in comprehensive laboratory solutions designed to stabilize your research. Whether you are analyzing nugget morphology or conducting rigorous microhardness testing, our expertise in manual, automatic, and multifunctional pressing solutions—including heated and glovebox-compatible models—ensures your samples meet the highest standards of integrity.
From battery research to advanced metallurgical studies, let KINTEK provide the stability your laboratory needs. Contact us today to find the perfect mounting and pressing solution for your lab!
References
- Marwan T. Mezher, Jorge Marcos Acevedo. Artificial Neural Networks and Experimental Analysis of the Resistance Spot Welding Parameters Effect on the Welded Joint Quality of AISI 304. DOI: 10.3390/ma17092167
This article is also based on technical information from Kintek Press Knowledge Base .
Related Products
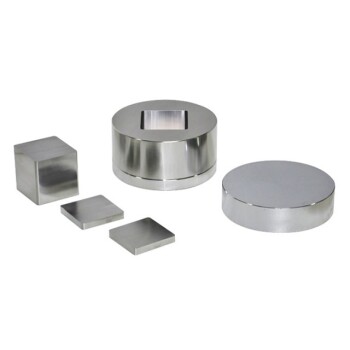
- Square Lab Press Mold for Laboratory Use
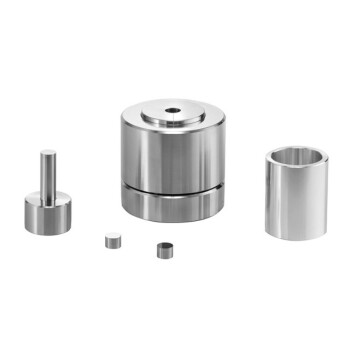
- Assemble Lab Cylindrical Press Mold for Laboratory Use
- Lab Anti-Cracking Press Mold
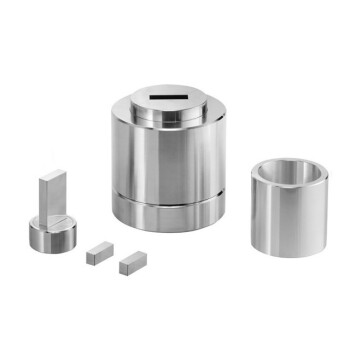
- Assemble Square Lab Press Mold for Laboratory Use
- Lab Infrared Press Mold for No Demolding
People Also Ask
- What is the technical significance of using precision cylindrical molds for soil brick research? Achieve Data Accuracy
- Why Use Laboratory Presses and Precision Molds for Clay Specimen Prep? Achieve Scientific Precision in Soil Mechanics
- How do high-hardness precision molds affect NiO nanoparticle electrical testing? Ensure Accurate Material Geometry
- Why is the LLTO pellet buried in powder during sintering? Prevent Lithium Loss for Optimal Ionic Conductivity
- How to use a laboratory press for ideal neutron transmission? Perfect Your Iron Oxide Nanoparticle Samples
