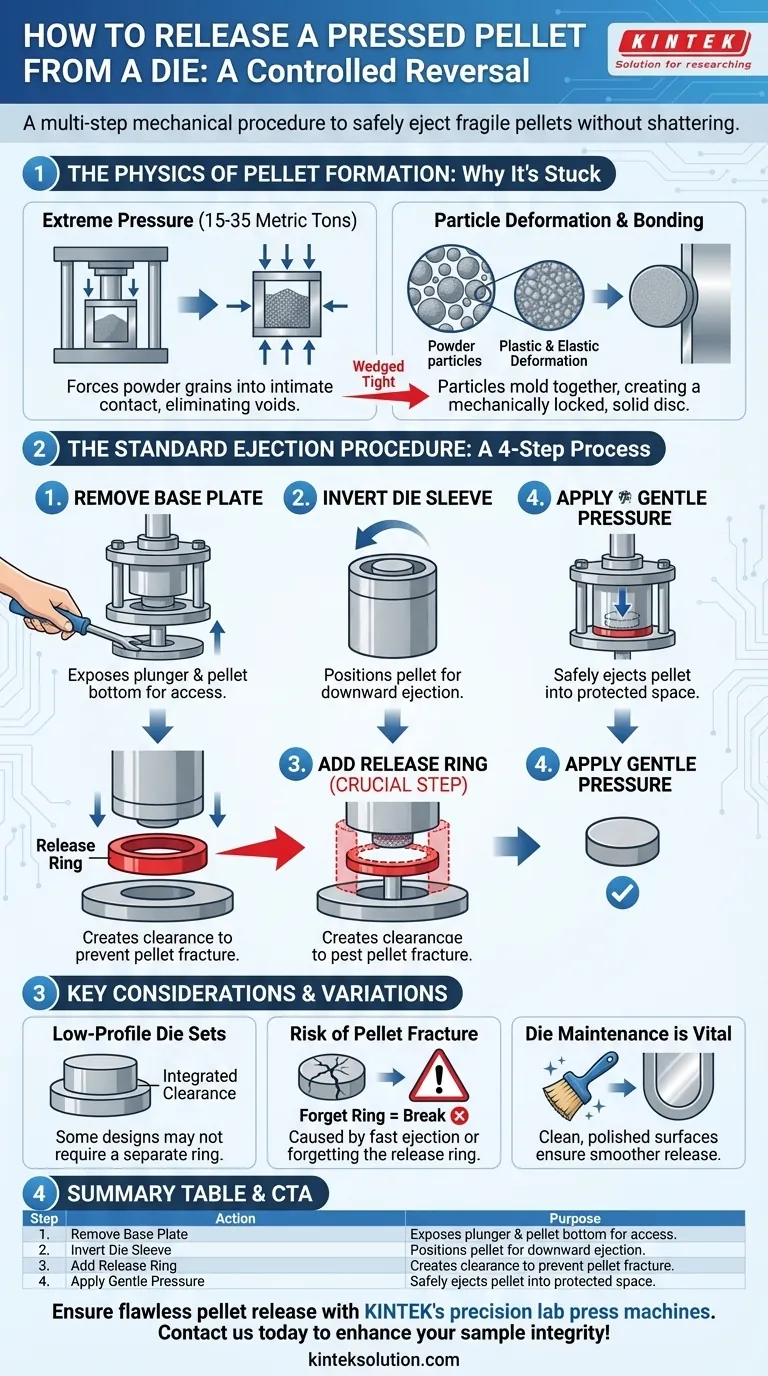
To release a pressed pellet from a die, the die assembly is partially disassembled, inverted, and re-pressed using a special release ring. This ring creates the necessary clearance for the pellet to be safely ejected from the die sleeve without shattering. The entire process is a controlled reversal of the initial compression.
The immense pressure that forms a pellet also wedges it tightly within the die body. The release process is a deliberate, multi-step mechanical procedure designed to safely push the fragile pellet out by inverting the die and using a support ring to create an exit path.
The Physics of Pellet Formation
To understand the release, you must first understand why the pellet is stuck. The process is more than simple compaction; it involves fundamentally altering the sample material.
The Role of Extreme Pressure
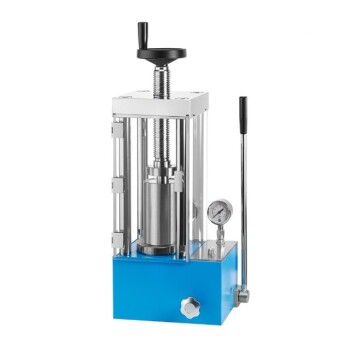
A hydraulic press applies a significant load, often between 15 and 35 metric tons, to the powder mixture inside the die. This is the equivalent of placing several cars on a coin-sized area.
Particle Deformation and Bonding
This extreme pressure forces the powder grains into intimate contact, eliminating voids. At the point of maximum compression, the particles themselves undergo plastic and elastic deformation, molding them against each other and the polished inner walls of the die. This creates a solid, bonded disc that is mechanically locked in place.
The Standard Ejection Procedure
Releasing the pellet requires reversing the process in a controlled manner to avoid fracturing the brittle sample.
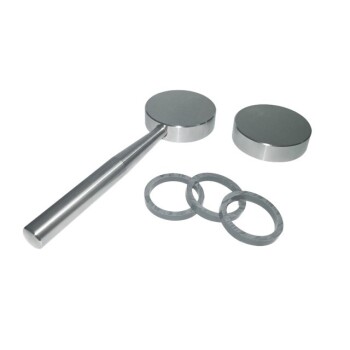
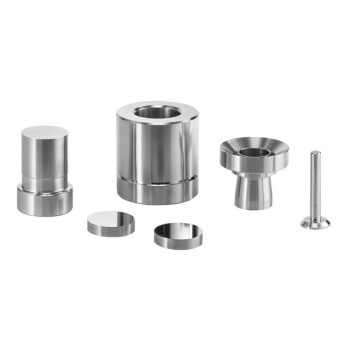
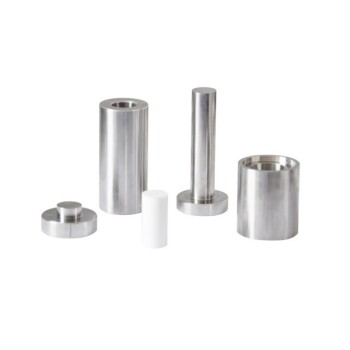
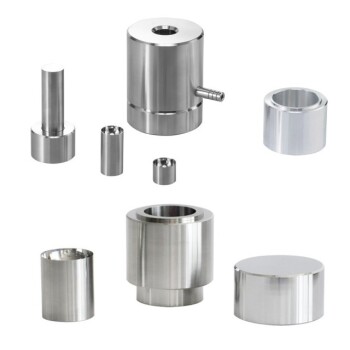
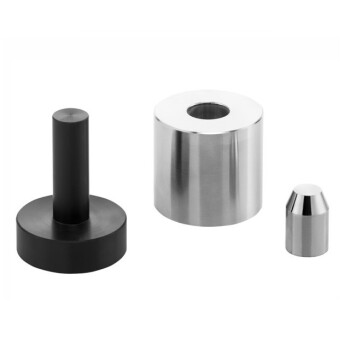
Step 1: Remove the Base Plate
After pressing, the die is removed from the hydraulic press. The first step is to remove the base plate, which exposes one of the flat plungers and the bottom of the pressed pellet.
Step 2: Invert the Die Sleeve
The main body of the die, known as the sleeve, is then turned upside down. This positions the pellet near the top of the sleeve, ready to be pushed out through the now-open bottom.
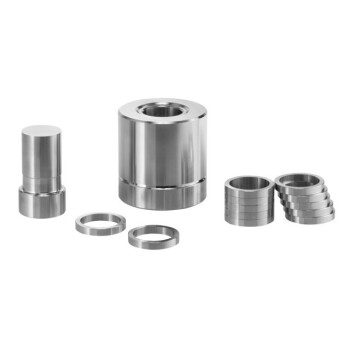
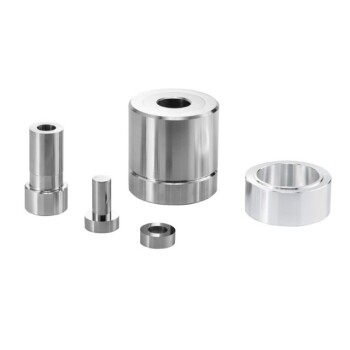
Step 3: Add the Release Ring
Before placing the assembly back in the press, a release ring (or extraction ring) is placed on the press platform. The inverted die sleeve sits on top of this ring. The ring is wider than the pellet but narrower than the die sleeve's outer wall, creating a hollow space directly beneath the sleeve.
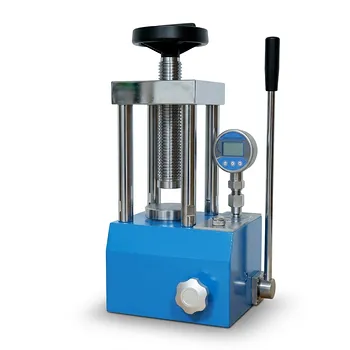
Step 4: Apply Gentle Ejection Pressure
With the die sleeve supported by the release ring, the plunger is used to apply slow, steady pressure. This force pushes the pellet downward, out of the sleeve, and into the protected empty space created by the ring.
Key Considerations and Variations
The process is precise, and deviation can lead to sample failure. Understanding the equipment and potential issues is critical.
Low-Profile Die Sets
Some modern or "low-profile" die sets are designed differently and may not require a separate release ring. In these designs, the clearance mechanism is often integrated into the die body itself, simplifying the process. Always consult the manufacturer's instructions for your specific die set.
The Risk of Pellet Fracture
The most common failure is a cracked or shattered pellet. This is almost always caused by applying ejection pressure too quickly or, more critically, by forgetting to use the release ring. Without the ring, the pellet is pressed against a solid surface and has nowhere to go, causing it to break under the strain.
Importance of Die Maintenance
The condition of the die's internal surfaces is crucial. Any scratches, rust, or residue on the die walls will increase friction, making the pellet harder to eject and raising the risk of fracture. A clean, polished die ensures a smoother release.
Making the Right Choice for Your Analysis
Your technique during pellet release directly impacts the quality of your spectroscopic sample.
- If your primary focus is sample integrity: Always use the correct release ring and apply slow, steady pressure during ejection to prevent stress fractures.
- If your primary focus is repeatability: Ensure the die set is meticulously cleaned between uses, as any residue can affect both compression and release.
- If you are troubleshooting a stuck pellet: Do not apply excessive force. Disassemble the die, confirm it is correctly inverted on the release ring, and re-apply gentle, centered pressure.
Mastering this simple mechanical procedure is fundamental to producing high-quality pellets for reliable analysis.

Summary Table:
| Step | Action | Purpose |
|---|---|---|
| 1 | Remove Base Plate | Exposes plunger and pellet bottom for access |
| 2 | Invert Die Sleeve | Positions pellet for downward ejection |
| 3 | Add Release Ring | Creates clearance to prevent pellet fracture |
| 4 | Apply Gentle Pressure | Safely ejects pellet into protected space |
Ensure flawless pellet release with KINTEK's precision lab press machines, including automatic, isostatic, and heated models designed for laboratory needs. Contact us today to enhance your sample integrity and analysis efficiency!
Visual Guide
Related Products
- XRF KBR Steel Ring Lab Powder Pellet Pressing Mold for FTIR
- Lab Ring Press Mold for Sample Preparation
- XRF KBR Plastic Ring Lab Powder Pellet Pressing Mold for FTIR
- Lab Infrared Press Mold for No Demolding
- Lab XRF Boric Acid Powder Pellet Pressing Mold for Laboratory Use
People Also Ask
- What load range is typical for creating XRF pellets? Optimize Your Sample Prep with the Right Pressure
- What considerations are important regarding the die size of an XRF pellet press? Optimize for Your XRF Spectrometer and Sample
- What are the different types of XRF pellet preparation methods available? Manual, Hydraulic, and Automated Presses Explained
- What are the primary factors to consider when deciding between a manual and an automatic XRF pellet press? Optimize Your Lab's Efficiency
- How are pellets prepared for XRF analysis and what is a potential drawback? Master XRF Sample Prep and Accuracy