Precision and spatial resolution are the defining factors. A Vickers hardness tester equipped with a square-based pyramidal diamond indenter is selected because it can apply highly specific, low-force loads (such as 2.98 N) to extremely small surface areas. This capability is essential for determining the mechanical properties of the distinct microstructural zones created during the resistance spot welding of AISI 304 stainless steel.
The Vickers method is uniquely suited for this application because it allows for high-precision local testing across the weld profile. By applying precise loads to minute areas, engineers can accurately map the hardness gradients between the base metal, the heat-affected zone, and the weld nugget.
The Necessity of Localized Testing
Targeting Specific Microstructures
Resistance spot welding induces rapid thermal cycles, creating distinct regions within the material. To understand the integrity of the joint, you must isolate the properties of the weld nugget separately from the surrounding material.
Bulk hardness testers cover too large an area to make this distinction. The Vickers tester allows you to pinpoint specific locations within the weld structure.
The Role of the Indenter Geometry
The square-based pyramidal diamond indenter is critical for this scale of testing. Diamond is used to ensure the indenter does not deform under load, maintaining the integrity of the test on hard metals.
Its specific geometry ensures that the impression remains geometrically similar regardless of the depth. This consistency is vital when measuring small localized variances in AISI 304.
Mapping Material Property Changes
Detecting Hardness Gradients
The primary goal of using this equipment is to visualize the hardness gradient. A spot weld is not uniform; it transitions from the base metal, through the heat-affected zone (HAZ), to the fusion zone.
The Vickers tester enables a traverse or "profile" of indentations across these zones. This data reveals how the welding process has altered the material's local strength.
Analyzing Thermal Effects
High-precision local testing serves as a diagnostic tool for the welding process itself. The hardness values correlate directly to the thermal cycles the material experienced.
By measuring the changes in hardness, you can infer the microstructural evolution caused by the heat input. This is particularly important for AISI 304, where thermal history significantly impacts mechanical performance.
Understanding the Trade-offs
Surface Preparation Requirements
Because the applied loads (e.g., 2.98 N) and resulting indentations are so small, surface quality is paramount. The sample requires meticulous preparation.
The surface must be polished to a mirror finish. Any roughness or scratches can obscure the corners of the indentation, leading to inaccurate readings.
Time and Labor Intensity
Mapping a gradient is not a rapid process. It requires multiple individual test points across the cross-section of the weld.
This method is significantly more time-consuming than macroscopic testing. It is best reserved for detailed process analysis rather than high-volume production sorting.
Optimizing Your Testing Strategy
Selecting the right testing method depends on the granularity of data required for your specific application.
- If your primary focus is characterizing the heat-affected zone: Use the Vickers method to place sequential indentations at precise intervals starting from the fusion line outward.
- If your primary focus is analyzing weld penetration: Utilize the hardness map to define the exact boundaries where the material properties shift from the nugget to the base metal.
By leveraging the precision of the diamond indenter, you transform raw data into a clear map of your weld's metallurgical structure.
Summary Table:
| Feature | Vickers Microhardness Testing | Benefit for AISI 304 Spot Welds |
|---|---|---|
| Indenter Type | Square-based Pyramidal Diamond | Ensures no deformation and consistent geometry on hard stainless steel. |
| Load Range | Low-force (e.g., 2.98 N) | Allows for localized testing of tiny zones like the Heat-Affected Zone (HAZ). |
| Spatial Resolution | High | Enables precise mapping of hardness gradients across the weld nugget profile. |
| Data Output | Localized Hardness Profile | Correlates microstructural changes to the thermal cycles of the welding process. |
Elevate Your Metallurgical Research with KINTEK
Precision is non-negotiable when analyzing the integrity of AISI 304 spot welds. KINTEK specializes in comprehensive laboratory pressing and testing solutions designed for the most demanding research environments. Whether you require manual, automatic, or specialized glovebox-compatible models, our equipment delivers the accuracy needed to map complex hardness gradients and material transitions.
From battery research to advanced alloy analysis, KINTEK provides the tools—including cold and warm isostatic presses—to ensure your results are consistent and reliable. Contact us today to find the perfect solution for your lab!
References
- Marwan T. Mezher, Jorge Marcos Acevedo. Artificial Neural Networks and Experimental Analysis of the Resistance Spot Welding Parameters Effect on the Welded Joint Quality of AISI 304. DOI: 10.3390/ma17092167
This article is also based on technical information from Kintek Press Knowledge Base .
Related Products
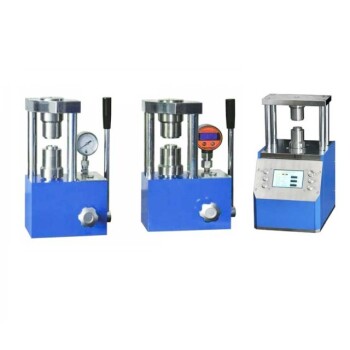
- Laboratory Hydraulic Press Lab Pellet Press Button Battery Press
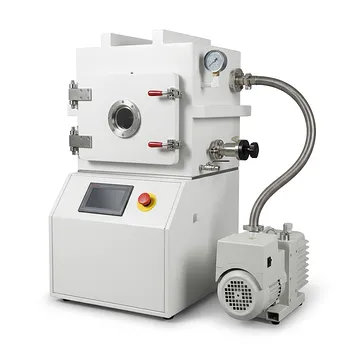
- Heated Hydraulic Press Machine with Heated Plates for Vacuum Box Laboratory Hot Press
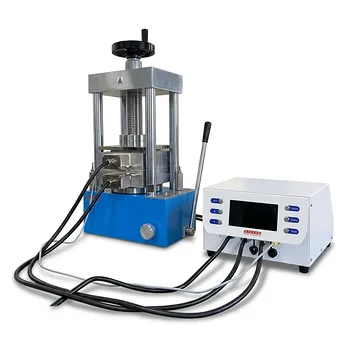
- 24T 30T 60T Heated Hydraulic Lab Press Machine with Hot Plates for Laboratory
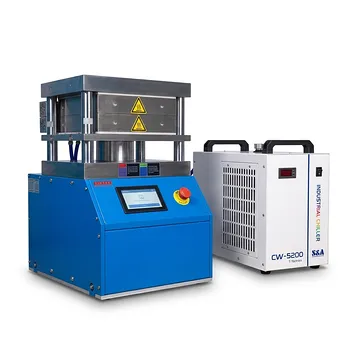
- Automatic Heated Hydraulic Press Machine with Hot Plates for Laboratory
- Manual Cold Isostatic Pressing CIP Machine Pellet Press
People Also Ask
- What are the potential applications of a laboratory hydraulic press (lab press)? Optimize Ferrite Nanomaterial Prep
- Why is precise pressure and temperature control from a lab heated press necessary? Optimize MMT Composite Quality
- High-temp hot press function in polypropylene composite manufacturing? Essential for Material Consolidation.
- Why is precise control from a lab press required for PiG preforms? Ensure Structural and Optical Integrity
- What is the primary function of a laboratory hydraulic press in liquid metal-gel synthesis? Achieve Perfect Impregnation
