For preparing a KBr pellet for FTIR analysis, the standard and most frequently recommended ratio is approximately 100 parts KBr to 1 part sample by weight (100:1). This translates to a sample concentration between 0.2% and 1%, which is the ideal range to produce a high-quality spectrum without signal saturation.
The core principle behind the KBr pellet method is not just about a ratio, but about achieving extreme dilution. The goal is to suspend a tiny amount of your sample homogeneously within an infrared-transparent matrix, preventing the signal from becoming saturated or scattered and ensuring the resulting spectrum is clean and accurate.
Why This Ratio is Critical for Accurate Spectra
The 100:1 ratio is a starting point, but understanding the principles behind it allows you to troubleshoot and perfect your technique. The quality of your spectral data is directly dependent on the quality of your pellet.
The Role of KBr: The Ideal Matrix
Potassium Bromide (KBr) is the standard for a reason. It is transparent to infrared radiation across the vast majority of the mid-IR range (4000-400 cm⁻¹).
This transparency ensures that the only thing absorbing the IR beam is your sample, not the matrix holding it. KBr is also a soft salt that can be pressed into a thin, glass-like disc under high pressure.
The Problem with Too Much Sample
Using a concentration higher than 1% (e.g., a 50:1 ratio) is a common mistake that severely degrades spectral quality.
When the sample is too concentrated, the strongest absorption bands will absorb 100% of the infrared light. This leads to "flat-topped" peaks, where you lose all quantitative information and distort the true shape of the band.
Furthermore, excessive sample concentration can cause a phenomenon known as the Christiansen effect, which results in distorted peak shapes and a sloping baseline, making interpretation difficult.
The Problem with Too Little Sample
While less common, using too little sample (e.g., a 1000:1 ratio) will also cause issues.
The resulting absorption bands will be very weak, making them difficult to distinguish from the background noise. This leads to a poor signal-to-noise ratio and the potential loss of information about functional groups with weak absorptions.
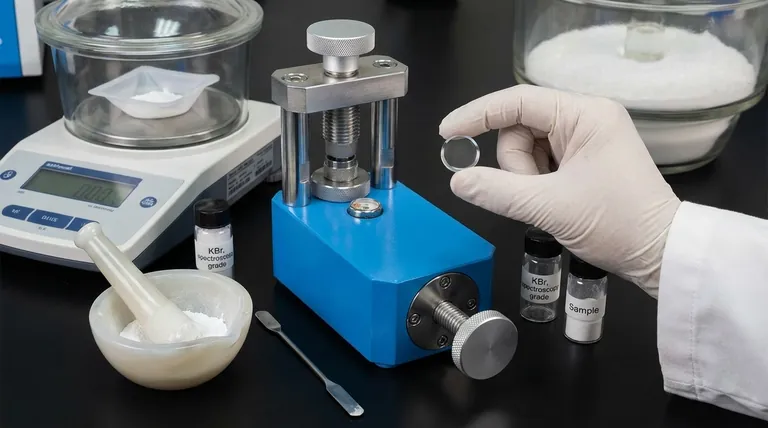
The Practical Steps to a Perfect Pellet
Achieving the correct ratio and a high-quality pellet requires careful preparation. The goal is a thin, perfectly transparent, glassy disc.
Step 1: Measure Your Materials
For a standard 13 mm pellet die, a good starting point is 1-2 mg of your solid sample and approximately 200 mg of dry, spectroscopy-grade KBr.
Always use KBr that has been stored in a desiccator or dried in an oven, as it readily absorbs atmospheric water.
Step 2: Achieve Homogeneity
This is the most critical step. The sample must be perfectly dispersed within the KBr.
Use an agate pestle and mortar for this process. Agate is non-abrasive and minimizes contamination. Grind the sample and KBr together for several minutes until the mixture is a fine, homogenous powder with no visible sample specks.
Step 3: Press the Pellet
Transfer the powder to a pellet die set. As a rule of thumb, a load of 8-10 tonnes is typically sufficient for a standard 13 mm die.
Apply the pressure for a few minutes to allow the KBr to flow and form a solid disc. The resulting pellet should be clear and transparent, like a tiny window.
Understanding the Trade-offs and Common Pitfalls
Even with the right ratio, issues can arise. Recognizing them is key to producing reliable data.
The Hygroscopic Nature of KBr
KBr is highly hygroscopic, meaning it readily absorbs water from the air. If you use "wet" KBr, you will see very broad, strong absorption bands for water (around 3400 cm⁻¹) in your spectrum, which can obscure your sample's O-H or N-H stretching bands.
Inhomogeneous Mixing
If the sample and KBr are not ground together thoroughly, you will create "hot spots" of concentrated sample. This leads to sloping baselines and distorted, non-symmetrical peaks, rendering the spectrum useless for library searching or quantitative work.
Pellet Opacity or Cracking
A cloudy, opaque, or cracked pellet is a sign of a problem. This is usually caused by insufficient pressure, incompletely ground powder, or excess moisture. An opaque pellet will scatter the infrared beam, leading to a very noisy spectrum with a rising baseline at higher wavenumbers.
Making the Right Choice for Your Goal
Your specific objective influences how strictly you must adhere to the standard procedure.
- If your primary focus is quantitative analysis: You must be rigorously consistent with your sample-to-KBr ratio, total mass, and pellet thickness for your results to be reproducible.
- If your primary focus is qualitative identification: The ratio is slightly more forgiving, but aiming for a 0.5-1% concentration is the best practice to generate a clean spectrum that matches library databases.
- If you are analyzing an unknown or challenging sample: Start with a ~1% concentration. If your strongest peaks are flat-topped, remake the pellet at a lower concentration (e.g., 0.2-0.5%).
Mastering this fundamental technique is a direct investment in the quality and reliability of your spectral data.
Summary Table:
| Aspect | Details |
|---|---|
| Standard Ratio | 100 parts KBr to 1 part sample by weight (100:1) |
| Sample Concentration | 0.2% to 1% |
| Typical Sample Mass | 1-2 mg for a 13 mm pellet |
| Typical KBr Mass | 200 mg for a 13 mm pellet |
| Pressing Pressure | 8-10 tonnes for standard dies |
| Key Benefits | Prevents signal saturation, ensures homogeneous mixing, and reduces scattering for accurate spectra |
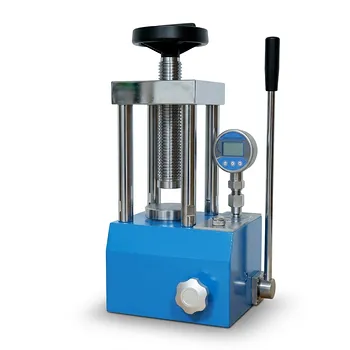
Elevate your FTIR analysis with KINTEK's precision lab press machines! Whether you're using automatic lab presses, isostatic presses, or heated lab presses, our equipment ensures consistent pellet formation for reliable results. Contact us today to discuss how we can support your laboratory needs and improve your sample preparation efficiency. Get in touch now!
Visual Guide

Related Products
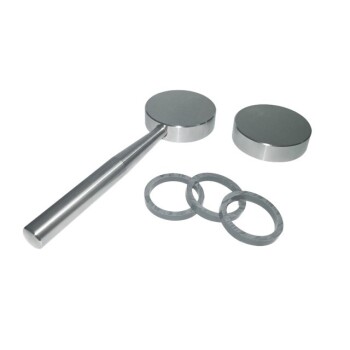
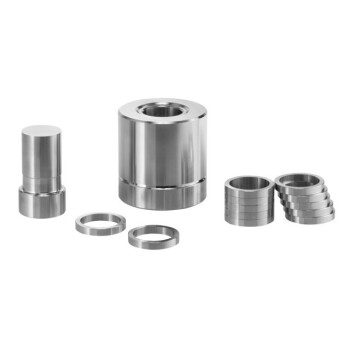
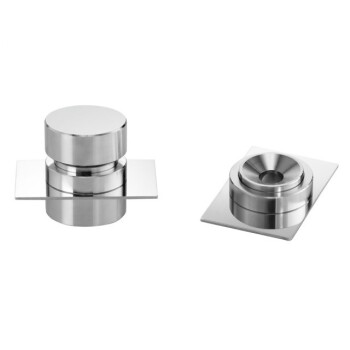
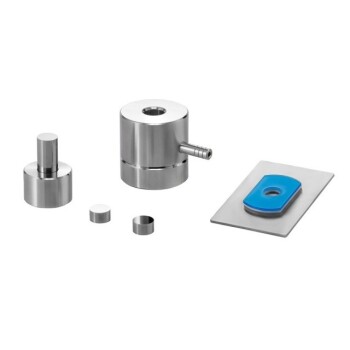
- XRF KBR Plastic Ring Lab Powder Pellet Pressing Mold for FTIR
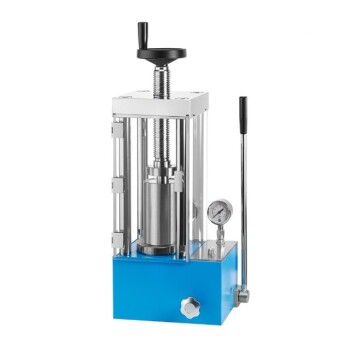
- Laboratory Hydraulic Press 2T Lab Pellet Press for KBR FTIR
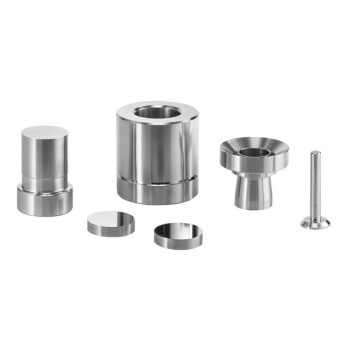
- XRF KBR Steel Ring Lab Powder Pellet Pressing Mold for FTIR
- Laboratory Hydraulic Pellet Press for XRF KBR FTIR Lab Press
- Automatic Laboratory Hydraulic Press for XRF and KBR Pellet Pressing
People Also Ask
- What are the differences between manual and automatic XRF pellet presses? Choose the Right Press for Your Lab's Needs
- What are specialized XRF pellet preparation presses designed for? Boost Lab Efficiency with High-Throughput Automation
- What is the purpose of making KBr pellets for FTIR? Achieve Precise Molecular Analysis with Solid Samples
- What are the different types of XRF pellet preparation methods available? Manual, Hydraulic, and Automated Presses Explained
- What are the different pellet pressing options for XRF sample preparation? Choose the Best Method for Accurate Analysis