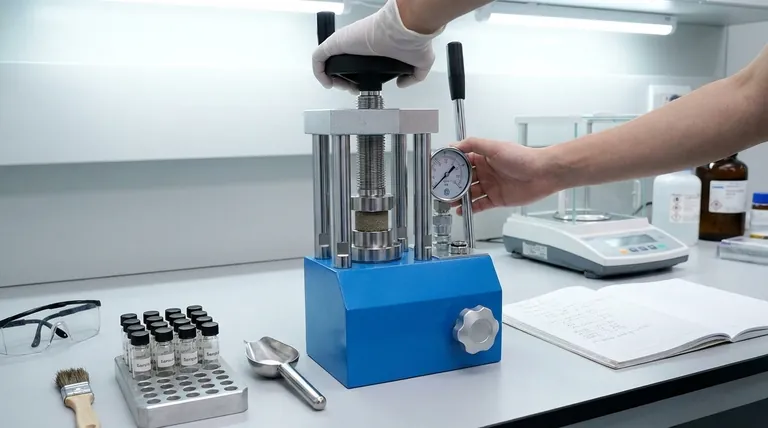
At its core, operating a manual hydraulic pellet press is a straightforward mechanical process. You begin by ensuring the pressure release valve is closed, then use the hand lever to gradually build hydraulic pressure on your sample die, monitoring the force on the gauge. Once the target pressure is reached and held, you slowly open the valve to release the pressure before carefully extracting your finished pellet.
The true goal of using a pellet press is not simply to compact a powder, but to create a perfectly homogenous and durable sample. The quality of your pellet directly dictates the accuracy and reliability of your subsequent analytical results, such as in XRF or FTIR spectroscopy.
The Core Operating Procedure: A Step-by-Step Guide
Proper technique is about control and repeatability. Following a consistent procedure ensures every pellet you create is of the highest possible quality.
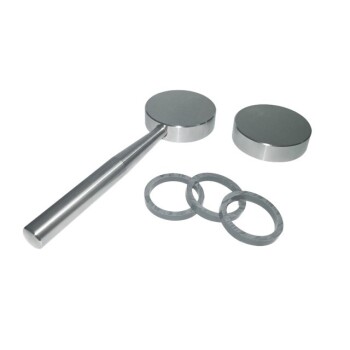
Step 1: Prepare the Die and Sample
Before touching the press, your preparation is key. A high-quality pellet begins with a well-prepared sample and a clean die set.
Load your powdered sample evenly into the die cavity. Uneven loading is a primary source of cracked or inconsistent pellets.
Step 2: Position the Die and Secure the Press
Place the assembled die set into the center of the press's piston or anvil. A central placement ensures that force is applied uniformly.
Before applying any pressure, confirm that the pressure release valve is fully closed. Turning it clockwise usually seals it. This is a critical step; otherwise, the system will not build pressure.
Step 3: Apply Pressure Gradually
Begin pumping the handle or lever. Each stroke pushes hydraulic fluid into the system, raising the piston and applying force.
Watch the pressure gauge closely. Apply pressure slowly and deliberately, not in rapid, jerky motions. This gradual increase helps the sample particles settle and compact uniformly, reducing the risk of air entrapment and pellet cracking.
Step 4: Dwell Time and Pressure Release
Once you reach the desired pressure for your material, stop pumping. Allow the pressure to "dwell" or hold for a specific period, often 30-60 seconds. This allows the sample to fully consolidate.
This is the most critical moment for pellet integrity. Slowly and carefully turn the release valve counter-clockwise to relieve the pressure. Releasing it too quickly will cause a rapid decompression that can shatter an otherwise perfect pellet.
Step 5: Extracting the Pellet
Once the pressure gauge reads zero, you can safely remove the die set from the press. Your pellet can now be carefully extracted from the die, ready for analysis.
Understanding the Principles at Play
Knowing why the press works a certain way transforms operation from a rote task into a controlled scientific process.
How It Works: Pascal's Principle in Action
The press operates on a principle first articulated by Blaise Pascal. Your small physical effort on the hand lever applies force to a small piston, which pressurizes the incompressible hydraulic oil.
This pressure is transmitted equally throughout the fluid, acting on a much larger piston. This multiplies your initial force enormously, generating the tons of pressure needed to form a solid pellet from a loose powder.
Why Even Pressure Matters
For analytical techniques like X-ray fluorescence (XRF), the instrument's beam interacts with the surface of your sample.
If your pellet has variations in density due to uneven loading or pressing, your analytical results will be inconsistent and inaccurate. A uniform pellet ensures that the data you collect is a true representation of the bulk sample.
The Role of the Pressure Gauge
The pressure gauge is not just for knowing when to stop. It is your key to repeatability.
By recording the exact pressure used for a specific material, you can ensure that every pellet you make for that sample type is created under identical conditions, leading to more consistent and comparable analytical data.
Common Pitfalls to Avoid
Mistakes with a hydraulic press often lead to poor sample quality or, in rare cases, damage to the equipment. Awareness is the first step to avoidance.
Rushing the Pressure Release
This is the most common cause of failed pellets. The energy stored in the compressed pellet must be released gradually. A sudden release causes a shockwave through the material, resulting in cracks or complete structural failure. Always open the release valve slowly.
Uneven Sample Loading
If you simply dump powder into the die, it will form a cone. The center will be denser than the edges, leading to uneven compaction. This internal stress is a primary reason for pellets cracking during or after pressing. Always distribute the powder as evenly as possible.
Neglecting Die Maintenance
Residual material from previous samples can contaminate your next one, compromising your analysis. It can also score the polished internal surfaces of the die.
Regularly disassemble and thoroughly clean your die sets. A clean, smooth die surface is essential for easy pellet extraction and preventing cross-contamination.
How to Apply This to Your Project
Your operational focus will shift slightly depending on your ultimate goal.
- If your primary focus is analytical accuracy: Prioritize even sample loading and document the exact pressure and dwell time used for every pellet.
- If your primary focus is sample integrity: Concentrate on a very slow, controlled pressure release to prevent cracks and fractures.
- If your primary focus is equipment longevity: Always ensure the die is centered, and perform regular cleaning and lubrication of the press and die sets.
Mastering this process gives you direct control over the quality and reliability of your analytical results.
Summary Table:
| Step | Key Action | Purpose |
|---|---|---|
| 1 | Prepare die and sample evenly | Ensure uniform density and prevent cracks |
| 2 | Position die and close release valve | Secure setup for pressure buildup |
| 3 | Apply pressure gradually | Allow particle settling and reduce air entrapment |
| 4 | Hold pressure and release slowly | Consolidate sample and prevent shattering |
| 5 | Extract pellet after pressure release | Ready sample for analysis |
Enhance your lab's efficiency with KINTEK's reliable lab press machines! Whether you're using automatic lab presses, isostatic presses, or heated lab presses, our equipment ensures precise pressure control and uniform sample preparation for accurate XRF and FTIR analysis. Serving laboratories worldwide, we help you achieve consistent, high-quality results. Contact us today to discuss your needs and discover how KINTEK can support your research and testing goals!
Visual Guide

Related Products
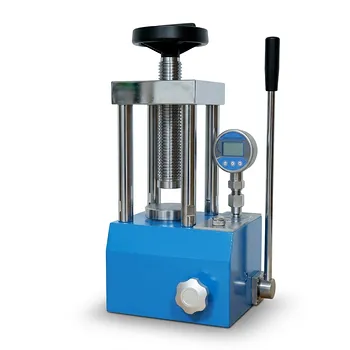
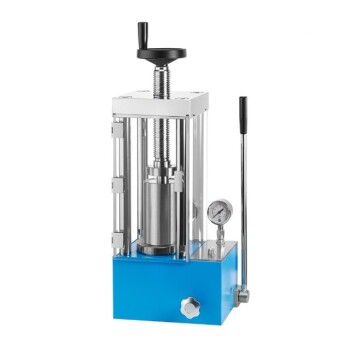
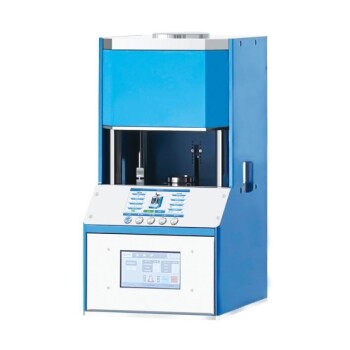
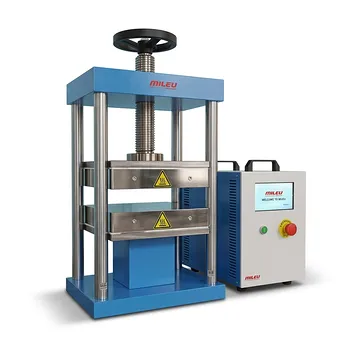
- Manual Laboratory Hydraulic Pellet Press Lab Hydraulic Press
- Manual Laboratory Hydraulic Press Lab Pellet Press
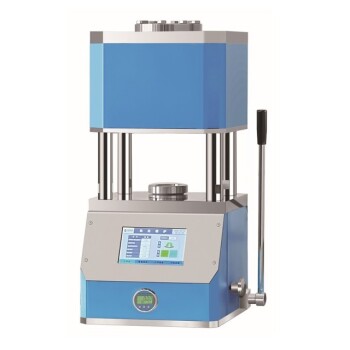
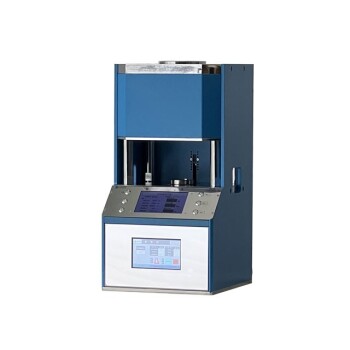
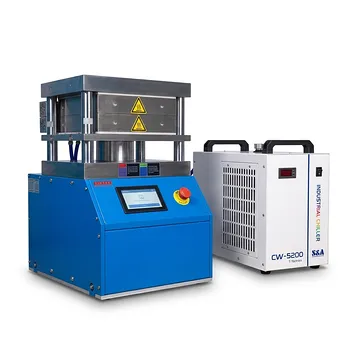
- Automatic Laboratory Hydraulic Press Lab Pellet Press Machine
- Automatic Laboratory Hydraulic Press for XRF and KBR Pellet Pressing
- Laboratory Hydraulic Pellet Press for XRF KBR FTIR Lab Press
People Also Ask
- How does a laboratory manual hydraulic press assist in powder canning? Maximize Density and Structural Integrity
- What is the primary purpose of a manual lab hydraulic pellet press? Ensure Accurate Sample Prep for XRF and FTIR
- What is the function of a lab hydraulic press in pyrolysis experiments? Standardize Raw Materials for Precision
- How does high-precision pressure holding control in a lab hydraulic press affect squishy granular matter experiments?
- Why is it important to know the required force when selecting a lab hydraulic press? Ensure Accurate Results and Avoid Damage