To prepare a sample for XRF analysis, you must transform it into a dense, homogeneous pellet. This process involves grinding the sample into a fine powder, thoroughly mixing it with a binding agent, and then compressing this mixture inside a pellet die using high pressure, typically between 15 and 40 tons.
The goal of XRF pellet preparation is not just to create a solid disc, but to produce a sample that is perfectly uniform and free from contaminants. Every step, from grinding to pressing, directly impacts the accuracy and repeatability of your final analysis.
The Core Steps of Pellet Preparation
The process can be broken down into four essential stages. Each one is critical for creating a pellet that will yield reliable XRF results.
Step 1: Grinding to a Fine Particle Size
The first step is to reduce your sample to a fine, uniform powder using a milling or grinding instrument.
The goal is to eliminate particle size effects, where larger particles can absorb or scatter X-rays differently than smaller ones, leading to inaccurate readings.
Step 2: Mixing with a Binder
Once powdered, the sample is mixed with a specialized binder or grinding aid.
This additive helps the sample particles adhere to one another during pressing, resulting in a durable, stable pellet that won't crumble. Thorough mixing is key to ensure the binder is evenly distributed.
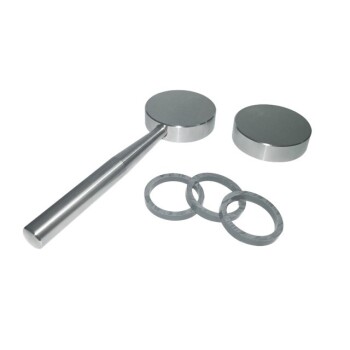
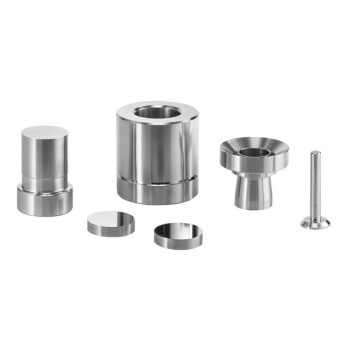
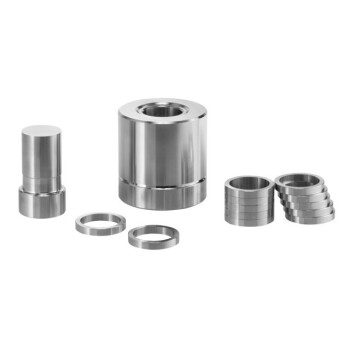
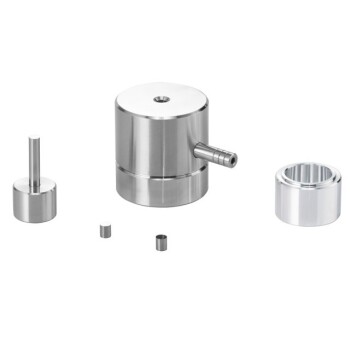
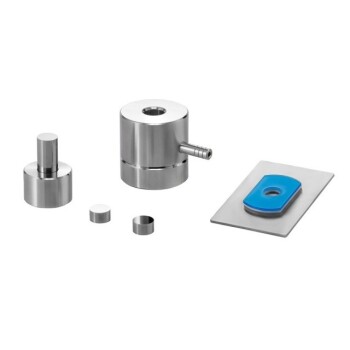
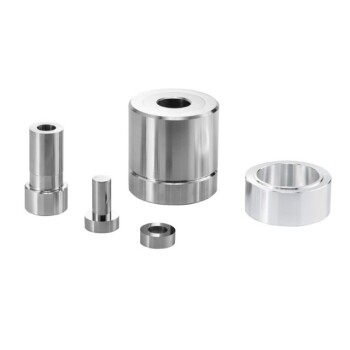
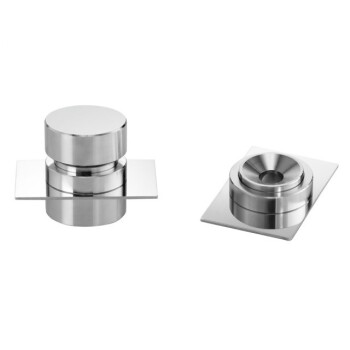
Step 3: Loading the Pellet Die
The powdered mixture is carefully poured into a pellet die. The die is a high-precision cylinder and plunger assembly that contains the sample during compression.
The die size must be compatible with both your press and the sample holder of your XRF instrument.
Step 4: Compressing Under High Pressure
The loaded die is placed in a press, which applies a force between 15 and 40 tons.
This immense pressure compacts the powder into a dense, solid disc with a smooth, flat surface ideal for analysis. The exact force required depends on the material and die size.
Understanding the Pressing Methods
The tool you use for compression significantly impacts your workflow, consistency, and throughput. There are three main types of presses.
Manual Presses
These are the most affordable option and are operated by hand. They are suitable for labs with low sample volumes.
However, achieving consistent pressure from one pellet to the next can be challenging, as it relies entirely on operator strength and technique.
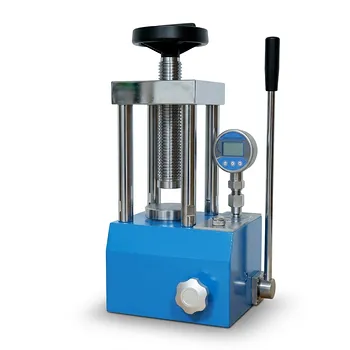
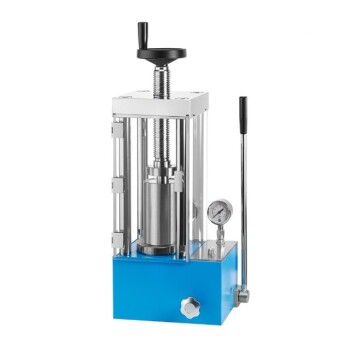
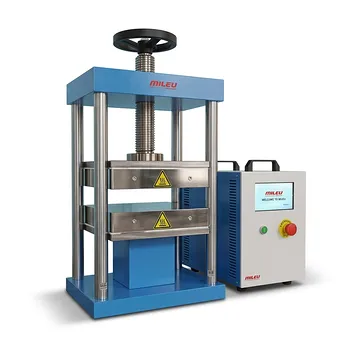
Hydraulic Presses
Hydraulic presses offer a major improvement in efficiency and consistency. They use hydraulic fluid to generate high forces with less effort.
This method provides excellent control over the applied pressure, making it a reliable choice for labs that need higher throughput and more repeatable results.
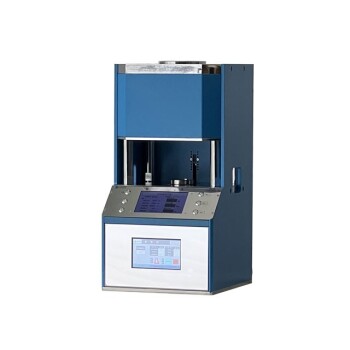
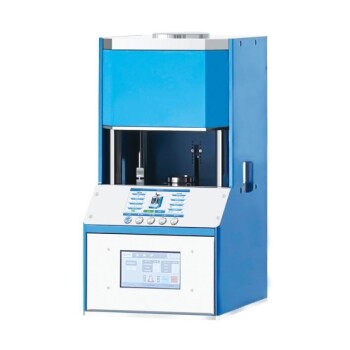
Automated Presses
For high-throughput environments, automated presses are the ideal solution. They offer programmable, highly consistent pressure cycles with minimal operator intervention.
While they represent a higher initial investment, they deliver the highest level of repeatability and efficiency, reducing the potential for human error.
Common Pitfalls and How to Avoid Them
The quality of your final pellet is only as good as your preparation technique. Awareness of common mistakes is crucial for maintaining data integrity.
The Threat of Contamination
Contamination is a significant risk, most often introduced during the grinding stage.
Material from the grinding instrument itself (e.g., a steel vial) or cross-contamination from previously prepared samples can be introduced. Meticulous cleaning of all equipment between samples is non-negotiable.
Inconsistent Particle Size
If grinding is incomplete or inconsistent, the resulting pellet will not be homogeneous. This is a primary source of analytical error.
Ensure your grinding procedure is standardized and sufficient to produce a uniform, fine powder for every sample.
Incorrect Pressing Force
Using the wrong pressure can ruin a sample. Too little force results in a fragile, crumbly pellet.
Conversely, too much force can cause the pellet to crack or become damaged, making it unsuitable for analysis. Always operate within the recommended 15-40 ton range and optimize for your specific sample type.
Making the Right Choice for Your Goal
Your ideal preparation method depends on your specific priorities for throughput, budget, and precision.
- If your primary focus is maximum throughput and repeatability: An automated press is the superior choice, minimizing human error and ensuring consistent results.
- If your primary focus is balancing performance and cost: A hydraulic press offers a significant upgrade in consistency and efficiency over manual methods without the investment of full automation.
- If your primary focus is low-volume analysis or budget constraints: A manual press is a viable starting point, but it requires meticulous operator training to achieve consistent pellet quality.
Mastering these fundamental preparation steps is the single most important factor in generating reliable and accurate XRF data.
Summary Table:
| Step | Key Action | Purpose |
|---|---|---|
| 1 | Grinding to Fine Powder | Eliminate particle size effects for uniform X-ray interaction |
| 2 | Mixing with Binder | Ensure particle adhesion and pellet durability |
| 3 | Loading Pellet Die | Prepare sample for compression in a compatible die |
| 4 | Compressing Under High Pressure | Create dense, flat pellet for accurate XRF analysis |
Ready to enhance your XRF analysis with precise pellet preparation? KINTEK specializes in lab press machines, including automatic lab presses, isostatic presses, and heated lab presses, designed to deliver consistent, high-quality pellets for laboratories. Whether you're handling low volumes or high-throughput needs, our equipment ensures reliable results and reduces human error. Contact us today to discuss how our solutions can optimize your sample prep workflow and boost your analytical accuracy!
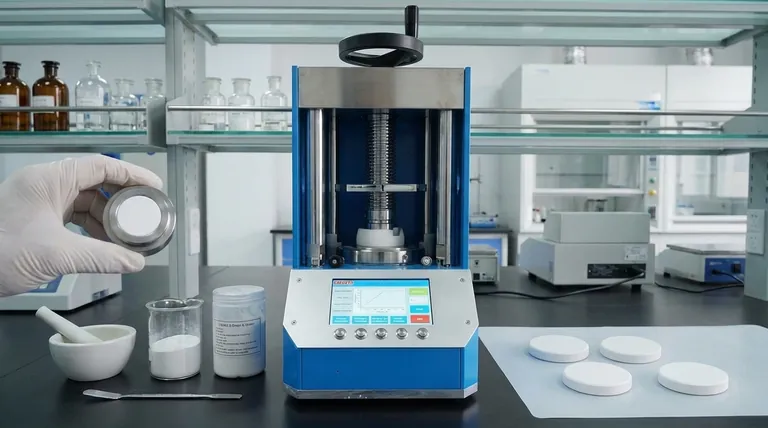
Visual Guide

Related Products
- XRF KBR Plastic Ring Lab Powder Pellet Pressing Mold for FTIR
- Lab XRF Boric Acid Powder Pellet Pressing Mold for Laboratory Use
- XRF KBR Steel Ring Lab Powder Pellet Pressing Mold for FTIR
- Laboratory Hydraulic Pellet Press for XRF KBR FTIR Lab Press
- Automatic Laboratory Hydraulic Press for XRF and KBR Pellet Pressing
People Also Ask
- What are the main methods for preparing XRF pellets? Boost Accuracy and Efficiency in Your Lab
- What are the different types of XRF pellet preparation methods available? Manual, Hydraulic, and Automated Presses Explained
- What is the purpose of making KBr pellets for FTIR? Achieve Precise Molecular Analysis with Solid Samples
- What are the different pellet pressing options for XRF sample preparation? Choose the Best Method for Accurate Analysis
- What are specialized XRF pellet preparation presses designed for? Boost Lab Efficiency with High-Throughput Automation