Preparing a KBr pellet for FTIR analysis is a meticulous process that involves mixing a small amount of your solid sample with potassium bromide (KBr) powder, grinding the mixture, and compressing it under high pressure into a thin, transparent disc. The goal is to create a solid-state solution where the sample is uniformly dispersed in an infrared-transparent matrix, allowing for clear spectral analysis via transmission.
The core challenge in KBr pellet preparation is not just the mechanical steps, but the complete elimination of moisture. Because KBr is highly hygroscopic, success hinges on creating a perfectly dry, homogenous mixture to produce a transparent pellet that yields a clean, interference-free spectrum.

The Principle: Why Use a KBr Pellet?
Fourier Transform Infrared (FTIR) spectroscopy works by passing an infrared beam through a sample to measure which frequencies of light are absorbed. For solid samples, this can be difficult.
Creating an Infrared "Window"
The KBr pellet method solves this by dispersing the solid sample into a medium—potassium bromide—that is transparent to infrared light in the typical analysis range (4000-400 cm⁻¹).
Essentially, you are creating a small, transparent window where your sample is suspended. This allows the IR beam to pass through with minimal scattering or unwanted absorption from the matrix itself, isolating the spectral features of your analyte.
Achieving a Uniform Dispersion
A high-quality pellet is not just transparent; it is also perfectly homogenous. The sample must be ground into extremely fine particles and mixed evenly throughout the KBr. This uniformity is critical for obtaining reproducible and accurate spectral data.
Step-by-Step Guide to Pellet Preparation
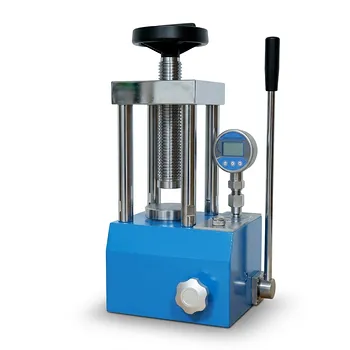
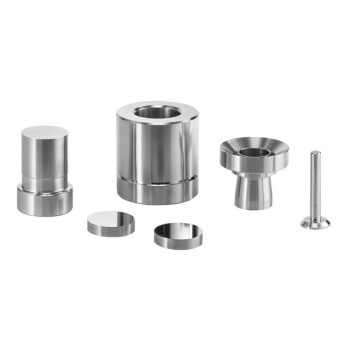
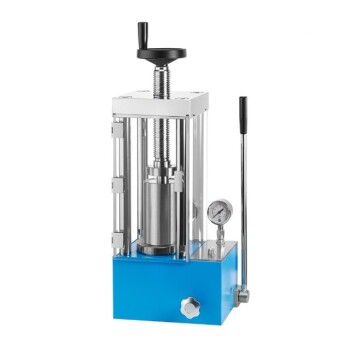
Achieving a high-quality pellet requires careful attention to detail at every stage. The necessary equipment includes an agate mortar and pestle, a pellet press die set, and a hydraulic press.
Step 1: Prepare Your Materials
The first step is ensuring all components are completely dry. Place a small amount of spectroscopic-grade KBr powder and your solid sample in a drying oven (typically at ~110°C) for several hours, then cool them in a desiccator.
Step 2: Mix and Grind the Sample
Weigh out your KBr and sample. The ideal ratio is approximately 100 parts KBr to 1 part sample (a 1% concentration). For highly absorbing samples, this can be reduced to as low as 0.2%.
Transfer the mixture to an agate mortar. Grind the powder with the pestle for several minutes until it becomes a fine, homogenous, flour-like consistency. Proper grinding is essential to reduce light scattering and create a transparent pellet.
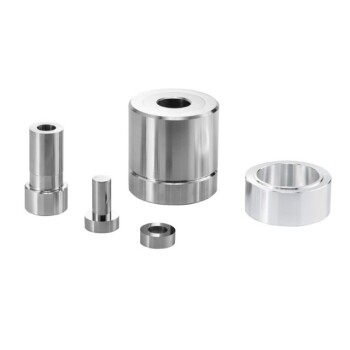
Step 3: Load the Pellet Die
Carefully transfer a portion of the fine powder into the pellet die assembly. Distribute the powder evenly across the bottom surface of the die to ensure the final pellet has a consistent thickness.
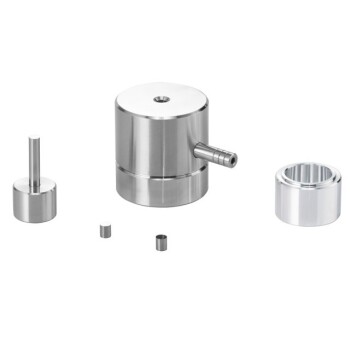
Step 4: Press the Pellet
Place the loaded die into a hydraulic press. It is crucial to apply a vacuum to the die for several minutes before and during initial pressing. This removes trapped air and, more importantly, any residual moisture that could cloud the pellet.
Slowly apply pressure, raising it to approximately 8 tons. Hold this pressure for several minutes to allow the KBr particles to fuse into a solid, transparent disc.
Step 5: Release and Inspect
Carefully release the pressure and disassemble the die to retrieve the finished pellet. A good pellet will be thin and transparent, like a small piece of glass. It is now ready for placement in the spectrometer's sample holder.
Common Pitfalls and How to Avoid Them
The quality of your spectrum is directly dependent on the quality of your pellet. Understanding common failures is key to troubleshooting your results.
The Enemy: Water Contamination
KBr is extremely hygroscopic, meaning it readily absorbs water from the atmosphere. If your KBr, sample, or equipment is not perfectly dry, you will see characteristic broad absorption bands for water in your spectrum (around 3400 cm⁻¹ and 1640 cm⁻¹), which can obscure your sample's peaks.
Solution: Rigorously dry all materials and tools, work quickly, and store prepared pellets in a desiccator.
The Problem: Cloudy or Opaque Pellets
A cloudy pellet is typically caused by two issues: insufficient grinding or trapped air/moisture. Large particles scatter the IR beam (an effect known as the Christiansen effect), causing a sloping baseline and reducing spectral quality.
Solution: Grind the mixture more thoroughly until it is a fine, uniform powder. Always use a vacuum during pressing to remove air and moisture.
The Mistake: Using Too Much Sample
FTIR is a very sensitive technique. Using too much sample (a concentration well above 1%) will cause the strongest absorption bands to become "totally absorbing." The detector will receive no light at these frequencies, resulting in flattened, unusable peaks.
Solution: Adhere to the ~100:1 KBr-to-sample ratio. If peaks are flat, remake the pellet with a lower sample concentration.
Making the Right Choice for Your Analysis
Use these guidelines to diagnose issues and perfect your technique based on your results.
- If your primary goal is maximum accuracy: Focus on precise sample-to-KBr ratios and rigorous drying of all components to ensure a pure, quantifiable spectrum.
- If you are seeing broad, unwanted peaks around 3400 cm⁻¹: Your problem is water contamination; re-dry your KBr and sample, and work in a low-humidity environment if possible.
- If your pellet is cloudy or your baseline is sloped: Your sample is not ground finely enough; spend more time grinding the mixture in the agate mortar to reduce particle size.
- If your main spectral peaks appear flat on top: You have used too much sample; prepare a new pellet with a significantly lower sample concentration.
By mastering this technique, you can produce exceptionally clear and reliable FTIR spectra from solid samples.
Summary Table:
| Step | Key Action | Purpose |
|---|---|---|
| 1 | Dry materials in oven and desiccator | Eliminate moisture to prevent spectral interference |
| 2 | Mix and grind sample with KBr (100:1 ratio) | Achieve uniform dispersion and reduce light scattering |
| 3 | Load powder evenly into die | Ensure consistent pellet thickness |
| 4 | Apply vacuum and press at 8 tons | Remove air/moisture and form transparent disc |
| 5 | Inspect pellet for clarity and transparency | Verify readiness for FTIR analysis |
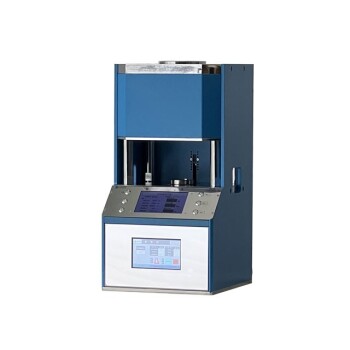
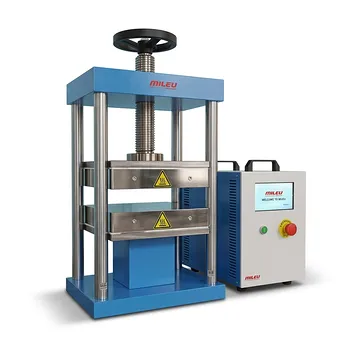
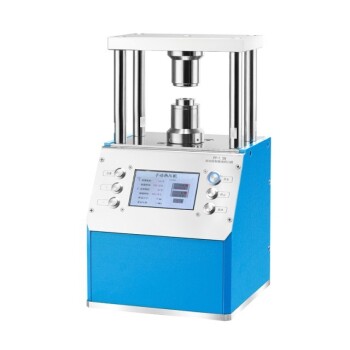
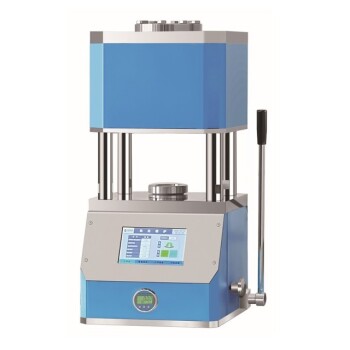
Struggling with cloudy pellets or water interference in your FTIR analysis? KINTEK specializes in lab press machines, including automatic lab presses, isostatic presses, and heated lab presses, designed to deliver precise pressure and vacuum control for flawless KBr pellet preparation. Our equipment ensures uniform compression, eliminates moisture, and enhances spectral accuracy, saving you time and improving reproducibility. Contact us today to discuss how our solutions can optimize your laboratory workflows and achieve superior results. Reach out now for a consultation!
Visual Guide

Related Products
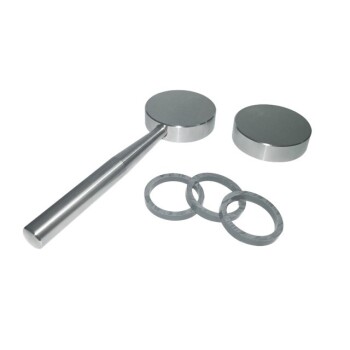
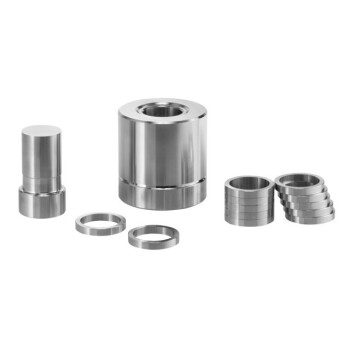
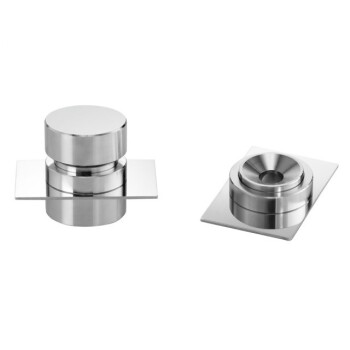
- Laboratory Hydraulic Press 2T Lab Pellet Press for KBR FTIR
- XRF KBR Plastic Ring Lab Powder Pellet Pressing Mold for FTIR
- Laboratory Hydraulic Pellet Press for XRF KBR FTIR Lab Press
- XRF KBR Steel Ring Lab Powder Pellet Pressing Mold for FTIR
- Automatic Laboratory Hydraulic Press for XRF and KBR Pellet Pressing
People Also Ask
- Why is uniform encapsulation pressure necessary for lithium-metal battery assembly? Achieve Flawless In-Situ Results
- Why is a laboratory hydraulic press necessary for sample preparation? Precise Pelleting for Spiro Heterocyclic Analysis
- How are hydraulic presses utilized in laboratory settings? Precision Sample Prep & Material Testing Solutions
- What role does a laboratory hydraulic press play in reaction pellets? Optimizing Lunar Soil and Metal Fuel Density
- Why is a laboratory hydraulic press used to compact monazite samples before the roasting treatment? Optimize Reactions