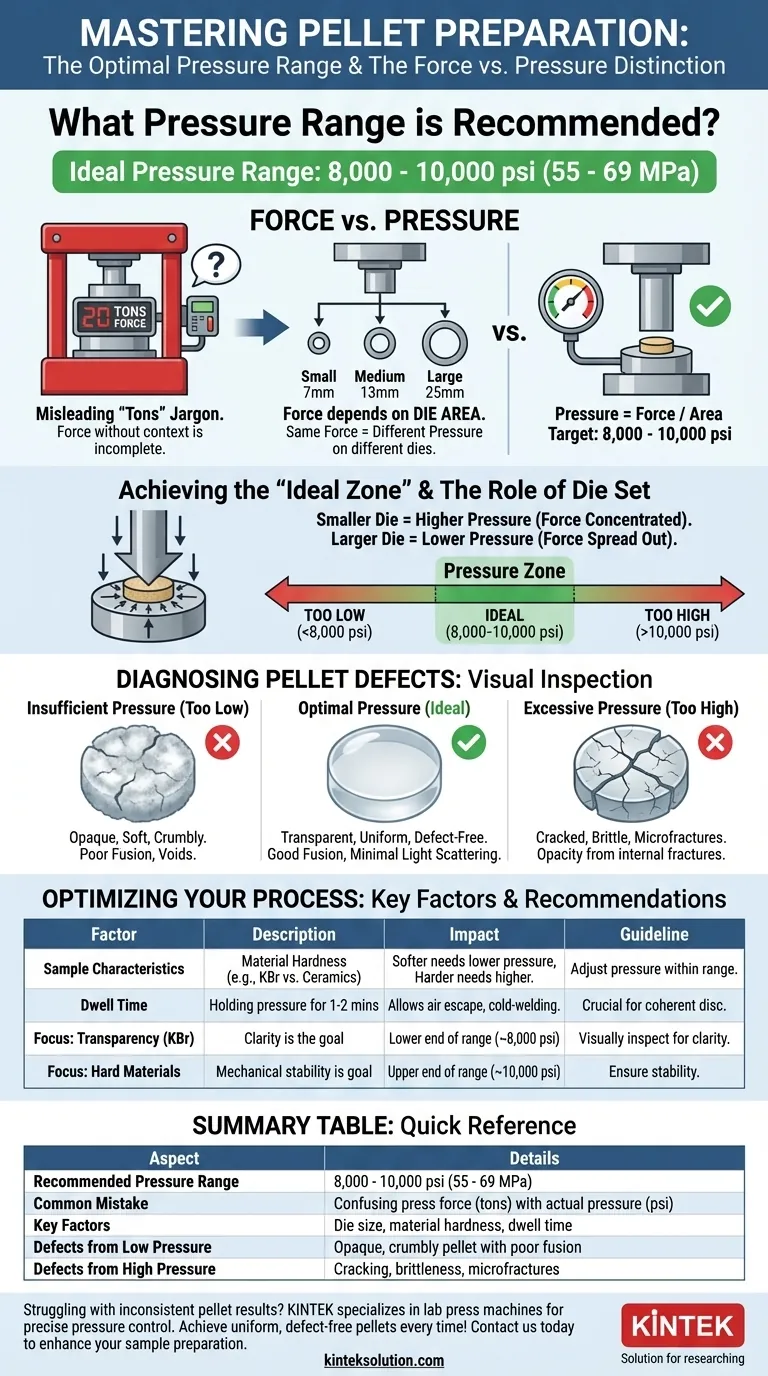
The ideal pressure for pellet preparation is a nuanced topic where common lab jargon can be misleading. While many protocols cite a press force of 15-20 tons, the scientifically critical value is the actual pressure (force per unit area) exerted on the sample, which typically falls between 8,000 and 10,000 psi (55-69 MPa). Achieving this correct pressure is essential for creating a uniform, defect-free pellet suitable for analysis.
The most common point of failure in pellet preparation is confusing the force applied by the press (measured in tons) with the actual pressure experienced by the sample (measured in psi or MPa). The ideal pressure is consistent, but the force required to achieve it changes dramatically with the size of your die.
Force vs. Pressure: The Critical Distinction
Understanding the difference between the force you apply and the pressure your sample endures is the key to creating reproducible, high-quality pellets.
Why "Tons" Can Be Misleading
Hydraulic presses are rated and display their output in units of force, such as tons. However, quoting a force value without context is incomplete. A 10-ton force will produce vastly different results on a small 7 mm die compared to a large 25 mm die.
This is why generic advice like "use 15-20 tons" can lead to poor outcomes, as it ignores the most important variable: the die area.
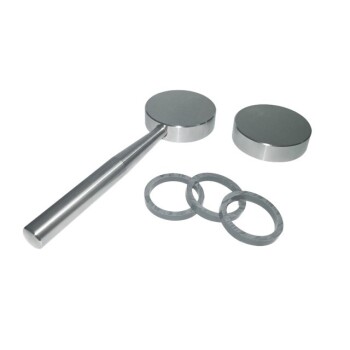
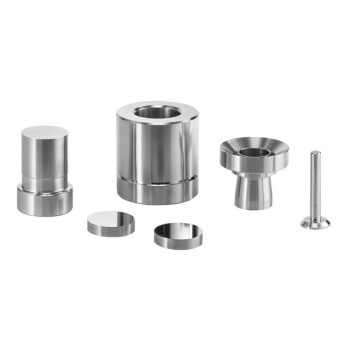
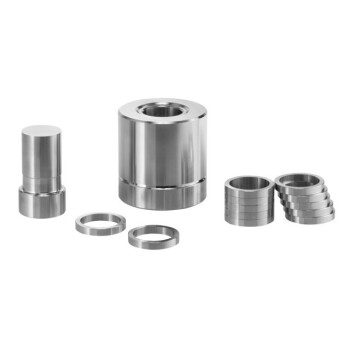
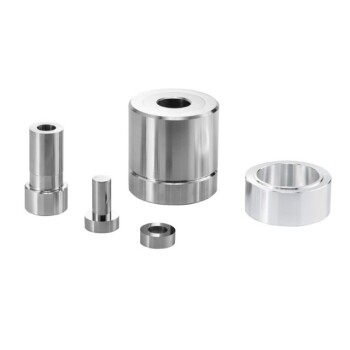
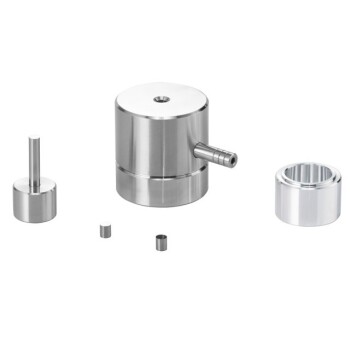
The Role of the Die Set
The actual pressure your sample experiences is the applied force distributed over the surface area of the die's piston. The relationship is simple:
Pressure = Force / Area
A smaller die concentrates the same force into a smaller area, resulting in much higher pressure. Conversely, a larger die spreads that force out, leading to lower pressure.
The Target Pressure Zone
For most common analytical pellets, such as KBr pellets for FTIR spectroscopy, the target pressure is 8,000 to 10,000 psi (55-69 MPa).
Applying pressure within this range encourages the powdered sample particles to deform, fuse, and form a solid, semi-transparent disc with minimal light scattering.
Identifying Pellet Defects
Visual inspection of the pellet is the best way to diagnose whether you have applied the correct pressure.
Signs of Insufficient Pressure
If the pressure is too low, the pellet will appear opaque, soft, and crumbly. The particles have not fused properly, creating many internal voids. This leads to high light scattering and poor analytical results.
Signs of Excessive Pressure
If the pressure is too high, the pellet may crack upon ejection from the die. It can also become overly brittle. Paradoxically, extreme pressure can increase opacity by creating microfractures throughout the pellet's structure, which also scatter light and degrade signal quality.
Understanding the Trade-offs
Optimizing pressure is not a one-size-fits-all process. The ideal value depends on the material's properties and the desired outcome.
Sample Characteristics Matter
Softer, more malleable materials (like many organic compounds or KBr) require pressure on the lower end of the optimal range to fuse properly.
Harder, more crystalline materials (like ceramics or minerals) may require pressure on the higher end of the range to achieve sufficient compaction and form a stable pellet.
The Importance of Dwell Time
Simply reaching the target pressure is not enough. It is crucial to hold the pressure for a minute or two. This "dwell time" allows trapped air to escape and gives the material time to flow and cold-weld into a coherent disc.
Making the Right Choice for Your Sample
Use the underlying principles of pressure to guide your experimental setup for reliable and repeatable results.
- If your primary focus is creating a transparent KBr pellet for FTIR: Start with a force calculated to achieve ~8,000 psi for your die size and visually inspect for transparency; the goal is clarity, not just hardness.
- If your primary focus is pressing a hard, inorganic material: You may need to target the upper end of the pressure range (~10,000 psi) to ensure the pellet is mechanically stable.
- If your primary focus is developing a new, robust protocol: Do not rely on "tons." Calculate the force needed for your specific die to achieve a target pressure in psi, and perform a small study to find the optimal pressure for your specific material.
By focusing on the true pressure your sample experiences, you gain precise control over the quality of your pellets and the reliability of your analytical data.
Summary Table:
| Aspect | Details |
|---|---|
| Recommended Pressure Range | 8,000 - 10,000 psi (55 - 69 MPa) |
| Common Mistake | Confusing press force (tons) with actual pressure (psi) |
| Key Factors | Die size, material hardness, dwell time |
| Defects from Low Pressure | Opaque, crumbly pellet with poor fusion |
| Defects from High Pressure | Cracking, brittleness, microfractures |
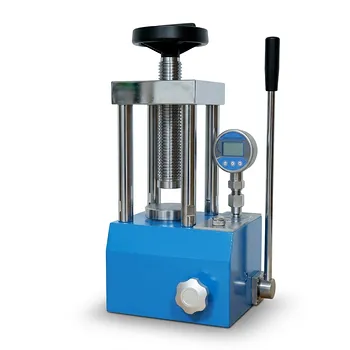
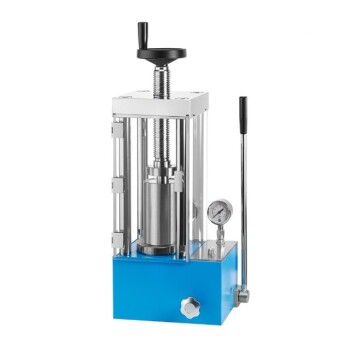
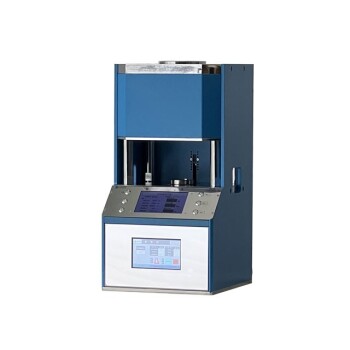
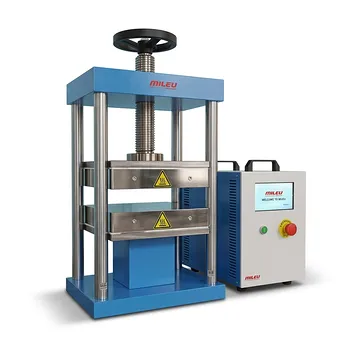
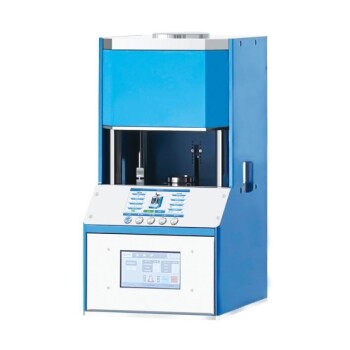
Struggling with inconsistent pellet results? KINTEK specializes in lab press machines, including automatic, isostatic, and heated lab presses, designed to deliver precise pressure control for laboratories. Achieve uniform, defect-free pellets every time—contact us today to enhance your sample preparation and analytical accuracy!
Visual Guide
Related Products
- Laboratory Hydraulic Split Electric Lab Pellet Press
- Laboratory Hydraulic Pellet Press for XRF KBR FTIR Lab Press
- Manual Laboratory Hydraulic Pellet Press Lab Hydraulic Press
- Automatic Laboratory Hydraulic Press Lab Pellet Press Machine
- Automatic Laboratory Hydraulic Press for XRF and KBR Pellet Pressing
People Also Ask
- Why is high consistency in holding pressure from a laboratory pellet press required when preparing multi-component alloy specimens?
- Why is precise pressure-holding control critical for biomass pellets? Master Your Densification Results
- What are the emerging trends in the design and materials of lab pellet presses? Modernize Your Lab Efficiency
- What are common lab pellet press issues? Expert Troubleshooting Guide for Reliable Material Research
- How do lab pellet presses support customization and flexibility? Optimize Your Sample Prep for Any Material