To prepare a sample pellet for FTIR analysis, you must first mix your solid sample with an infrared-transparent powder, most commonly Potassium Bromide (KBr). This mixture is then ground into an exceptionally fine powder, loaded into a pellet die, and compressed under several tons of force using a hydraulic press. This high pressure fuses the powder into a solid, translucent disc that is ideal for spectral analysis in a spectrometer.
The core objective of this process is not merely to create a solid disc, but to dilute the sample within a uniform, transparent medium. The quality and reproducibility of your FTIR spectrum are directly dependent on the pellet's transparency and homogeneity, which are achieved through meticulous preparation and controlled pressure.
The Principle: Why Use a KBr Pellet?
The KBr pellet method is a foundational technique in transmission FTIR spectroscopy for solid samples. Its purpose is to overcome the challenge of analyzing opaque powders that do not transmit infrared light on their own.
Diluting the Sample in an IR-Transparent Matrix
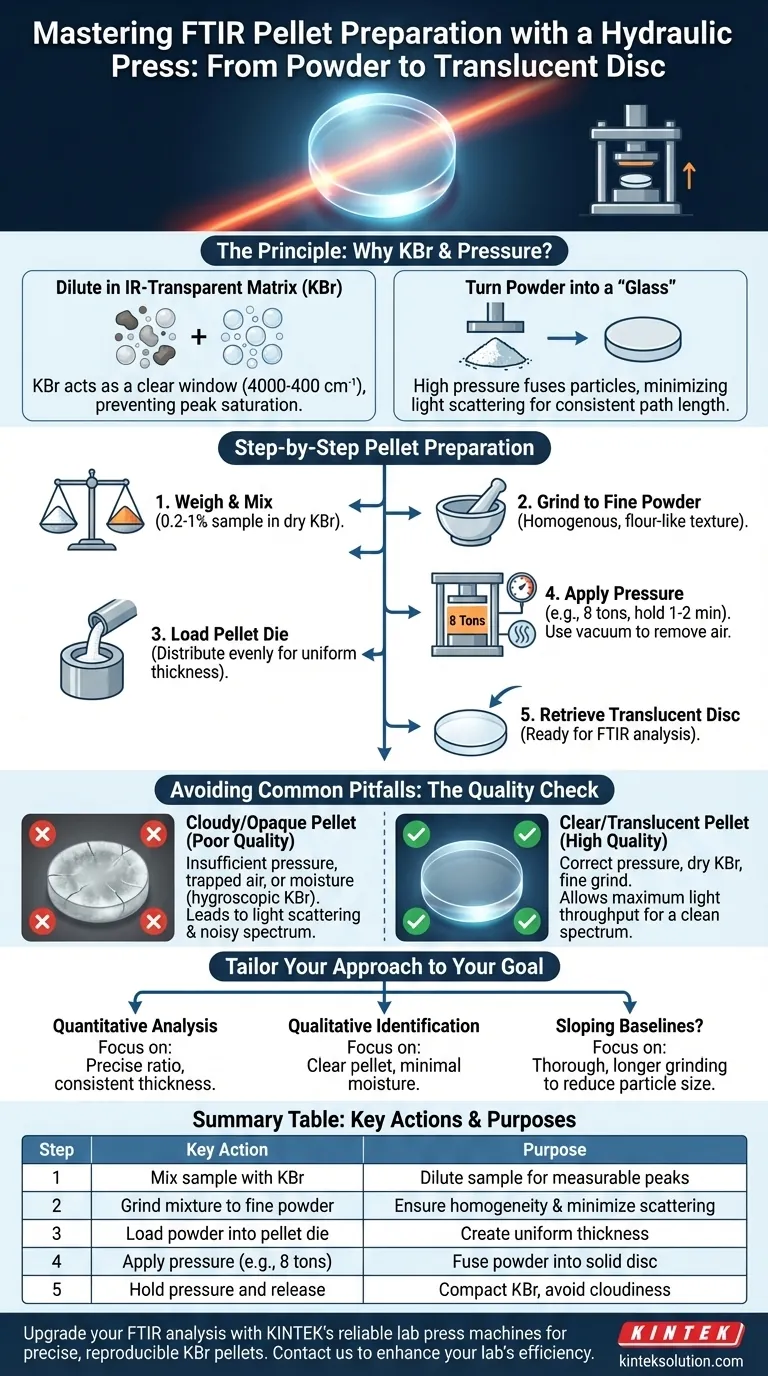
Potassium Bromide (KBr) is the standard choice because it is transparent to infrared radiation across the typical mid-IR range (4000-400 cm⁻¹). It acts as a clear window, allowing the spectrometer's IR beam to pass through and interact specifically with your sample molecules.
By embedding the sample in a KBr matrix, you effectively dilute it, ensuring that the resulting spectral peaks are not oversaturated and fall within a measurable range.
Turning a Powder into a "Glass"
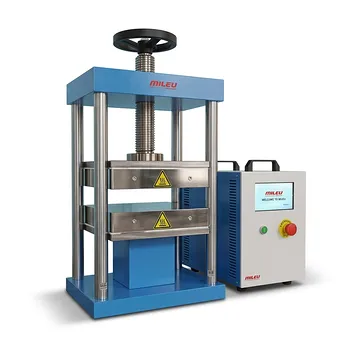
A hydraulic press provides the immense force required to fuse the fine particles of KBr and the sample together. Under tons of pressure, the soft KBr powder cold-flows and compacts into a solid, glass-like disc with flat, parallel surfaces. This physical state minimizes light scattering and provides a consistent path length for the IR beam.
Step-by-Step Pellet Preparation
Achieving a high-quality spectrum requires careful attention to each step of the preparation process.
Step 1: Mixing the Sample and KBr
The first step is to accurately weigh your sample and dry KBr powder. The typical concentration is 0.2% to 1% sample by weight in KBr. This ratio is critical for obtaining peaks of appropriate intensity.
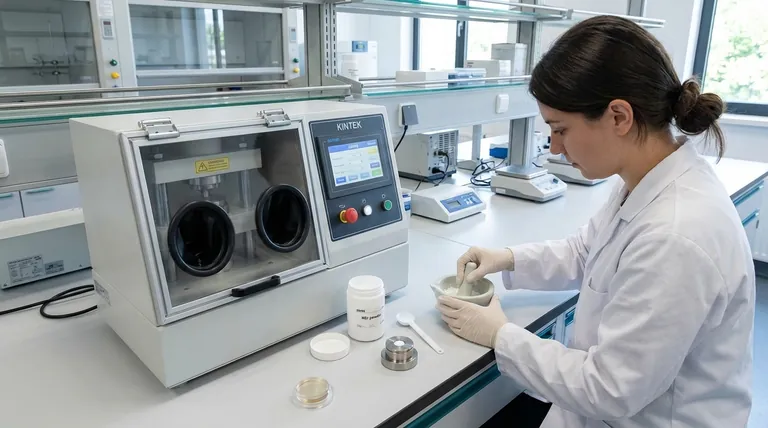
Step 2: Grinding to a Fine Powder
Combine the sample and KBr in an agate mortar and pestle. Grind the mixture thoroughly until it becomes a homogenous, fine powder with a consistent, flour-like texture. This step is vital for ensuring the sample is evenly distributed and for reducing the particle size.
Step 3: Loading the Pellet Die
Carefully transfer a small amount of the powder mixture into the clean, dry cylinder of a pellet die. Distribute the powder evenly across the surface of the bottom anvil to ensure a uniform pellet thickness.
Step 4: Applying Pressure with the Hydraulic Press
Place the loaded die into the hydraulic press. To remove trapped air and moisture that can cause cloudiness, it is best practice to apply a vacuum to the die before and during compression.
Apply pressure slowly, typically reaching a load of around 8 tons. Hold this pressure for a minute or two to allow the KBr to fully compact and fuse. Releasing the pressure and carefully disassembling the die will reveal the finished translucent pellet.
Understanding the Common Pitfalls
The quality of a KBr pellet is immediately visible. A good pellet is thin and translucent, whereas a poor one is opaque, cloudy, or cracked. These physical flaws directly correlate with spectral problems.
The Problem of Moisture
KBr is hygroscopic, meaning it readily absorbs water from the atmosphere. Water has strong, broad absorption bands in the IR spectrum that can easily obscure your sample's peaks. Always use spectroscopy-grade KBr and keep all equipment (mortar, pestle, die) perfectly dry, often by storing it in an oven.
Inconsistent Grinding and Scattering
If the sample particles are too large (larger than the wavelength of the IR light), they will scatter the light instead of absorbing it. This phenomenon, known as the Christiansen effect, results in a distorted, sloping baseline and can make weak peaks impossible to identify. Thorough grinding is the only solution.
Incorrect Sample Concentration
Too little sample will result in a spectrum with a weak signal and low-intensity peaks that are difficult to distinguish from noise. Too much sample can cause total absorption, where the peaks are flat-topped and "maxed out," making quantitative analysis impossible.
Pellet Quality: Cloudy vs. Clear
A cloudy or opaque pellet is a sign of insufficient pressure, trapped air, or moisture. This cloudiness causes significant light scattering, reducing the energy throughput to the detector and leading to a noisy, low-quality spectrum. A clear pellet allows the maximum amount of light to pass through, yielding a clean spectrum.
Making the Right Choice for Your Goal
The level of rigor you apply to pellet preparation should match your analytical objective. Use these guidelines to focus your efforts.
- If your primary focus is quantitative analysis: Your highest priority is a precise sample-to-KBr ratio and a consistent pellet thickness to ensure reproducible path length and absorbance values.
- If your primary focus is qualitative identification: Your main goal is achieving a clear, transparent pellet with minimal water contamination to obtain a clean spectrum with sharp, well-defined peaks.
- If you are struggling with sloping baselines: Focus on grinding your sample mixture more thoroughly and for a longer duration to reduce particle size and minimize light scattering.
Mastering KBr pellet preparation is a fundamental skill that elevates your hydraulic press from a simple tool into a gateway for precise molecular analysis.
Summary Table:
| Step | Key Action | Purpose |
|---|---|---|
| 1 | Mix sample with KBr (0.2-1% sample) | Dilute sample in IR-transparent matrix for measurable peaks |
| 2 | Grind mixture to fine powder | Ensure homogeneity and reduce particle size to minimize scattering |
| 3 | Load powder into pellet die | Create uniform thickness for consistent path length |
| 4 | Apply pressure (e.g., 8 tons) with hydraulic press | Fuse powder into solid, translucent disc for optimal IR transmission |
| 5 | Hold pressure and release | Compact KBr fully, avoid cloudiness from air or moisture |
Upgrade your FTIR analysis with KINTEK's reliable lab press machines! Whether you're conducting qualitative identification or quantitative analysis, our automatic lab presses, isostatic presses, and heated lab presses ensure precise pressure control for clear, reproducible KBr pellets. Say goodbye to cloudy samples and inconsistent results—contact us today to discover how our equipment can enhance your laboratory's efficiency and accuracy in molecular analysis.
Visual Guide
Related Products
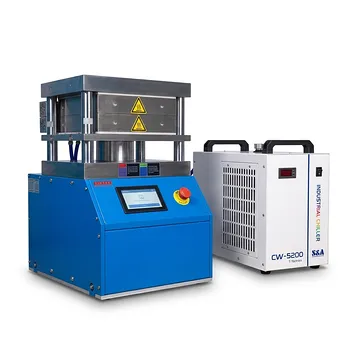
- Automatic High Temperature Heated Hydraulic Press Machine with Heated Plates for Lab
- Manual Heated Hydraulic Lab Press with Integrated Hot Plates Hydraulic Press Machine
- Heated Hydraulic Press Machine with Heated Plates for Vacuum Box Laboratory Hot Press
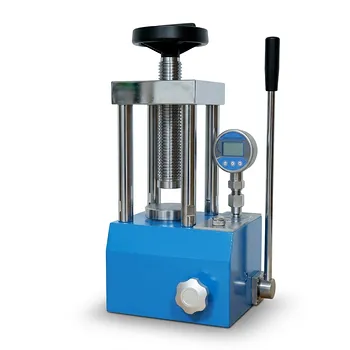
- Laboratory Hydraulic Press 2T Lab Pellet Press for KBR FTIR
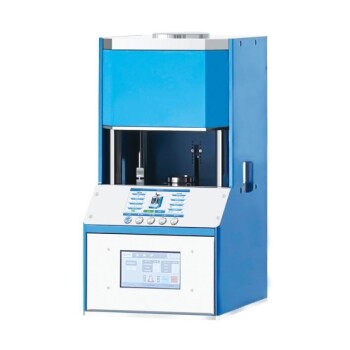
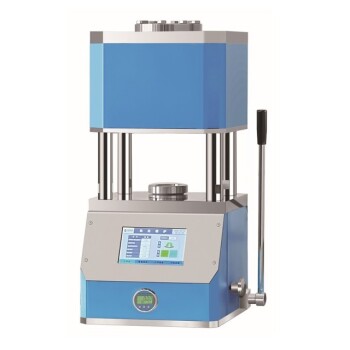
- Laboratory Hydraulic Press Lab Pellet Press Machine for Glove Box
People Also Ask
- What role does a heated hydraulic press play in material testing and research? Essential Insights for Lab Innovation
- How is the temperature of the hot plate controlled in a hydraulic lab press? Achieve Thermal Precision (20°C-200°C)
- What are the advantages of adding a heating element to a hydraulic press? Unlock Advanced Material Synthesis
- What are the industrial applications of heated hydraulic presses? Master Heat & Force for Precision Manufacturing
- How does a heated laboratory hydraulic press function in simulating TM coupling? Advanced Nuclear Waste Research