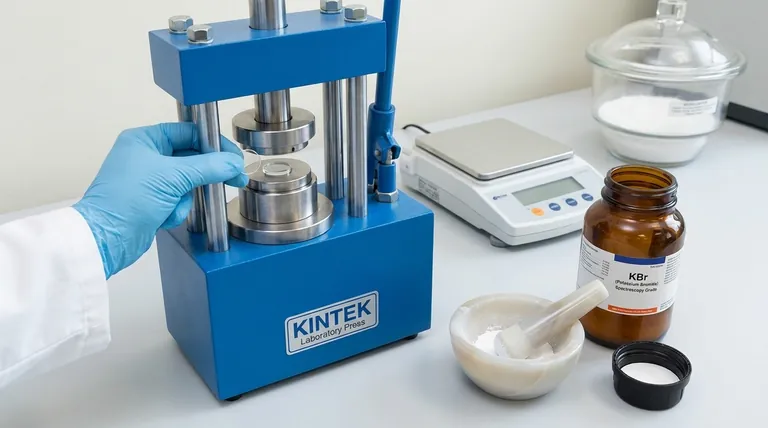
In short, preparing a KBr pellet is a core technique in infrared (IR) spectroscopy for analyzing solid samples. It involves mixing a small amount of your sample (1-2 mg) with spectroscopy-grade potassium bromide (KBr) powder (100-200 mg), grinding the two together into an ultra-fine powder, and then compressing this mixture in a die under immense pressure (8-10 tons) to form a thin, transparent disc. This disc is then placed directly into the IR spectrometer for analysis.
The ultimate goal is not just to form a pellet, but to create a perfectly transparent, solid matrix where your sample is so finely dispersed that it doesn't scatter the infrared beam. This meticulous preparation is the key to obtaining a clean, sharp, and accurate spectrum that reveals the true molecular structure of your sample.
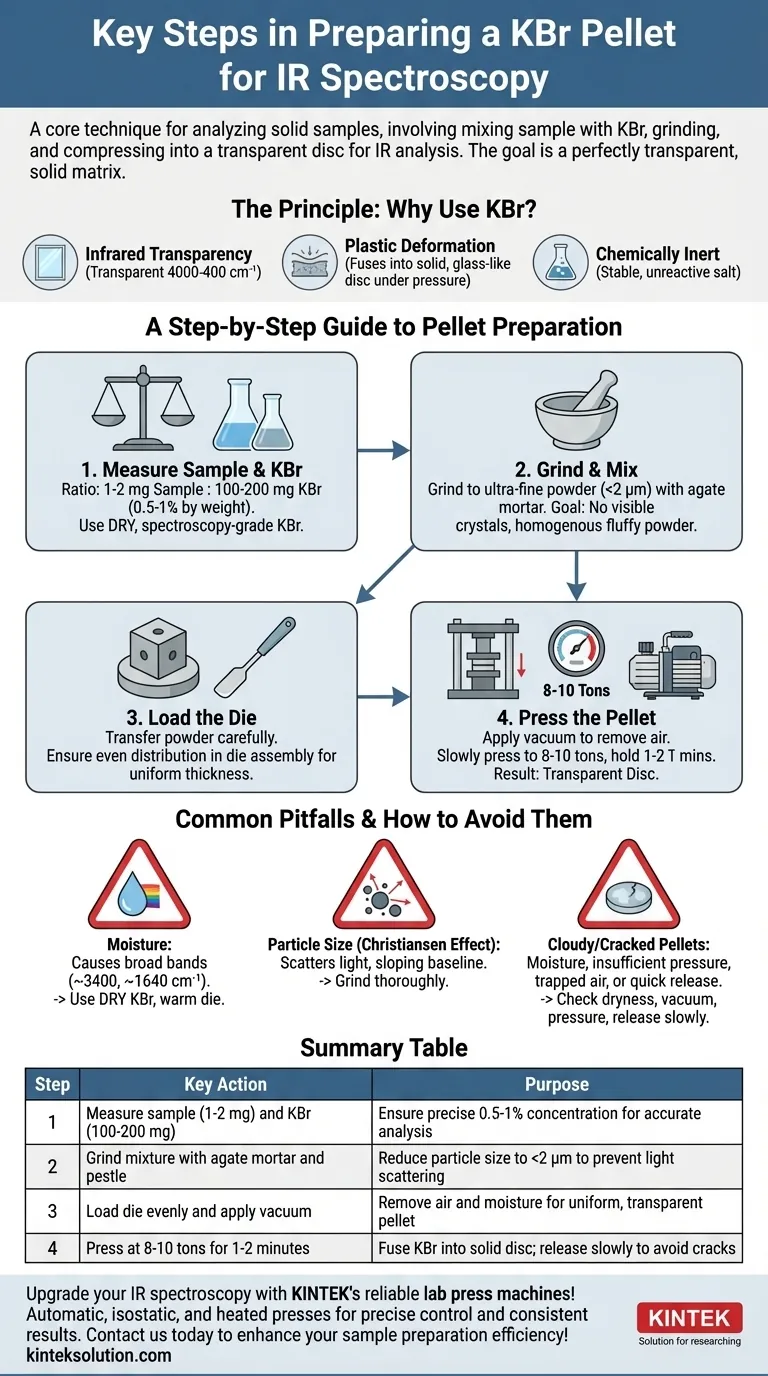
The Principle: Why Use KBr?
To understand the preparation steps, you must first understand why potassium bromide is the material of choice. Its unique properties make it an ideal medium for solid-state IR analysis.
Infrared Transparency
Potassium bromide is transparent to infrared radiation across the most useful part of the mid-IR spectrum (typically 4000 to 400 cm⁻¹). This means it acts like a clear window, allowing the spectrometer's light beam to pass through and interact solely with your sample, not the matrix material itself.
Plastic Deformation
Under high pressure, the crystalline structure of KBr deforms and flows. This property, known as plasticity, allows the fine powder to fuse into a solid, glass-like, transparent disc. The sample particles become trapped and suspended within this inert, transparent matrix.
Chemically Inert
KBr is a stable, unreactive salt. It will not react with the vast majority of organic and inorganic samples, ensuring that the spectrum you record is of your original compound, not some unintended reaction product.
A Step-by-Step Guide to Pellet Preparation
Achieving a high-quality spectrum depends entirely on the quality of the pellet. Each step is designed to minimize optical errors and maximize spectral clarity.
Step 1: Measure the Sample and KBr
The ratio is critical. The standard is a sample concentration of 0.5% to 1% by weight, which typically means 1-2 mg of sample mixed with 100-200 mg of KBr.
Use only spectroscopy-grade KBr that has been kept scrupulously dry, often by storing it in a desiccator or a drying oven.
Step 2: Grind and Mix
The goal is to reduce the sample's particle size to be smaller than the wavelength of the IR light being used (less than ~2 µm). This prevents light from scattering, which would otherwise produce a distorted, sloping baseline.
Use an agate mortar and pestle to grind the sample and KBr together. Grind with firm, consistent pressure until the mixture becomes a fluffy, homogenous, and fine powder.
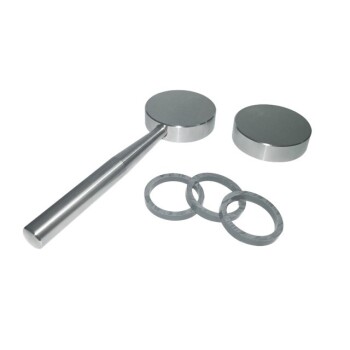
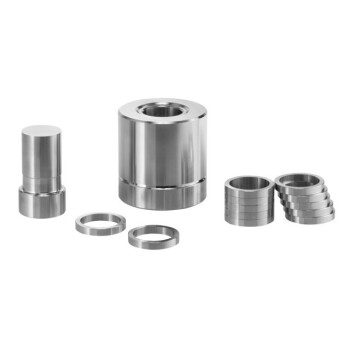
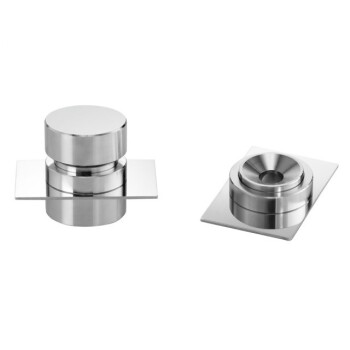
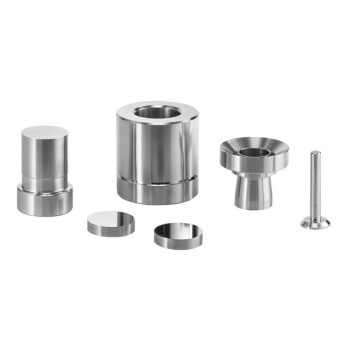
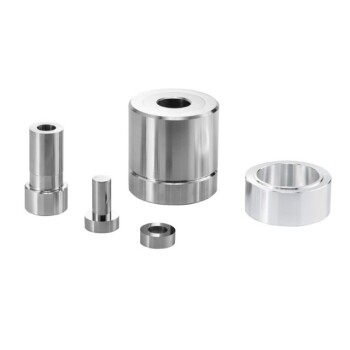
Step 3: Load the Die
Carefully transfer the powder mixture into the pellet die assembly. Ensure the powder is distributed evenly across the surface of the lower anvil (the bottom face of the die) to produce a pellet of uniform thickness.
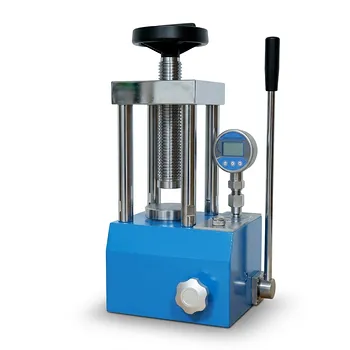
Step 4: Press the Pellet
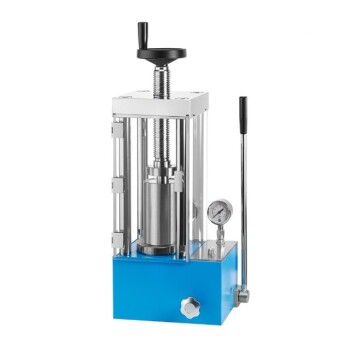
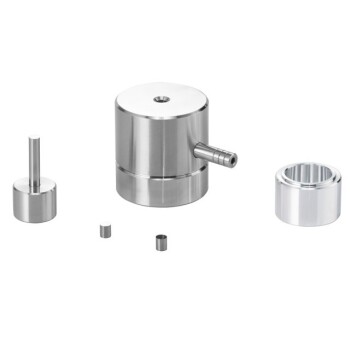
Place the loaded die into a hydraulic press. For most dies, applying a vacuum for a few minutes before pressing is recommended to remove trapped air and residual moisture.
Slowly apply pressure up to 8-10 tons and hold for 1-2 minutes. This pressure causes the KBr to flow and fuse, creating the solid disc. Release the pressure slowly to avoid cracking the pellet. The result should be a perfectly clear, transparent disc.
Common Pitfalls and How to Avoid Them
The difference between an expert and a novice is often the ability to troubleshoot a poor result. Most issues in KBr pellet preparation trace back to a few key culprits.
The Primary Enemy: Moisture
Water has two very strong, broad IR absorption bands (~3400 cm⁻¹ and ~1640 cm⁻¹) that can easily obscure important features in your sample's spectrum.
Always use dry KBr. If in doubt, dry it in an oven before use. Gently warming the die set before adding powder can also help drive off any surface moisture.
The Problem of Particle Size
If your sample particles are too large, they will scatter the IR beam instead of absorbing it. This phenomenon, known as the Christiansen effect, results in distorted peak shapes and a sloping baseline that rises toward higher wavenumbers.
The fix is simple: grind more thoroughly. The mixture should be an impalpable powder with no visible crystals.
Cloudy or Cracked Pellets
A cloudy pellet is often a sign of moisture, insufficient pressure, or trapped air. Ensure your KBr is dry, your die is under vacuum, and you are applying sufficient force.
Cracked pellets are usually caused by releasing the pressure too quickly. Always vent the hydraulic press slowly and smoothly.
Applying This to Your Goal
The KBr pellet technique is a versatile standard, but your specific goal may influence your focus during preparation.
- If your primary focus is qualitative identification: A visually clear pellet that gives a clean, recognizable "fingerprint" spectrum is your main objective. Focus on thorough grinding and keeping everything dry.
- If your primary focus is quantitative analysis: Absolute precision in the sample-to-KBr mass ratio is paramount. Use an analytical balance and be meticulous with your measurements to ensure reproducibility.
- If you are troubleshooting a poor spectrum: Look for the tell-tale signs. A sloping baseline points to poor grinding, while broad, ugly peaks around 3400 and 1640 cm⁻¹ are the unmistakable signature of water contamination.
Mastering this technique transforms a simple powder into a perfect window, revealing the precise molecular identity of your sample.
Summary Table:
| Step | Key Action | Purpose |
|---|---|---|
| 1 | Measure sample (1-2 mg) and KBr (100-200 mg) | Ensure precise 0.5-1% concentration for accurate analysis |
| 2 | Grind mixture with agate mortar and pestle | Reduce particle size to <2 µm to prevent light scattering |
| 3 | Load die evenly and apply vacuum | Remove air and moisture for uniform, transparent pellet |
| 4 | Press at 8-10 tons for 1-2 minutes | Fuse KBr into solid disc; release slowly to avoid cracks |
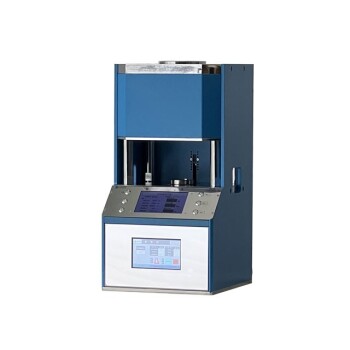
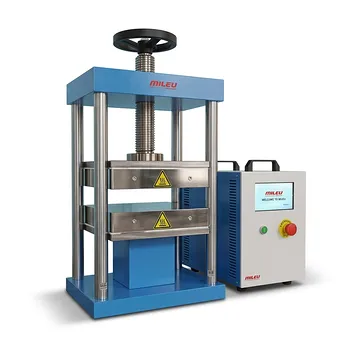
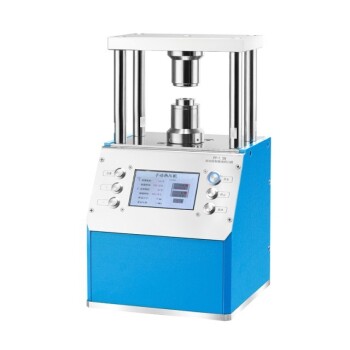
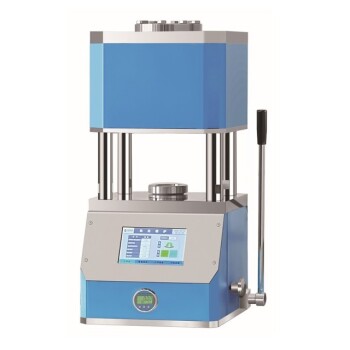
Upgrade your IR spectroscopy with KINTEK's reliable lab press machines! Whether you're preparing KBr pellets for qualitative or quantitative analysis, our automatic lab presses, isostatic presses, and heated lab presses ensure precise pressure control and consistent results. Serving laboratories worldwide, we help you achieve clear spectra and accurate molecular insights. Contact us today to find the perfect press for your needs and enhance your sample preparation efficiency!
Visual Guide
Related Products
- Laboratory Hydraulic Press 2T Lab Pellet Press for KBR FTIR
- XRF KBR Plastic Ring Lab Powder Pellet Pressing Mold for FTIR
- Laboratory Hydraulic Pellet Press for XRF KBR FTIR Lab Press
- XRF KBR Steel Ring Lab Powder Pellet Pressing Mold for FTIR
- Automatic Laboratory Hydraulic Press for XRF and KBR Pellet Pressing
People Also Ask
- How does the application of a laboratory hydraulic press improve the performance of Tungsten Trioxide (WO3) electrodes? - Pro Tips
- Why is uniform encapsulation pressure necessary for lithium-metal battery assembly? Achieve Flawless In-Situ Results
- Why is a laboratory hydraulic press necessary for sample preparation? Precise Pelleting for Spiro Heterocyclic Analysis
- Why is a laboratory hydraulic press used to compact monazite samples before the roasting treatment? Optimize Reactions
- What role does a laboratory hydraulic press play in reaction pellets? Optimizing Lunar Soil and Metal Fuel Density