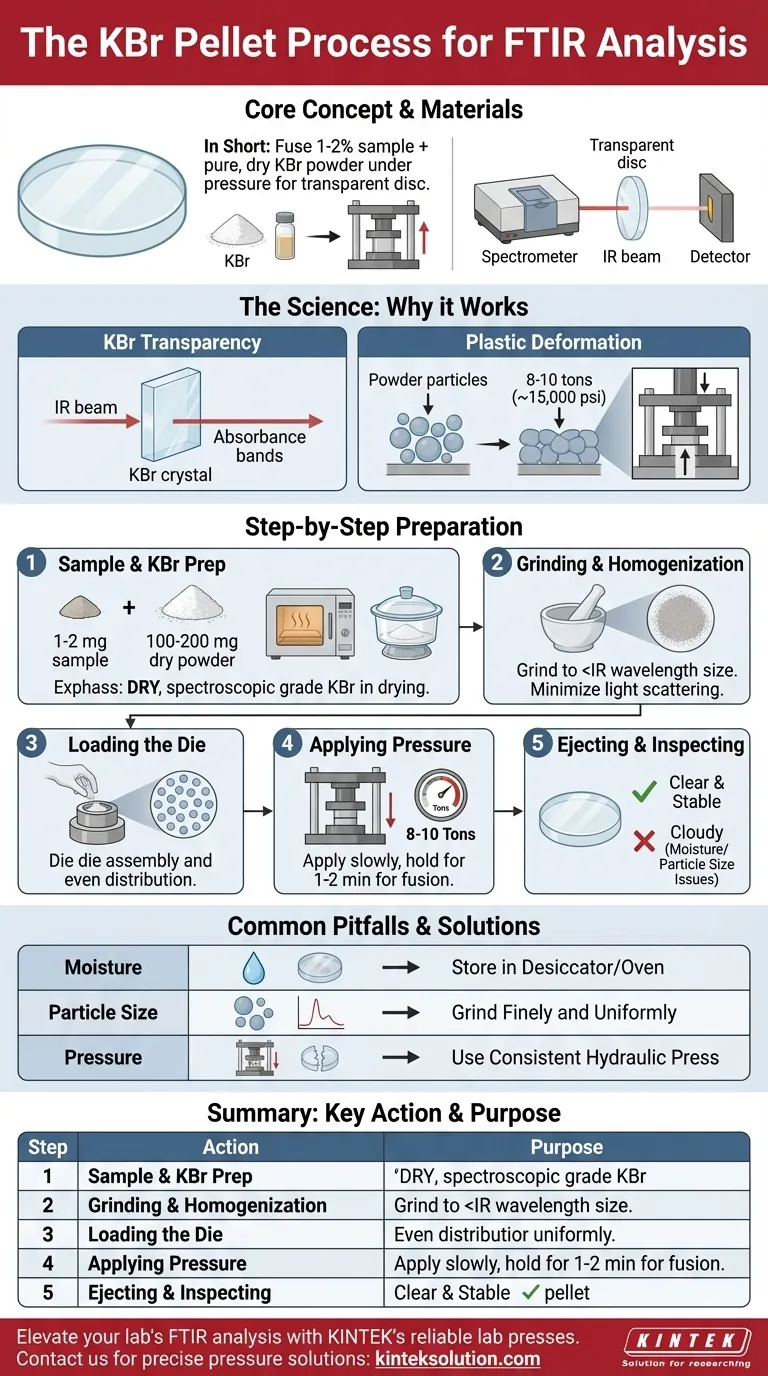
In short, making a KBr pellet involves mixing a tiny amount of your solid sample with pure, dry potassium bromide (KBr) powder. This mixture is then placed into a die and compressed under immense pressure, typically using a hydraulic press, which fuses the KBr into a transparent, glass-like disc that can be analyzed directly in an FTIR spectrometer.
The core challenge of this technique is not the mechanical process, but the materials science. Your goal is to transform opaque KBr powder into a perfectly transparent window by eliminating moisture and ensuring your sample is ground into infinitesimally small, evenly distributed particles.

The Principle: Why KBr Pellets Work
The Unique Property of KBr
Potassium bromide (KBr) is an alkali halide salt that is transparent to infrared radiation, meaning it doesn't have absorbance bands that would interfere with your sample's spectrum.
Plastic Deformation Under Pressure
More importantly, when subjected to high pressure (several tons per square inch), KBr powder undergoes plastic deformation. The individual salt crystals fuse together, eliminating air gaps and forming a solid, transparent matrix.
Creating a Window for Analysis
By dispersing your sample within this KBr matrix, you effectively suspend it in a solid medium that is "invisible" to the IR beam. This allows the spectrometer's light to pass through and interact solely with your sample molecules, generating a clean and accurate spectrum.
The Step-by-Step KBr Pellet Preparation Process
Step 1: Sample and KBr Preparation
The correct ratio is critical. You should use 1-2% of your sample by weight relative to the KBr. A common measurement is 1-2 mg of sample mixed with 100-200 mg of KBr.
The KBr powder must be spectroscopic grade and perfectly dry. Even trace amounts of moisture will result in a cloudy, unusable pellet.
Step 2: Grinding and Homogenization
This is the most crucial step for a quality spectrum. The sample and KBr must be ground together, typically with an agate mortar and pestle, until the mixture is a completely uniform, fine powder.
The goal is to reduce the sample's particle size to be smaller than the wavelength of the IR light. This minimizes light scattering (the Christiansen effect), which would otherwise cause a distorted baseline and poor-quality data.
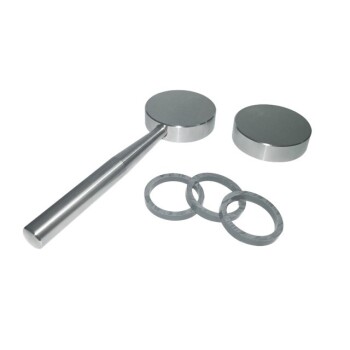
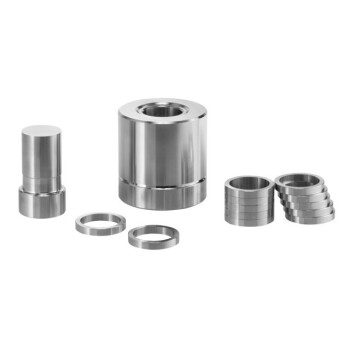
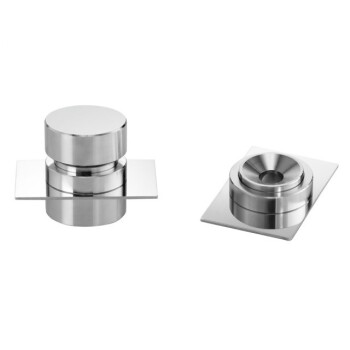
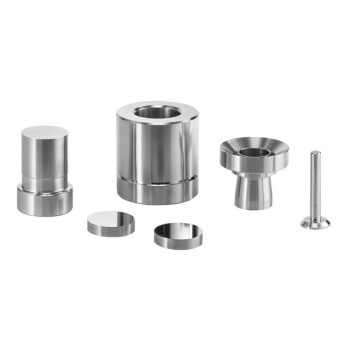
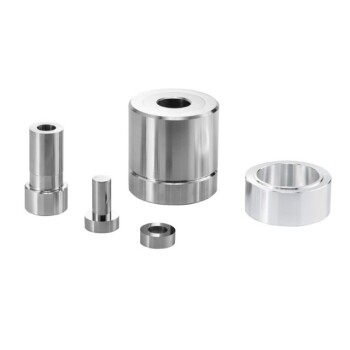
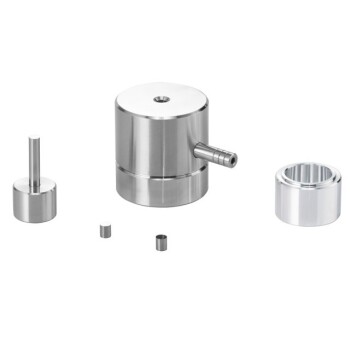
Step 3: Loading the Die
Carefully pour the powdered mixture into the pellet die assembly. Ensure the powder is distributed evenly on the die's anvil surface to produce a pellet serviços of uniform thickness.
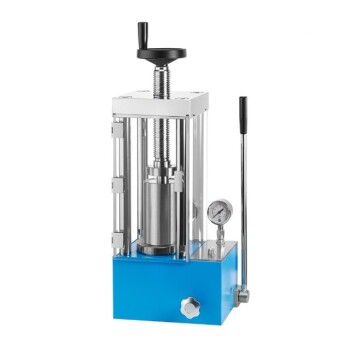
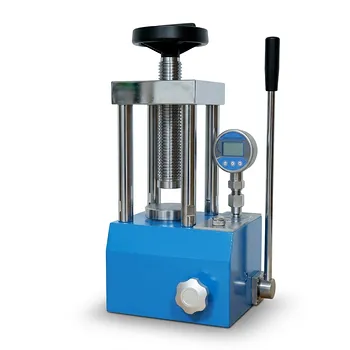
Step 4: Applying Pressure
Place the loaded die into a hydraulic press. Apply pressure slowly and steadily, typically in the range of 8 to 10 tons (or ~15,000 psi), and hold for a minute or two. This high, even pressure is what causes the KBr to fuse.
Step 5: Ejecting and Inspecting the Pellet
Carefully release the pressure and eject the finished pellet from the die. A high-quality pellet will be thin, completely transparent or translucent, and mechanically stable.
Understanding the Trade-offs and Pitfalls
The Primary Enemy: Moisture
Moisture is the most common cause of failure. It causes pellets to appear cloudy or opaque, blocking the IR beam. Water also has strong IR absorbance bands that can obscure important regions of your sample's spectrum.
To combat this, always store KBr powder in a desiccator or a drying oven. You can also gently heat the die set before use to drive off any residual surface moisture.
The Impact of Particle Size
If your pellet is translucent but your spectrum has a sloping baseline and broad, distorted peaks, your sample particles are too large. You must spend more time grinding the mixture to achieve a finer, more uniform dispersion.
The Nuances of Pressure
Consistent pressure is key for creating reproducible results.
- Too little pressure: The pellet will be opaque, brittle, and will easily crumble.
- Too much pressure: You risk damaging the press or the die set. While less common, excessive pressure can sometimes induce changes in a sample's crystalline structure.
Manual vs. Hydraulic Presses
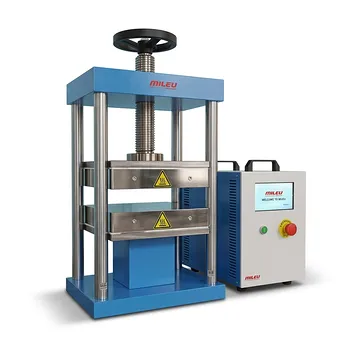
Manual presses are simple and cost-effective but make it difficult to apply consistent pressure, leading to variable pellet quality. Hydraulic presses are the standard because they deliver the high, measurable, and repeatable force needed for high-quality, transparent pellets.
Making the Right Choice for Your Analysis
- If your primary focus is the highest-quality quantitative data: Be meticulous. Dry your KBr in an oven, use a hydraulic press with a pressure gauge, and spend several minutes grinding the sample to an ultra-fine powder.
- If your primary focus is fast, qualitative screening: You can work more quickly, but understand that cloudy pellets or sloping baselines are a direct result of moisture or insufficient grinding.
- If your primary focus is on a moisture-sensitive sample: The KBr pellet technique may be unsuitable. Consider an alternative method like Attenuated Total Reflectance (ATR) which requires minimal sample preparation.
By mastering these fundamental principles, you can reliably produce high-quality KBr pellets for clear and accurate spectroscopic analysis.
Summary Table:
| Step | Key Action | Purpose |
|---|---|---|
| 1 | Mix sample (1-2%) with dry KBr | Ensure proper ratio and moisture-free base |
| 2 | Grind mixture finely | Minimize particle size for transparency |
| 3 | Load into die evenly | Create uniform pellet thickness |
| 4 | Apply 8-10 tons pressure | Fuse KBr into solid, transparent matrix |
| 5 | Eject and inspect pellet | Verify clarity and stability for analysis |
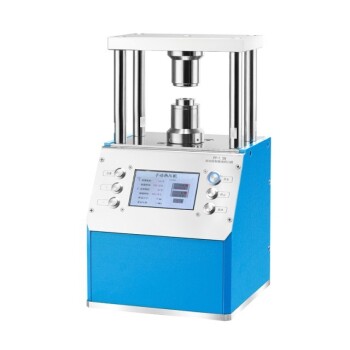
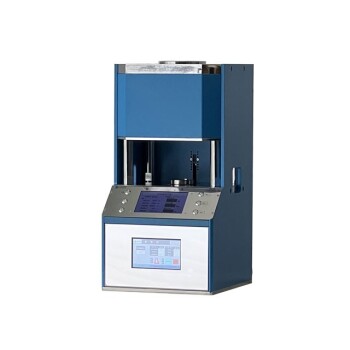
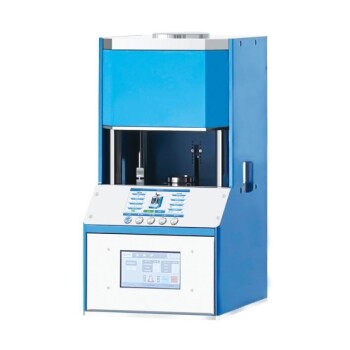
Ready to enhance your lab's FTIR analysis with reliable KBr pellets? KINTEK specializes in lab press machines, including automatic lab presses, isostatic presses, and heated lab presses, designed to deliver precise pressure for consistent, high-quality pellet preparation. Our equipment helps laboratories achieve accurate spectroscopic results by eliminating moisture issues and ensuring uniform compression. Contact us today to discuss how our solutions can streamline your sample preparation and boost your research efficiency!
Visual Guide
Related Products
- Laboratory Hydraulic Press 2T Lab Pellet Press for KBR FTIR
- XRF KBR Plastic Ring Lab Powder Pellet Pressing Mold for FTIR
- XRF KBR Steel Ring Lab Powder Pellet Pressing Mold for FTIR
- Laboratory Hydraulic Pellet Press for XRF KBR FTIR Lab Press
- Automatic Laboratory Hydraulic Press for XRF and KBR Pellet Pressing
People Also Ask
- What is the role of a laboratory pressure machine and KBr in FTIR? Master Sample Preparation for Flame Retardants
- Why is a laboratory hydraulic press necessary when preparing powder catalyst samples for SECM? Ensure Research Precision
- What is the role of a laboratory hydraulic press in high-loading NCM811 cathode prep for solid-state batteries?
- Why is a laboratory hydraulic press used to compact monazite samples before the roasting treatment? Optimize Reactions
- What role does a laboratory hydraulic press play in molding polymer composites? Ensure Specimen Integrity & Precision