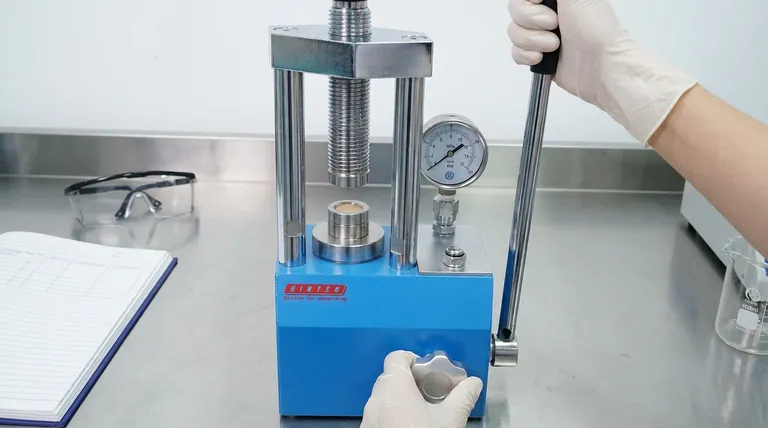
Operating a manual hydraulic press is a straightforward process centered on safety and control. The core procedure involves positioning your workpiece, closing the release valve to seal the hydraulic system, pumping a handle to gradually build pressure and apply force, and then slowly opening the valve to release that pressure in a controlled manner.
Effective operation is not just a sequence of steps, but an understanding of how you are manually controlling immense force. Success comes from precise workpiece placement, gradual pressure application while monitoring the gauge, and a controlled, safe release.
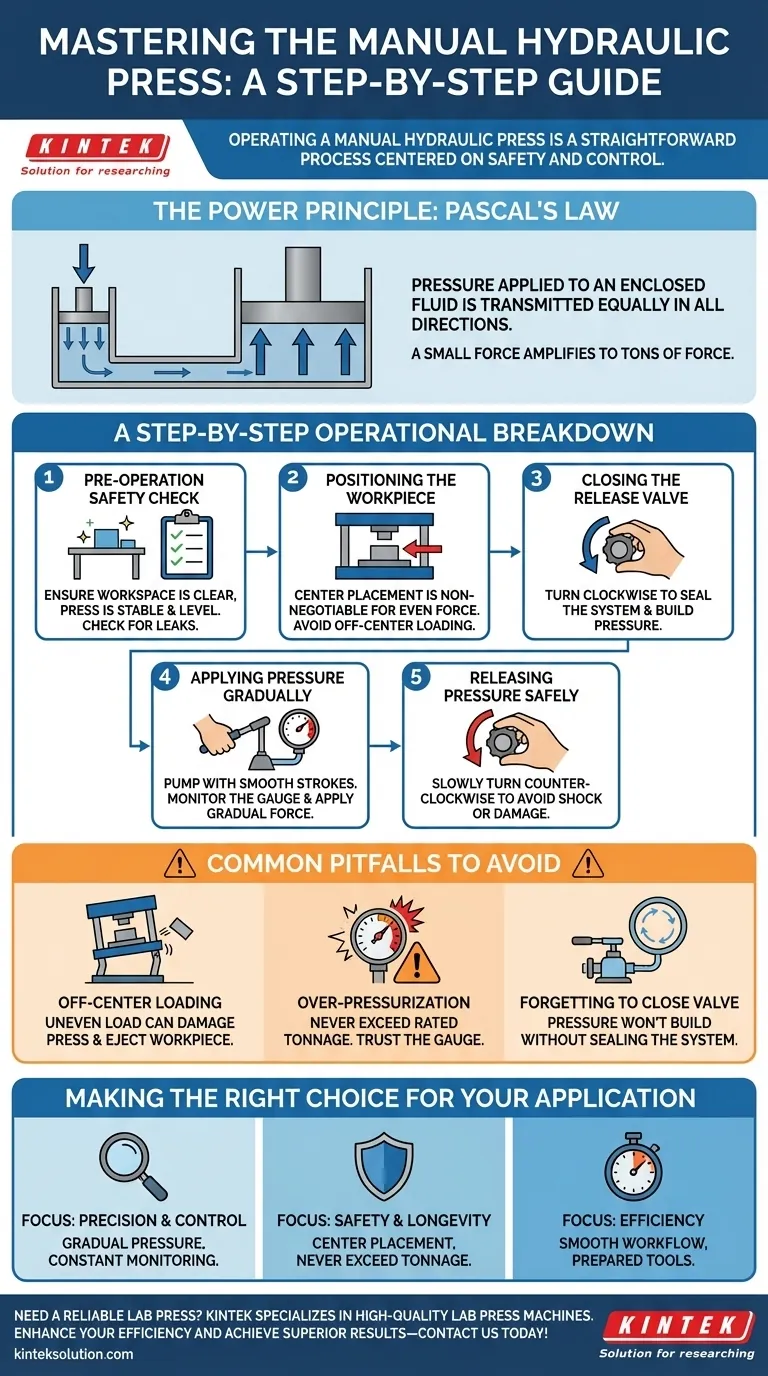
The Principle Behind the Power: Pascal's Law
A manual hydraulic press may seem simple, but it operates on a powerful principle of fluid dynamics that allows you to generate tons of force by hand.
What is Pascal's Law?
This fundamental principle of physics, as described by Blaise Pascal, states that pressure applied to an enclosed fluid is transmitted equally in all directions throughout the fluid.
How a Press Amplifies Force
Your press uses two pistons of different sizes connected by a hydraulic fluid (oil). When you pump the handle, you apply a small force to a small piston. This creates pressure in the oil.
Because that pressure is transmitted equally throughout the fluid, it pushes on a much larger piston. This amplifies the initial force significantly, allowing a person to generate forces as great as 25 tons or more with minimal effort.
A Step-by-Step Operational Breakdown
Following a precise sequence is critical for both safety and achieving the desired result. Each step serves a specific purpose in controlling the machine's power.
Step 1: Pre-Operation Safety Check
Before you begin, ensure your workspace is clean and free of obstructions. Verify the press is on a stable, level surface. A quick visual inspection for any hydraulic fluid leaks is also a good practice.
Step 2: Positioning the Workpiece
Place your material or die set directly on the center of the press bed or piston. Central placement is non-negotiable; it ensures the force is applied evenly and prevents dangerous side-loading on the press components.
Some presses have a leadscrew you can turn to lower the ram and make light contact with the workpiece before applying hydraulic pressure.
Step 3: Closing the Release Valve
Locate the release valve, which is typically a small, hand-turnable knob or lever. Turn it clockwise to close it. This action seals the hydraulic circuit, allowing pressure to build when you begin pumping.
Step 4: Applying Pressure Gradually
Begin pumping the handle with smooth, steady strokes. Watch the pressure gauge closely as you pump. The needle will indicate the amount of force being applied.
Apply pressure gradually until you reach your target force. Avoid sudden, jerky movements.
Step 5: Releasing Pressure Safely
Once your task is complete, you must release the stored energy in the system. Slowly turn the release valve counter-clockwise. You may hear a hissing sound as the fluid returns to the reservoir.
A slow, controlled release is crucial to prevent shock to the system or damage to a delicate workpiece. Never open the valve abruptly.
Common Pitfalls to Avoid
Understanding what can go wrong is as important as knowing the correct procedure. Awareness of these common errors is key to safe and effective operation.
The Risk of Off-Center Loading
Placing a workpiece off-center is the most common and dangerous mistake. This creates an uneven load that can bend the press frame, damage the ram, or cause the workpiece to violently eject from the press.
Over-Pressurization
Every press has a maximum rated tonnage. Never exceed this limit. Continuously pumping after the press has bottomed out or reached its limit can blow hydraulic seals or cause a catastrophic structural failure. Always trust your gauge.
Forgetting to Close the Release Valve
If you are pumping the handle and the pressure gauge isn't moving, the most likely cause is that you forgot to close the release valve. This is a common beginner mistake that simply circulates fluid without building any pressure.
Making the Right Choice for Your Application
Your operational focus will shift slightly depending on the goal of your task.
- If your primary focus is precision and control (e.g., lab work, custom fabrication): Prioritize gradual pressure application and constant, careful monitoring of the force gauge.
- If your primary focus is safety and equipment longevity: Always double-check for central workpiece placement and never exceed the press's rated tonnage.
- If your primary focus is efficiency on simple tasks (e.g., pressing bearings): Ensure a smooth workflow by preparing your tools and properly securing the workpiece before you begin applying force.
By mastering these fundamental principles, you can confidently and safely harness the immense power of a manual hydraulic press for your projects.
Summary Table:
| Step | Key Action | Purpose |
|---|---|---|
| 1 | Pre-Operation Safety Check | Ensure workspace safety and equipment integrity |
| 2 | Positioning the Workpiece | Center placement for even force distribution |
| 3 | Closing the Release Valve | Seal hydraulic system to build pressure |
| 4 | Applying Pressure Gradually | Monitor gauge for controlled force application |
| 5 | Releasing Pressure Safely | Prevent system shock and workpiece damage |
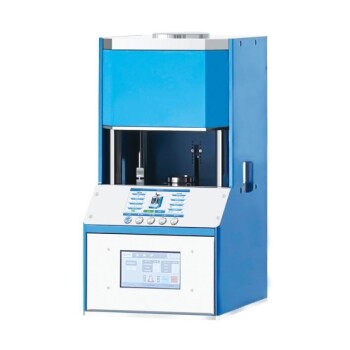
Need a reliable lab press for your operations? KINTEK specializes in high-quality lab press machines, including automatic lab presses, isostatic presses, and heated lab presses, designed to deliver precise control, safety, and durability for your laboratory needs. Enhance your efficiency and achieve superior results—contact us today to discuss how our solutions can benefit your projects!
Visual Guide
Related Products
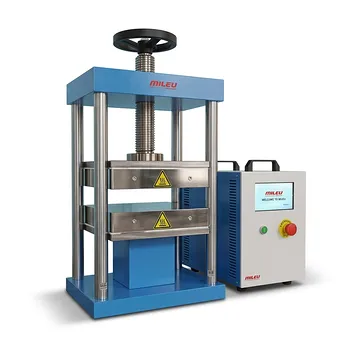
- Manual Heated Hydraulic Lab Press with Integrated Hot Plates Hydraulic Press Machine
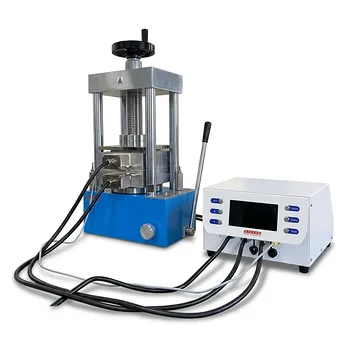
- Manual Laboratory Hydraulic Press Lab Pellet Press
- Laboratory Manual Heated Hydraulic Press Machine with Hot Plates
- Manual Laboratory Hydraulic Pellet Press Lab Hydraulic Press
- Laboratory Split Manual Heated Hydraulic Press Machine with Hot Plates
People Also Ask
- What is the role of a heated lab press in PVDF composite coatings? Enhance Microstructure and Wear Resistance
- What is the function of a laboratory hydraulic press in multilayer piezoelectric nanogenerator assembly? Optimize Efficiency
- What is the role of a heated lab press in the molding process of halide perovskite derivatives? Enhance Material Fusion
- How does high-temperature sintering equipment solve oxide-based solid-state battery challenges? Achieve Peak Density
- Why is a manual hydraulic heated lab press essential for compleximer materials? Unlock Advanced Material Synthesis