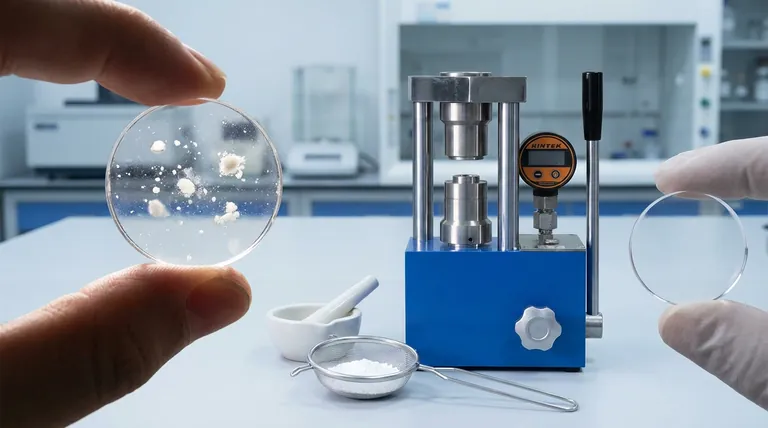
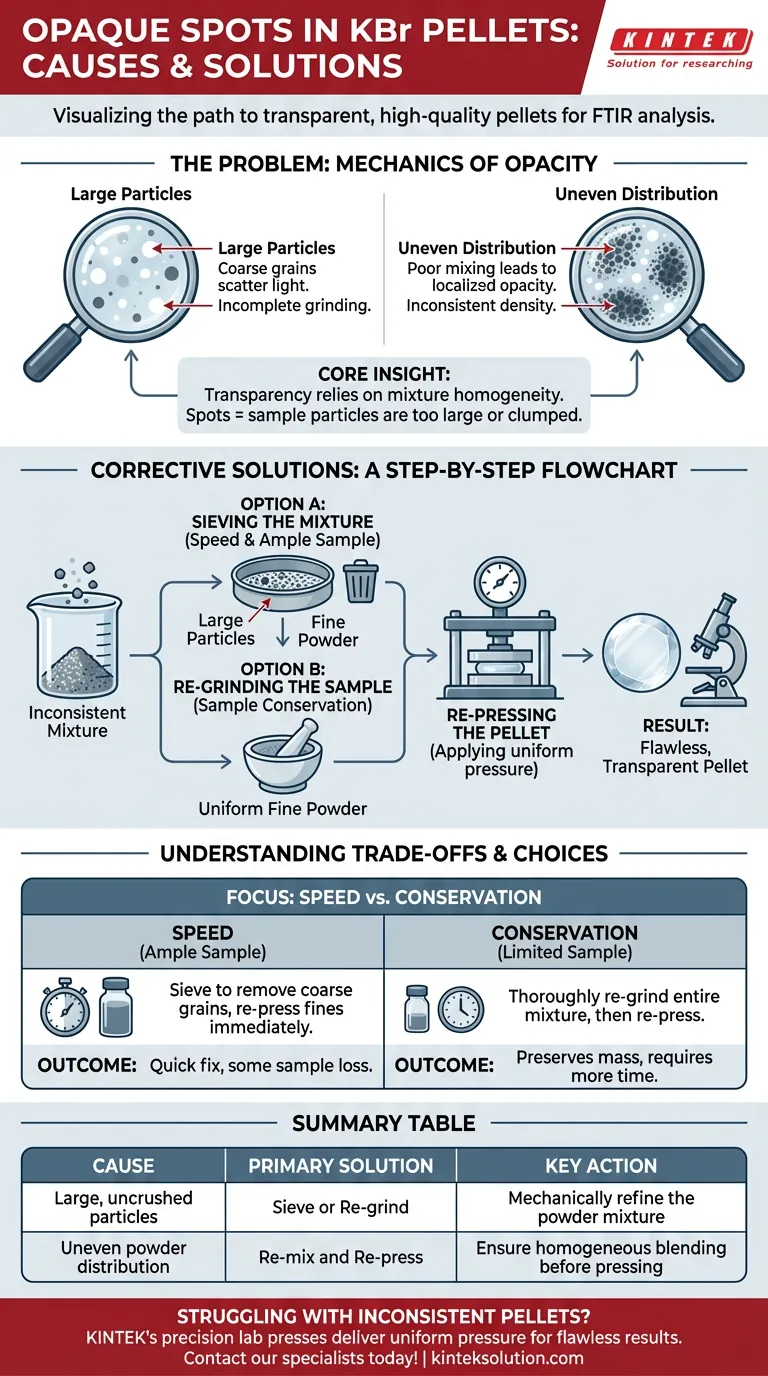
Opaque spots in KBr pellets are almost exclusively caused by physical inconsistencies in your sample mixture, specifically the presence of large, uncrushed particles or an uneven distribution of the powder. To resolve this, you must mechanically refine the mixture to eliminate coarse grains—typically through sieving or re-grinding—and then re-press the pellet to achieve the necessary transparency.
Core Insight: The transparency of a KBr pellet is directly dependent on the homogeneity of the mixture; opaque spots are visual indicators that your sample particles are too large or clumped to allow uniform light transmission.
The Mechanics of Opacity
The Impact of Particle Size
The most common culprit for distinct opaque spots is the presence of large particles within the KBr matrix.
When sample particles are not ground finely enough, they fail to disperse uniformly under pressure. These coarse grains scatter infrared light rather than allowing it to pass through, appearing as visible white or dark spots in the final disk.
Uneven Powder Distribution
Even if individual particles are relatively small, poor mixing can lead to localized opacity.
If the sample and the KBr powder are not blended thoroughly, regions of high sample concentration will form. These clusters act similarly to large particles, creating inconsistent density that blocks optical transmission in specific areas of the pellet.
Corrective Solutions
Sieving the Mixture
The first line of defense is to physically separate the coarse material from the fine powder.
You should sieve the powder mixture before pressing. This process isolates the large grains that are causing the spots, allowing you to use only the finely distributed powder for the pellet.
Re-grinding the Sample
If sieving is insufficient or if the entire mixture is too coarse, you must refine the particle size.
Re-grinding the powder is often necessary to break down the remaining large particles. This ensures that the sample is ground to a consistency that matches the KBr, facilitating a uniform mixture.
Re-pressing the Pellet
Once the physical consistency of the powder has been corrected, you cannot simply fix the existing pellet.
You must re-press the material after re-grinding or sieving. Applying the correct pressure to the now-uniform powder will fuse the material into a clear, homogeneous disk free of opaque defects.
Understanding the Trade-offs
Mechanical Effort vs. Optical Quality
Fixing opaque spots requires a commitment to additional sample preparation steps.
Simply re-pressing a spotted pellet without re-grinding will rarely solve the problem; the large particles will remain embedded. You must trade the time required for proper sieving and grinding to gain the optical clarity necessary for accurate spectroscopic data.
Risk of Sample Loss
While sieving is effective, it inevitably results in the loss of some sample material (the coarse grains).
If your sample quantity is extremely limited, you may need to prioritize careful re-grinding of the entire mixture over sieving to preserve the total mass.
Making the Right Choice for Your Goal
If you are encountering opaque spots, your next step depends on your specific constraints regarding sample quantity and time.
- If your primary focus is speed and you have ample sample: Sieve the powder to quickly remove coarse grains and re-press the remaining fines immediately.
- If your primary focus is sample conservation: Thoroughly re-grind the entire mixture to break down large particles without discarding material, then re-press.
Uniform particle reduction is the only definitive path to a clear, high-quality KBr pellet.
Summary Table:
| Cause of Opaque Spots | Primary Solution | Key Action |
|---|---|---|
| Large, uncrushed particles | Sieve or Re-grind | Mechanically refine the powder mixture |
| Uneven powder distribution | Re-mix and Re-press | Ensure homogeneous blending before pressing |
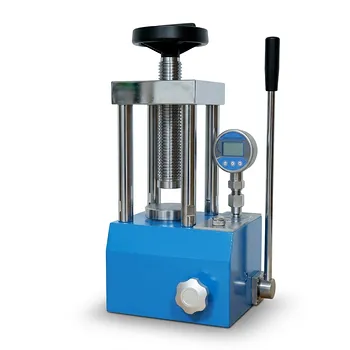
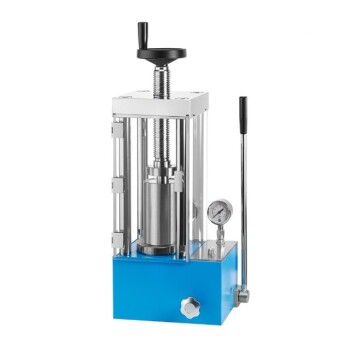
Struggling with inconsistent KBr pellets? KINTEK's precision lab presses are engineered to deliver the uniform pressure essential for creating flawless, transparent pellets. Our automatic lab press and heated lab press models ensure optimal sample preparation for reliable FTIR analysis. Let our expertise in laboratory equipment help you achieve perfect results every time. Contact our specialists today to find the ideal press for your lab's needs!
Visual Guide
Related Products
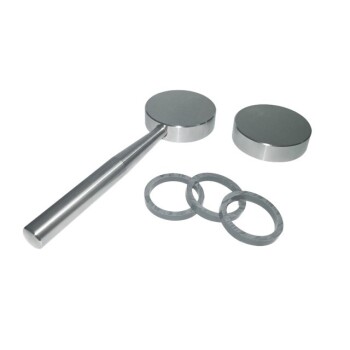
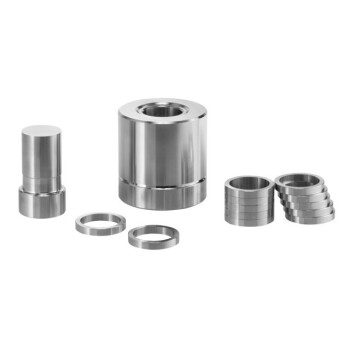
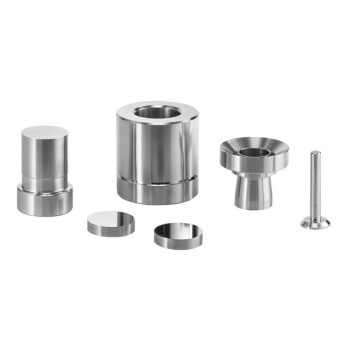
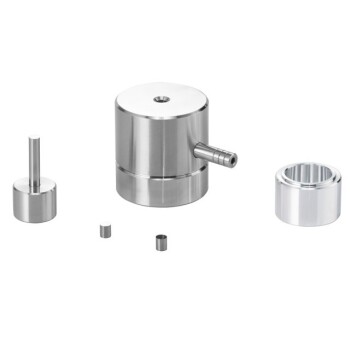
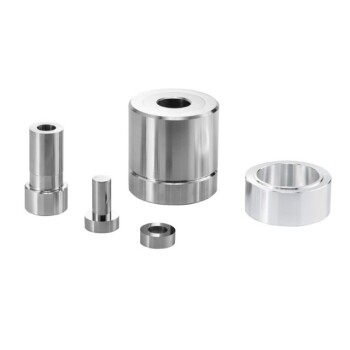
- XRF KBR Plastic Ring Lab Powder Pellet Pressing Mold for FTIR
- Laboratory Hydraulic Press 2T Lab Pellet Press for KBR FTIR
- XRF KBR Steel Ring Lab Powder Pellet Pressing Mold for FTIR
- Automatic Laboratory Hydraulic Press for XRF and KBR Pellet Pressing
- Laboratory Hydraulic Pellet Press for XRF KBR FTIR Lab Press
People Also Ask
- What factors should be considered when choosing a lab press for XRF pellet preparation? Ensure Accurate and Consistent Results
- What should be included in a checklist for making XRF pellets? Ensure Accurate and Repeatable XRF Analysis
- What are the different pellet pressing options for XRF sample preparation? Choose the Best Method for Accurate Analysis
- What are the different types of XRF pellet preparation methods available? Manual, Hydraulic, and Automated Presses Explained
- What are the differences between manual and automatic XRF pellet presses? Choose the Right Press for Your Lab's Needs