Making a high-quality KBr pellet is an exercise in precision, where success hinges on two core principles: absolute dryness and correct sample preparation. To achieve a clear, transparent pellet that yields a clean spectrum, you must meticulously dry your equipment and KBr powder, grind your sample to a fine powder without grinding the KBr, and apply steady, sufficient pressure.
A poor KBr pellet is the most common reason for a failed FTIR analysis. The goal is not just to press a disc, but to create an optically transparent window where your sample is perfectly dispersed, free from the interference of water and scattered light.
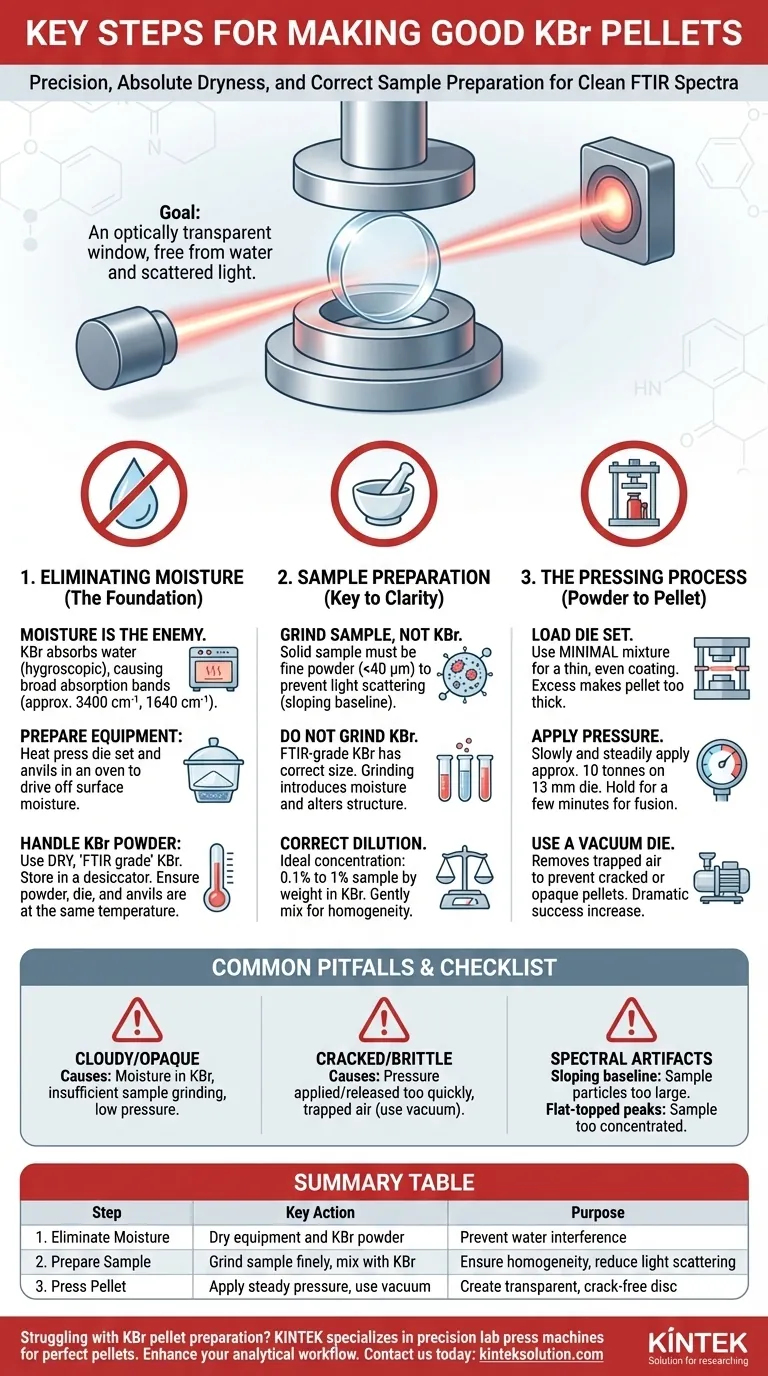
The Foundation: Eliminating Moisture
Moisture is the primary adversary in KBr pellet preparation. Its presence will ruin your results.
Why Moisture is the Enemy
Potassium bromide (KBr) is hygroscopic, meaning it readily absorbs water from the atmosphere. This absorbed water produces a very broad and strong absorption band in the infrared spectrum (around 3400 cm⁻¹) and a weaker one (around 1640 cm⁻¹), which can easily obscure important features of your sample.
Preparing Your Equipment
Before you begin, heat the press die set and its anvils in an oven. This step is not optional. It drives off any adsorbed surface moisture that would otherwise be incorporated into your pellet, making it appear cloudy.
Handling Your KBr Powder
Always use dry, "FTIR grade" KBr powder. Store this powder in a desiccator to keep it isolated from ambient humidity. For best results, ensure the KBr powder, the die set, and the anvils are all at the same temperature before pressing.
Sample Preparation: The Key to Clarity
How you prepare and mix your sample determines the optical quality of the final pellet.
Grinding the Sample, Not the KBr
Your solid sample must be ground into an extremely fine powder, ideally with a particle size of less than 40 µm. This prevents scattering of the IR beam, which appears as a sloping baseline in the spectrum (an artifact known as the Christiansen effect). An agate pestle and mortar is ideal as its hard, non-porous surface minimizes contamination.
Crucially, do not grind the KBr powder. FTIR-grade KBr already has an appropriate particle size. Grinding it introduces moisture and can alter its crystalline structure.
Achieving the Correct Dilution
The ideal concentration is typically around 0.1% to 1% of the sample by weight in KBr. Too much sample will result in absorption bands that are too intense (flat-topped), making quantitative analysis impossible.
Gently mix your finely-ground sample into the KBr powder. The goal is a homogeneous mixture, not to reduce the particle size any further.
The Pressing Process: From Powder to Pellet
This final stage transforms the powder mixture into a solid, transparent disc.
Loading the Die Set
Use a minimal amount of the KBr-sample mixture—just enough to form a thin, even coating on the face of the die's anvil. Excess powder creates a pellet that is too thick, reducing light transmission and weakening your spectral signal.
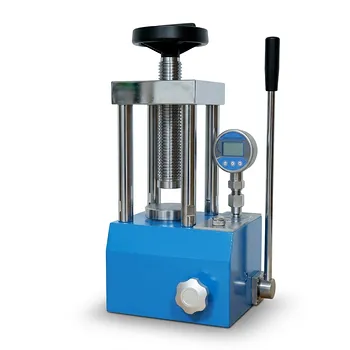
Applying Pressure
Assemble the die set and place it in a hydraulic press. Apply pressure slowly and steadily. A load of approximately 10 tonnes on a 13 mm diameter die is a common and effective target. Hold the pressure for a couple of minutes to allow the KBr particles to fuse.
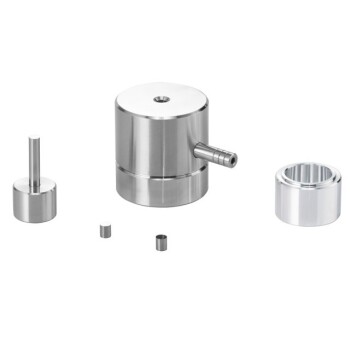
Using a Vacuum Die
If available, use a die set that can be attached to a vacuum line. Pulling a vacuum during the pressing process removes trapped air, which is a major cause of cracked or opaque pellets. This simple step dramatically increases your chances of success.
Common Pitfalls to Avoid
Understanding why pellets fail is as important as knowing the steps to make them.
Cloudy or Opaque Pellets
This is the most common failure. The primary causes are moisture absorbed by the KBr or insufficient grinding of the sample. It can also result from using too little pressure during the pressing stage.
Cracked or Brittle Pellets
A pellet that cracks upon removal from the die was likely subjected to pressure that was applied or released too quickly. It can also be caused by trapped air, a problem that is best solved by using a vacuum die.
The "Binder" Misconception
Some general pellet-making guides mention adding binders like water or polymers. For FTIR analysis, this is incorrect. Never add a binder to a KBr pellet. KBr itself is the matrix, and any added substance will produce its own, unwanted infrared spectrum.
Spectral Artifacts
If your spectrum has a sloping baseline, your sample particles are too large and are scattering the light. If your sample peaks are broad and flat, the sample is too concentrated in the KBr.
A Checklist for a Perfect Pellet
Use this guidance to troubleshoot your process and achieve your analytical goals.
- If your goal is a textbook-quality spectrum: Focus obsessively on keeping every component—the die, the anvils, and the KBr powder—absolutely bone-dry.
- If you are analyzing a hard or crystalline sample: Ensure it is ground to a fine, flour-like powder to minimize light scattering and produce a flat baseline.
- If your peaks are flat-topped and oversaturated: Reduce the sample-to-KBr ratio significantly and create a new pellet.
By treating pellet preparation with this level of precision, you transform it from a frustrating chore into a reliable analytical technique.
Summary Table:
| Step | Key Action | Purpose |
|---|---|---|
| 1. Eliminate Moisture | Dry equipment and KBr powder | Prevent water interference in FTIR spectra |
| 2. Prepare Sample | Grind sample finely, mix with KBr | Ensure homogeneity and reduce light scattering |
| 3. Press Pellet | Apply steady pressure, use vacuum if possible | Create transparent, crack-free disc for analysis |
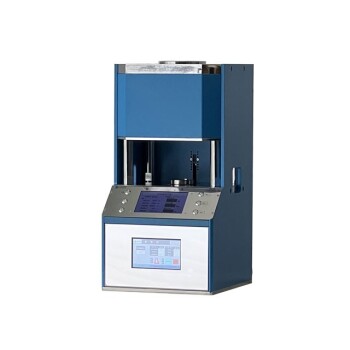
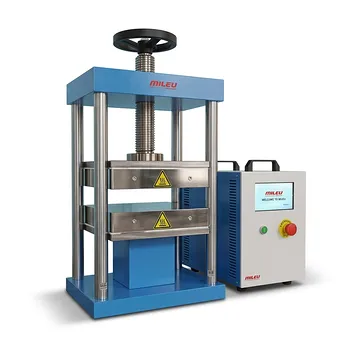
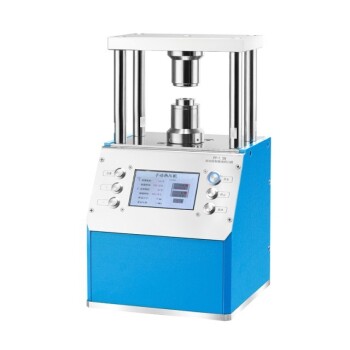
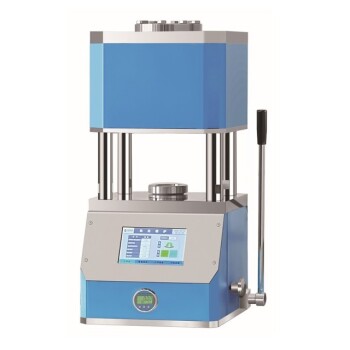
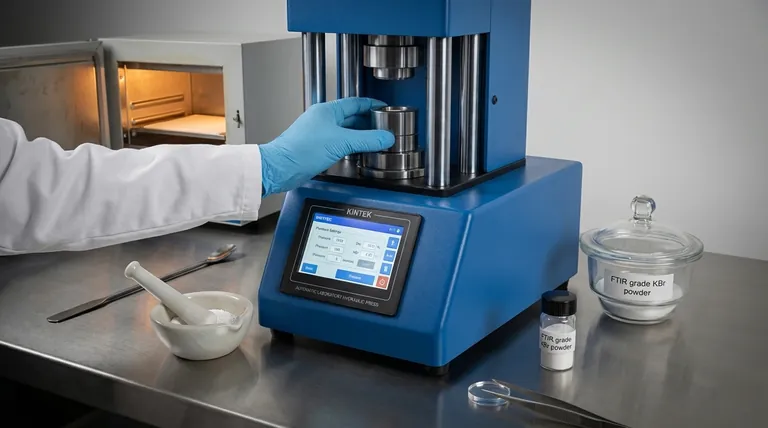
Struggling with KBr pellet preparation for your FTIR analysis? KINTEK specializes in lab press machines, including automatic lab presses, isostatic presses, and heated lab presses, designed to deliver precise pressure and temperature control for perfect pellets every time. Our equipment helps laboratories achieve reliable, high-quality results by minimizing moisture and ensuring uniform samples. Contact us today to learn how KINTEK can enhance your analytical workflow and boost efficiency!
Visual Guide
Related Products
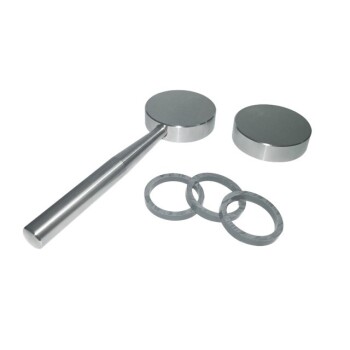
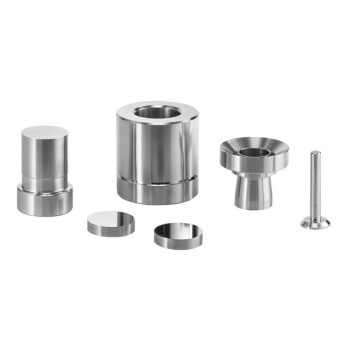
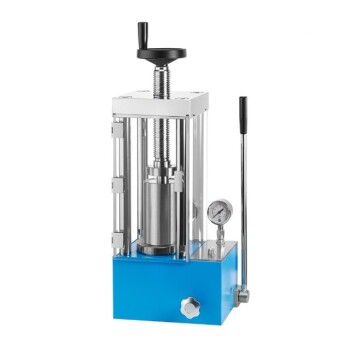
- Laboratory Hydraulic Press 2T Lab Pellet Press for KBR FTIR
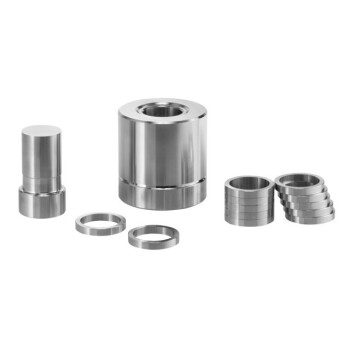
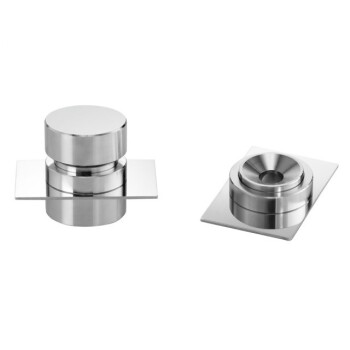
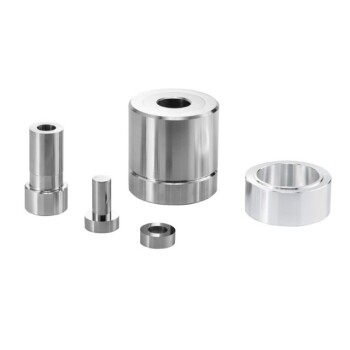
- XRF KBR Plastic Ring Lab Powder Pellet Pressing Mold for FTIR
- Laboratory Hydraulic Pellet Press for XRF KBR FTIR Lab Press
- XRF KBR Steel Ring Lab Powder Pellet Pressing Mold for FTIR
- Automatic Laboratory Hydraulic Press for XRF and KBR Pellet Pressing
People Also Ask
- What is the role of a laboratory pressure machine and KBr in FTIR? Master Sample Preparation for Flame Retardants
- What is the role of a laboratory hydraulic press in high-loading NCM811 cathode prep for solid-state batteries?
- Why is uniform encapsulation pressure necessary for lithium-metal battery assembly? Achieve Flawless In-Situ Results
- Why is a laboratory hydraulic press used to compact monazite samples before the roasting treatment? Optimize Reactions
- What role does a laboratory hydraulic press play in molding polymer composites? Ensure Specimen Integrity & Precision