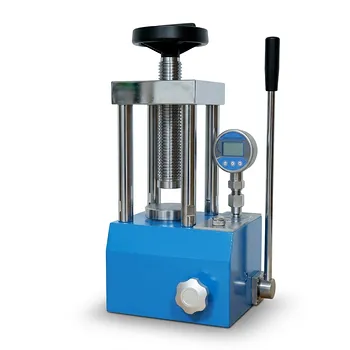
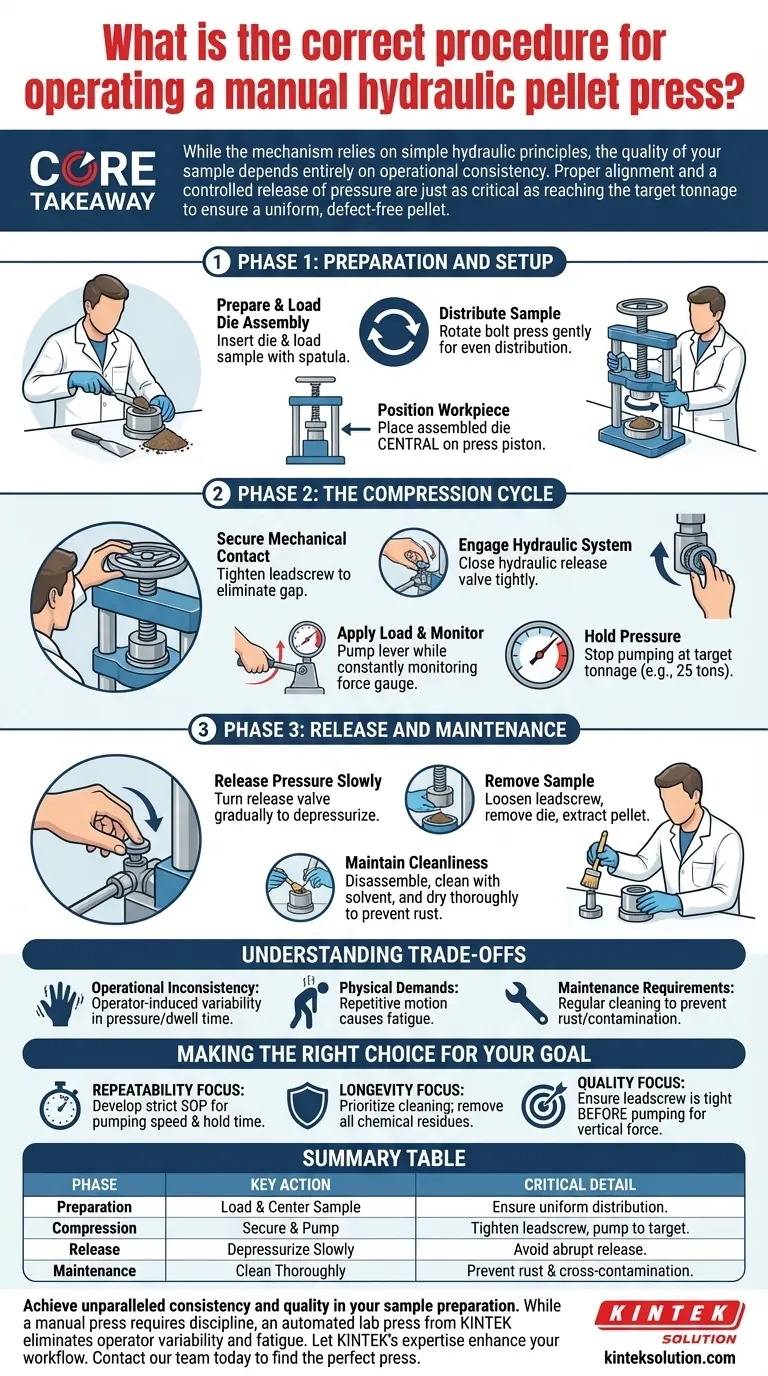
The correct procedure for operating a manual hydraulic pellet press begins with meticulously loading your sample into the die and centering it on the piston. You must then mechanically secure the die using the top leadscrew before closing the hydraulic valve and pumping the lever to reach your target load.
Core Takeaway While the mechanism relies on simple hydraulic principles (Pascal’s Law), the quality of your sample depends entirely on operational consistency. Proper alignment and a controlled release of pressure are just as critical as reaching the target tonnage to ensure a uniform, defect-free pellet.
Phase 1: Preparation and Setup
Preparing the Die Assembly
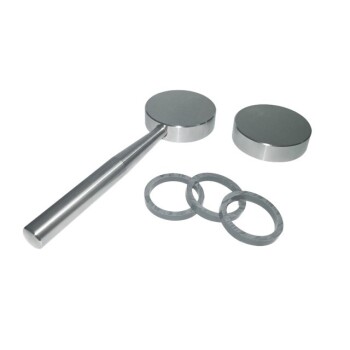
Before engaging the press, you must prepare the sample holder. Insert the appropriate die (commonly 15 mm to 40 mm) into the cavity and load your ground sample mix using a metal spatula.
Distributing the Sample
Uniformity is key to preventing pellet cracking. Insert the bolt press or plunger and rotate it gently to distribute the sample particles evenly within the die cavity.
Positioning the Workpiece
Ensure the press workspace is clean and safe. Place the assembled die set centrally on the press piston; misalignment can damage the die or the press ram during compression.
Phase 2: The Compression Cycle
Securing the Mechanical Contact
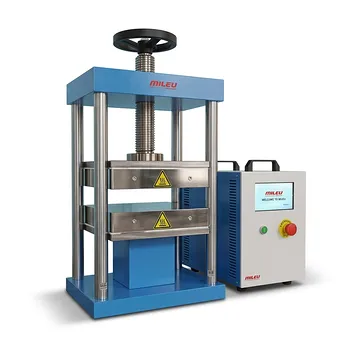
Before applying hydraulic force, you must eliminate the gap between the press and the die. Slowly turn the leadscrew (the threaded wheel at the top) until its nose makes firm contact with the top of the die assembly.
Engaging the Hydraulic System
Locate the hydraulic release valve and close it tightly. This seals the system, allowing the oil to build pressure when the pump is engaged.
Applying the Load
Begin pumping the hand lever to force hydraulic oil into the piston cylinder. Monitor the force gauge constantly as you pump; the needle will rise as the piston applies load to the sample.
Holding the Pressure
Continue pumping until the gauge reads your desired tonnage (up to the machine's rated limit, often 25 tons). Stop pumping immediately once this target is reached to avoid over-compression.
Phase 3: Release and Maintenance
Releasing the Pressure
Do not release the pressure abruptly. Turn the release valve slowly to gradually depressurize the system, allowing the piston to retract gently.
Removing the Sample
Once the pressure is fully relieved, loosen the top leadscrew or wheel to unlock the assembly. You can now safely remove the die from the press to extract your finished pellet.
Understanding the Trade-offs
Operational Inconsistency
Manual presses lack the automated control of electronic systems. Because the force is applied by hand, there is a risk of operator-induced variability, where the pressure rate or dwell time differs between samples.
Physical Demands
These units are physically demanding to operate, especially for high-throughput labs. The repetitive motion of pumping the lever can lead to operator fatigue, which may further degrade sample consistency over time.
Maintenance Requirements
Unlike sealed automatic systems, manual presses require regular cleaning to function correctly. You must disassemble removable parts like the die and plunger, clean them with a soft brush or mild solvent, and dry them thoroughly to prevent rust or cross-contamination.
Making the Right Choice for Your Goal
To get the best results from a manual hydraulic press, you must balance cost savings with rigorous technique.
- If your primary focus is Repeatability: Develop a strict Standard Operating Procedure (SOP) that dictates the exact pumping speed and hold time for every technician to follow.
- If your primary focus is Equipment Longevity: Prioritize the cleaning step; never leave chemical residues on the piston or die surfaces after a session.
- If your primary focus is Sample Quality: Ensure the leadscrew is perfectly tight against the die before pumping to ensure the hydraulic force is applied vertically and evenly.
The manual press is a powerful tool, but its precision is ultimately determined by the discipline of the operator.
Summary Table:
| Phase | Key Action | Critical Detail |
|---|---|---|
| Preparation | Load & Center Sample | Ensure uniform distribution in the die to prevent cracking. |
| Compression | Secure & Pump | Tighten leadscrew before closing valve and pumping to target load. |
| Release | Depressurize Slowly | Gradually release pressure to avoid damaging the pellet. |
| Maintenance | Clean Thoroughly | Prevent rust and cross-contamination for equipment longevity. |
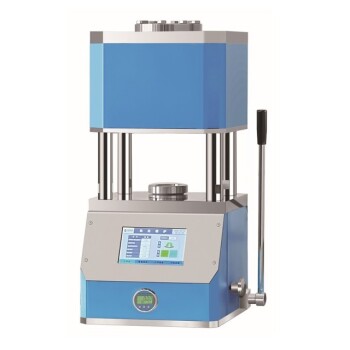
Achieve unparalleled consistency and quality in your sample preparation. While a manual press requires discipline, an automated lab press from KINTEK eliminates operator variability and fatigue. Our automatic lab presses, isostatic presses, and heated lab presses are engineered for laboratory professionals who demand precision, repeatability, and efficiency.
Let KINTEK's expertise enhance your workflow. Contact our team today to find the perfect press for your specific application and ensure every pellet is perfect.
Visual Guide
Related Products
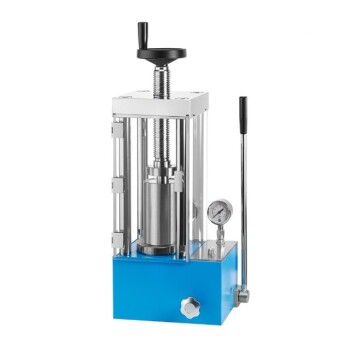
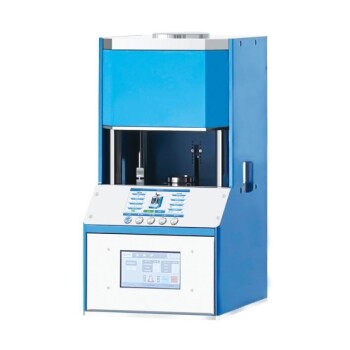
- Manual Laboratory Hydraulic Pellet Press Lab Hydraulic Press
- Manual Laboratory Hydraulic Press Lab Pellet Press
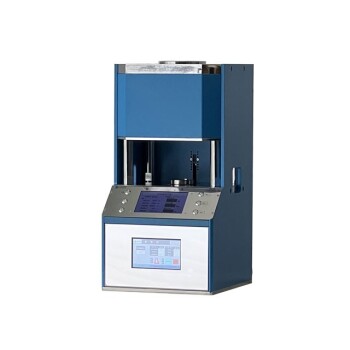
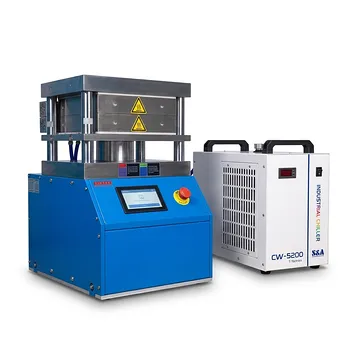
- Automatic Laboratory Hydraulic Press Lab Pellet Press Machine
- Automatic Laboratory Hydraulic Press for XRF and KBR Pellet Pressing
- Laboratory Hydraulic Pellet Press for XRF KBR FTIR Lab Press
People Also Ask
- What is the primary purpose of manual lab hydraulic pellet presses? Achieve High-Precision Sample Preparation for Spectroscopy
- What role does a lab hydraulic press play in molding recycled bricks? Achieve High-Density Material Structural Integrity
- How does a laboratory manual hydraulic press assist in powder canning? Maximize Density and Structural Integrity
- Why is it important to know the required force when selecting a lab hydraulic press? Ensure Accurate Results and Avoid Damage
- What is the primary purpose of a manual lab hydraulic pellet press? Ensure Accurate Sample Prep for XRF and FTIR