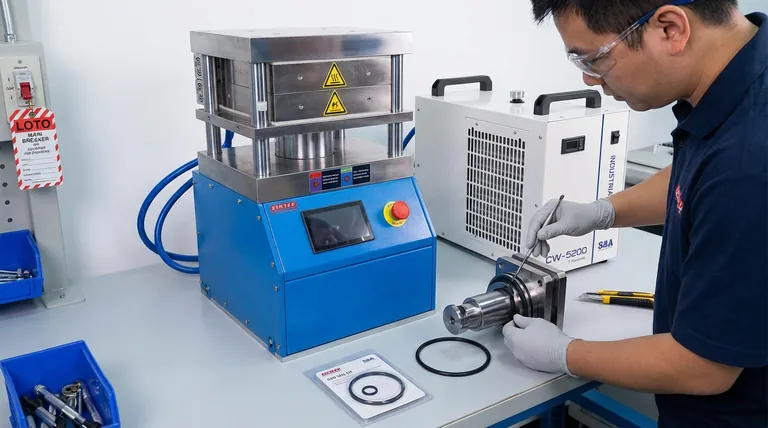
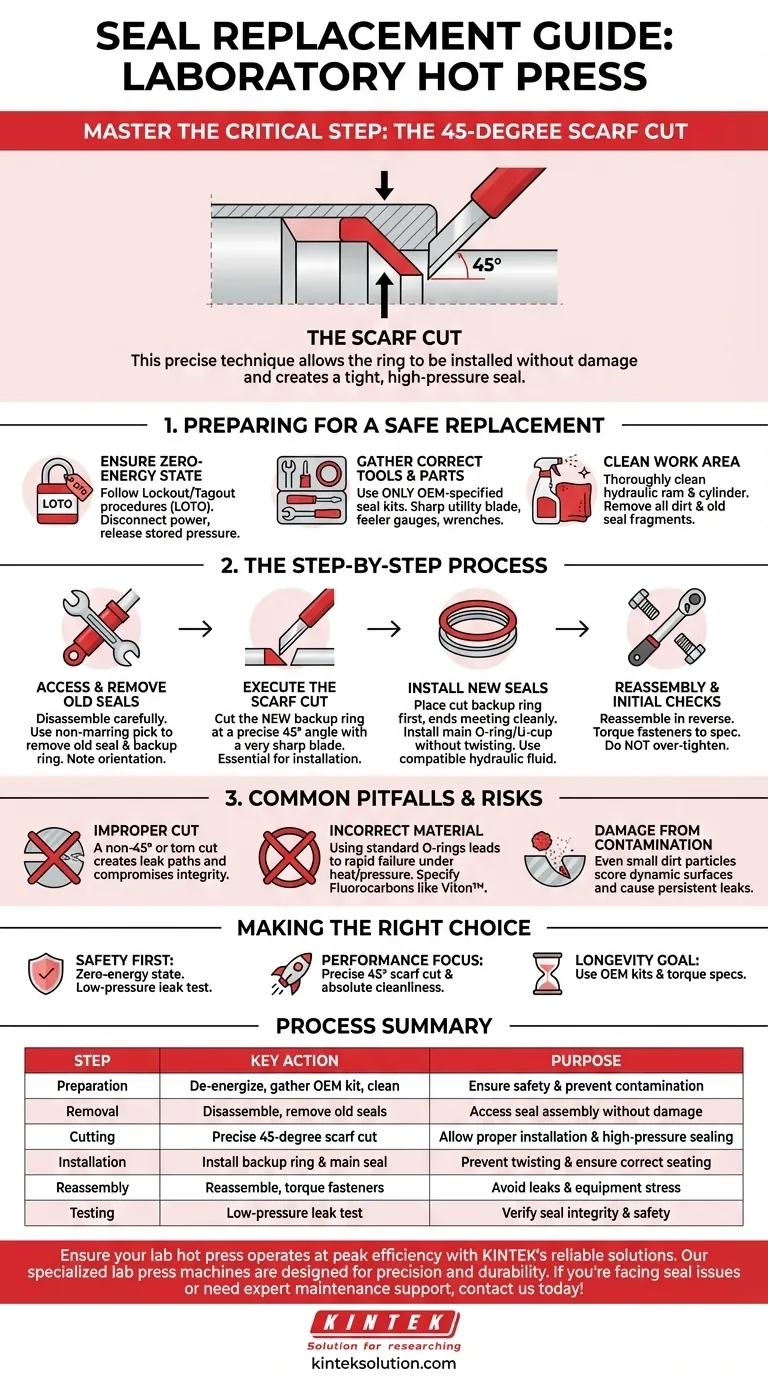
To properly replace seals in a laboratory hot press, the critical step involves making a precise 45-degree cut on the backup ring that sits behind the main seal. This technique, known as a "scarf cut," allows the ring to be installed into its groove without being stretched or damaged, ensuring it seats correctly and provides the necessary support for a high-pressure seal.
Executing a successful seal replacement is not merely about swapping parts; it is a precision task where safety and technique are paramount. The 45-degree scarf cut is the key to installing the seal assembly correctly, preventing immediate failure and ensuring the long-term integrity of your equipment.
Preparing for a Safe Seal Replacement
Before any components are touched, you must ensure the environment is safe and you have the correct materials. Failure to perform these preliminary steps is the most common source of accidents and rework.
Ensure a Zero-Energy State
The machine must be completely de-energized. This includes shutting off the main electrical breaker, disconnecting hydraulic pressure lines, and verifying that all stored energy is released. Follow your facility's Lockout/Tagout (LOTO) procedures without exception.
Gather the Correct Tools and Parts
Confirm you have the OEM-specified seal kit. Using incorrect materials can lead to catastrophic failure under heat and pressure. You will also need a sharp utility knife or blade for the cut, feeler gauges, and appropriate wrenches for disassembly.
Clean the Work Area
Thoroughly clean the hydraulic ram, cylinder, and surrounding areas. Any dirt, grit, or old seal fragments introduced into the system can score metal surfaces and cause the new seals to fail prematurely.
The Step-by-Step Replacement Process
With the press in a safe state, you can begin the mechanical work. Precision is the guiding principle throughout this process.
Access and Remove the Old Seals
Carefully disassemble the necessary components to gain access to the main cylinder or ram seals. Use a non-marring pick tool to gently pry out the old, hardened seal and the backup ring behind it. Take note of the orientation of all components as you remove them.
The Critical 45-Degree Cut (The "Scarf Cut")
The new backup ring must be cut to be installed. This is the step referenced in the service directive.
Using a very sharp blade, cut the backup ring at an approximate 45-degree angle. This scarf cut allows the ring to be slightly compressed or expanded to fit into the groove. When system pressure is applied, it forces the two angled faces of the cut together, creating a tight and effective seal.
Installing the New Seals
First, install the newly cut backup ring into its groove, ensuring the two cut ends meet cleanly. Next, carefully install the main O-ring or U-cup seal in front of it. Be sure not to twist the main seal during installation. A light coating of system-compatible hydraulic fluid can aid in seating the seals.
Reassembly and Initial Checks
Reassemble the components in the reverse order of disassembly. Ensure all fasteners are torqued to the manufacturer's specifications. Do not over-tighten, as this can warp flanges and create new leak paths.
Common Pitfalls to Avoid
Understanding the risks associated with this task is as important as knowing the procedure itself. Rushing these steps can lead to equipment damage or safety hazards.
The Risk of an Improper Cut
A cut that is not a clean 45-degree angle will not mate properly under pressure and will create a leak path. A dull blade can tear the material, compromising its integrity. The goal is a perfect, flat junction.
The Danger of Incorrect Material
Seals for a hot press are made from highly specific compounds (like Viton™ or other fluorocarbons) designed to withstand extreme heat and pressure. Using a standard, off-the-shelf O-ring will result in rapid degradation and failure.
Damage from Contamination
Even a small particle of metal or dirt left in a seal groove can act like a cutting tool. It will score the dynamic surfaces of the ram or cylinder, leading to persistent leaks that a simple seal replacement can no longer fix.
Making the Right Choice for Your Goal
After the new seals are installed and the press is reassembled, a careful startup procedure is required to verify the work and ensure reliable operation.
- If your primary focus is safety: Always confirm a zero-energy state before starting and perform a low-pressure leak test before returning to full operational pressure.
- If your primary focus is performance: The precision of the 45-degree scarf cut and the cleanliness of the seal grooves are the two most critical factors for a leak-free result.
- If your primary focus is longevity: Use only OEM-specified seal kits and adhere to the torque specifications during reassembly to prevent stress on the components.
Properly executed maintenance is the foundation of reliable and safe equipment operation.
Summary Table:
| Step | Key Action | Purpose |
|---|---|---|
| Preparation | De-energize press, gather OEM seal kit, clean area | Ensure safety and prevent contamination |
| Removal | Disassemble components, remove old seals | Access seal assembly without damage |
| Cutting | Make a precise 45-degree scarf cut on backup ring | Allow proper installation and high-pressure sealing |
| Installation | Install backup ring and main seal with care | Prevent twisting and ensure correct seating |
| Reassembly | Reassemble parts, torque fasteners to spec | Avoid leaks and equipment stress |
| Testing | Perform low-pressure leak test before full use | Verify seal integrity and safety |
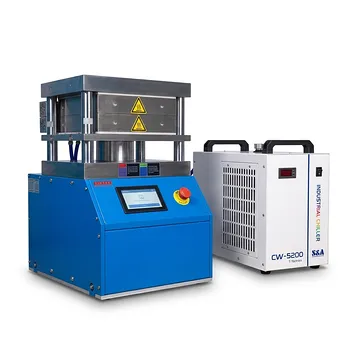
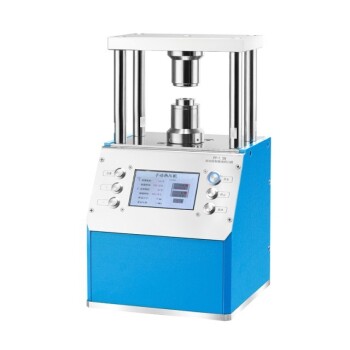
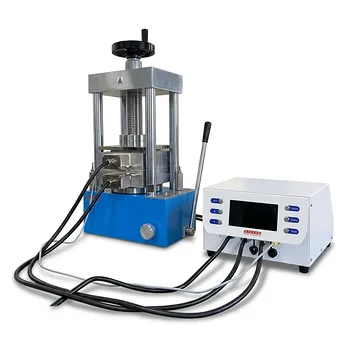
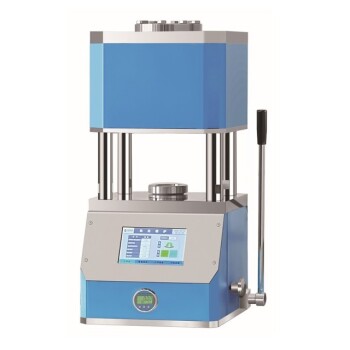
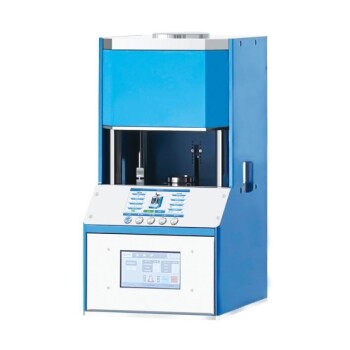
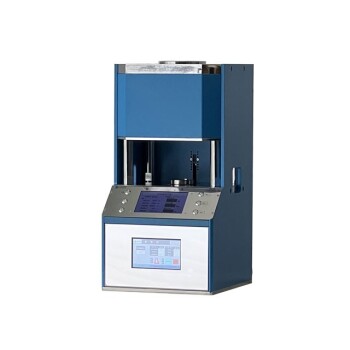
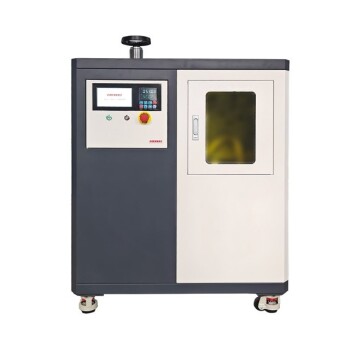
Ensure your lab hot press operates at peak efficiency with KINTEK's reliable solutions. Our specialized lab press machines, including automatic, isostatic, and heated presses, are designed for precision and durability. If you're facing seal issues or need expert maintenance support, contact us today to learn how we can enhance your laboratory's performance and extend equipment life!
Visual Guide
Related Products
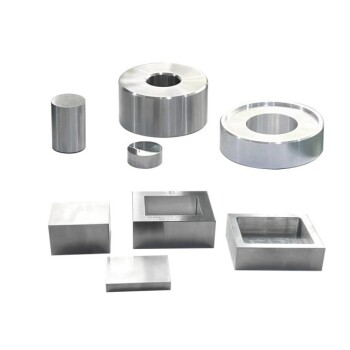
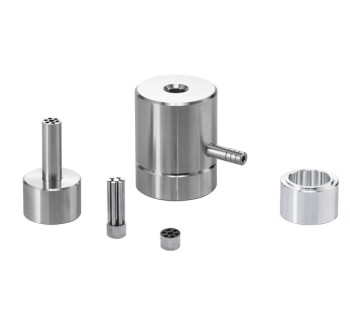
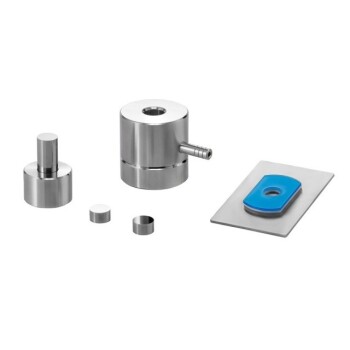
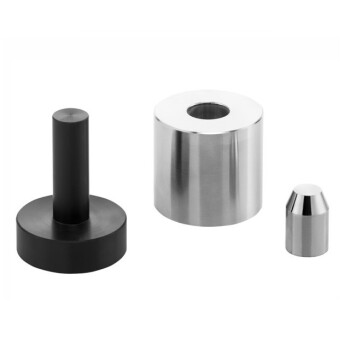
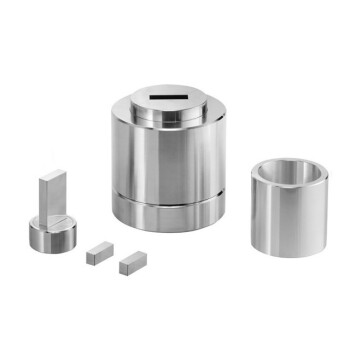
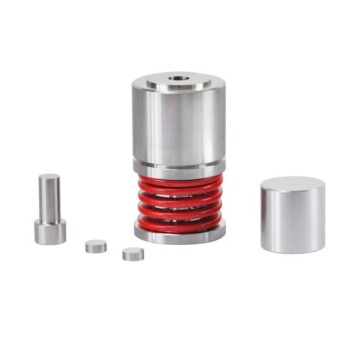
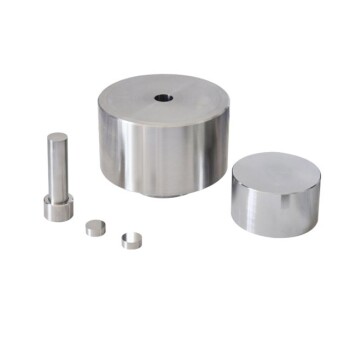
- Lab Heat Press Special Mold
- Automatic Heated Hydraulic Press Machine with Hot Plates for Laboratory
- Special Shape Lab Press Mold for Laboratory Applications
- Cylindrical Lab Electric Heating Press Mold for Laboratory Use
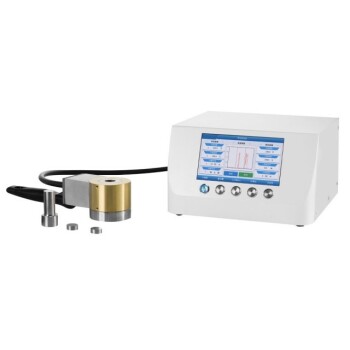
- Button Battery Sealing Press Machine for Lab
People Also Ask
- Why is a laboratory heat press necessary for biodegradable films? Unlock Precision Bonding and Barrier Performance
- How is a laboratory heat press utilized in MEA preparation? Achieve High-Efficiency Iron-Chromium Redox Flow Batteries
- Why is a high-precision laboratory heated press required for self-healing polyurethane? Optimize Molecular Repair
- What is the significance of pressure and temperature control in a laboratory heated press for ZIF-8/NF coatings?
- What is the purpose of using a laboratory heated press for IN 718 green bodies? Enhance 3D Printed Part Density