Proper preparation of a rubber laboratory press requires a strict regimen of fluid maintenance, mechanical inspection, and sample standardization. You must ensure the hydraulic oil is at the correct level, verify lubrication on the guide frame, and ensure all sample slabs are uniform before correctly configuring the machine for operation.
Core Takeaway: Successful operation relies on a dual-focus approach: protecting the machinery through proper lubrication and fluid levels, and ensuring data integrity by standardizing sample geometry before the press is ever activated.
Mechanical System Verification
Before applying power, the physical state of the machine must be assessed to prevent wear and ensure pressure stability.
Check Hydraulic Oil Levels
The hydraulic system is the heart of the press. You must inspect the oil level in the tank relative to the machine's frame.
Ensure the oil level reaches at least 2/3 of the height of the lower frame. If the level is below this threshold, top it up immediately to prevent air intake or pressure loss.
Inspect Lubrication Points
Friction is the enemy of precision equipment. Check the contact points between the column shaft and the guide frame.
If these areas appear dry or gritty, apply lubricant. This ensures smooth vertical operation and prevents premature wear on the metal components during high-pressure cycles.
Sample Integrity and Placement
Even a perfectly maintained machine will yield poor results if the material inputs are flawed. This step is critical for experimental accuracy.
Enforce Sample Uniformity
To prevent skewed results, every sample slab placed in the press must be identical in size and shape.
Variations in geometry can cause uneven pressure distribution across the platen. This leads to inconsistent curing or molding defects.
Remove Defective Material
Inspect your samples closely before loading. Any slabs that are broken, irregular, or incorrectly sized must be removed entirely.
Do not attempt to press a mix of broken and whole slabs. This creates mechanical imbalances that can skew experimental data and potentially damage the press alignment.
Operational Configuration and Startup
Once the machine is lubricated and the samples are prepped, follow this specific sequence to bring the system online safely.
Power and Position
Turn on the main power supply. Before proceeding, confirm that the press is adjusted to a strict vertical position.
Initiate Hydraulic Pressure
Prepare the hydraulic loop by closing the oil return port using the operating handles.
Finally, press the motor start button. This engages the oil pump, allowing the system to build the necessary pressure for your operation.
Common Pitfalls to Avoid
Understanding where operators frequently make mistakes can save you from costly downtime and invalid data.
The Risk of Low Fluids
Running the press with oil below the 2/3 mark often seems harmless in the short term. However, it causes cavitation in the pump and erratic pressure application, rendering your test results void.
Neglecting Guide Frame Lubrication
Skipping the lubrication step on the column shaft leads to "stick-slip" motion. This vibration interferes with the smooth application of force, subtly altering the density and structure of your rubber samples.
Making the Right Choice for Your Goal
Correct preparation balances machine health with experimental rigor.
- If your primary focus is Equipment Longevity: Prioritize checking the hydraulic oil height and lubricating the column shaft before every single cycle to prevent mechanical abrasion.
- If your primary focus is Experimental Accuracy: Dedicate extra time to culling broken or irregular sample slabs to ensure pressure is distributed evenly across the mold.
Consistency in preparation is the only path to consistency in results.
Summary Table:
| Preparation Category | Key Action | Requirement/Standard |
|---|---|---|
| Hydraulic System | Check Oil Level | At least 2/3 of the lower frame height |
| Mechanical Care | Lubrication | Apply to column shaft and guide frame |
| Sample Integrity | Uniformity Check | All slabs must be identical in size/shape |
| Quality Control | Material Inspection | Remove all broken or irregular slabs |
| Initial Startup | System Alignment | Confirm strict vertical positioning |
Elevate Your Lab's Performance with KINTEK
Maximize your research accuracy and equipment lifespan with KINTEK’s industry-leading expertise. KINTEK specializes in comprehensive laboratory pressing solutions, offering a versatile range of manual, automatic, heated, multifunctional, and glovebox-compatible models, alongside advanced cold and warm isostatic presses specifically designed for cutting-edge battery research.
Whether you are refining sample preparation or scaling your experimental throughput, our team is ready to provide the technical support and high-performance machinery your lab deserves. Don't settle for inconsistent results—contact our specialists today to find the perfect pressing solution for your specific application.
Related Products
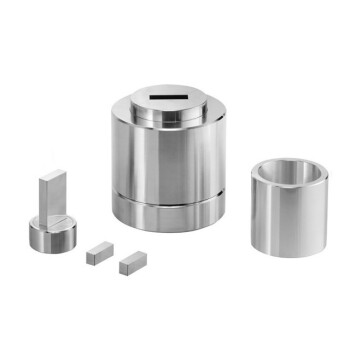
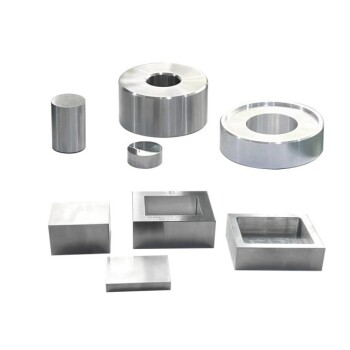
- Assemble Square Lab Press Mold for Laboratory Use
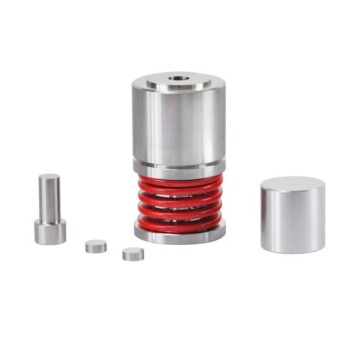
- Lab Round Bidirectional Press Mold
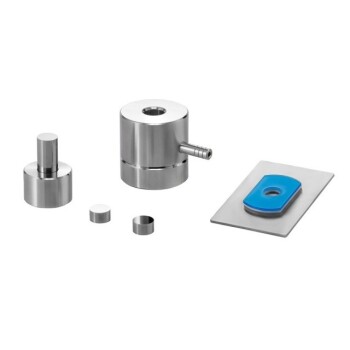
- Special Shape Lab Press Mold for Laboratory Applications
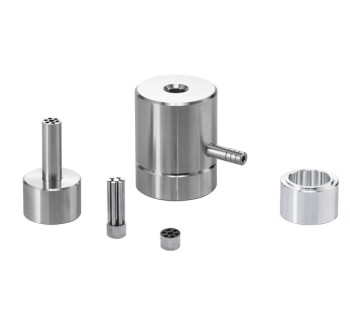
- Lab Infrared Press Mold for Laboratory Applications
- Lab Heat Press Special Mold
People Also Ask
- How is a laboratory press utilized for sustainable semiconductors? Precision Forming for GaN & SiC Research
- What is the purpose of incorporating cartridge heaters into a lab press mold for MLCC block compression? Optimize Results
- How does the geometry of laboratory molds influence mycelium-based composites? Optimize Density and Strength
- What challenges are associated with recycling textiles, and how do laboratory presses help? Overcome Recycling Hurdles with Precision Tools
- What are the common applications for laboratory presses? Expert Guide to Sample Prep, R&D, and Quality Control