A definitive checklist for XRF pellets must cover both the physical process and the critical equipment parameters. The core steps include grinding the sample to a fine powder, mixing it with a binding agent, and compressing the mixture in a die at 15 to 40 tons of force to create a dense, homogeneous disc for analysis.
The quality of your XRF data is determined the moment you press your pellet. A perfect checklist isn't just about following steps; it's about systematically controlling variables—particle size, binder ratio, and pressure—to create a flawless analytical surface that is a true representation of your bulk material.
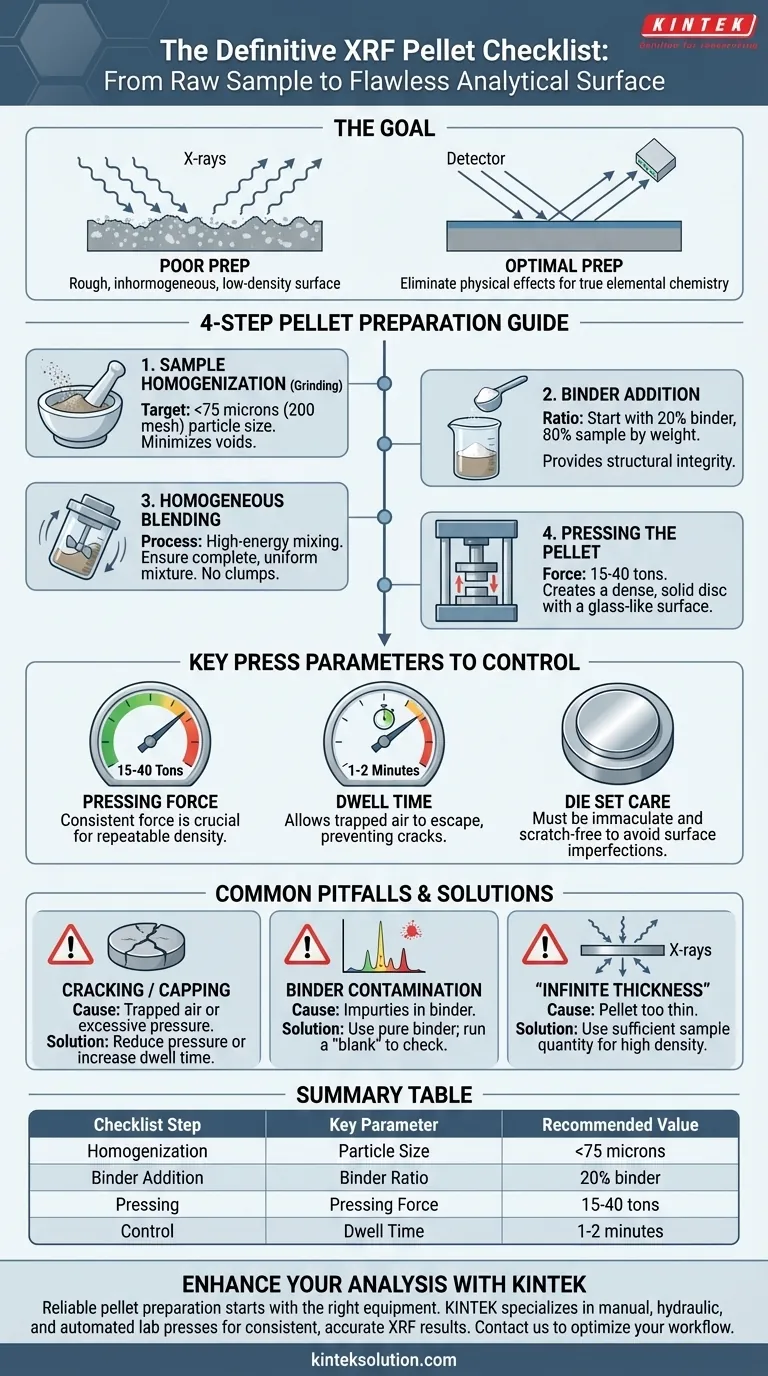
The Goal: From Raw Sample to Analytical Surface
X-Ray Fluorescence (XRF) analysis is highly sensitive to the physical state of the sample. Inhomogeneities, surface roughness, and low density can scatter or improperly absorb X-rays, leading to inaccurate and non-repeatable results.
The entire purpose of pressing a pellet is to eliminate these physical effects. By creating a perfectly flat, smooth, and uniformly dense sample, you ensure that the analytical measurement reflects the true elemental chemistry of the material, not the randomness of its preparation.
A Step-by-Step Guide to Pellet Preparation
This process forms the core of your checklist. Each step must be performed with consistency to ensure repeatable results.
Step 1: Sample Homogenization (Grinding/Milling)
The sample must first be ground into a very fine, uniform powder. A smaller particle size minimizes voids in the final pellet and ensures the X-ray beam interacts with a representative mix of all components.
For most materials, a particle size of less than 75 microns (200 mesh) is a good target, though some analyses may require finer powders (<40 microns).
Step 2: Choosing and Adding a Binder
A binding agent, such as a wax or cellulose powder, is mixed with the sample. The binder acts as a lubricant during grinding and provides the structural integrity needed for a durable pellet.
The amount of binder is critical. A common starting ratio is 20% binder to 80% sample by weight, but this must be optimized for your specific material.
Step 3: Homogeneous Blending
The sample powder and binder must be blended until they form a completely homogeneous mixture. Any clumps or separation will create inconsistencies in the final pellet and compromise the analysis.
High-energy mixing in a shatterbox or mixer mill for a specific, repeatable time is the standard method for achieving this.
Step 4: Pressing the Pellet
The blended powder is carefully loaded into a pellet die. The die is then placed in a press and compressed at a high force, typically between 15 and 40 tons.
This pressure compacts the powder, eliminates voids, and fuses the particles into a solid, stable disc with a glass-like analytical surface.
Key Press Parameters to Control
Your equipment and its settings are just as important as the sample preparation steps. These parameters must be documented for every pellet.
Pressing Force and Dwell Time
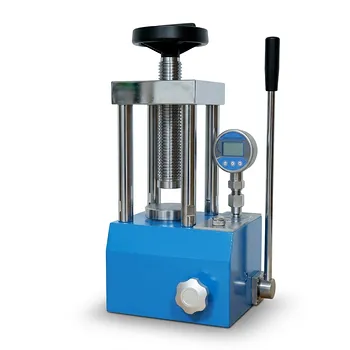
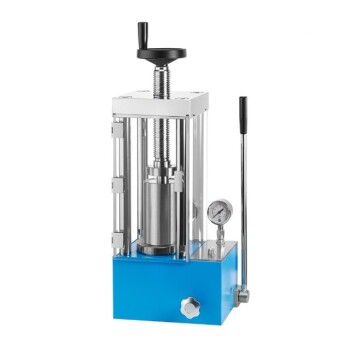
Consistent pressing force is the single most important factor for creating pellets with repeatable density. Using a hydraulic or automated press with a pressure gauge is essential for control.
Dwell time—the amount of time the maximum pressure is held—is also critical. A dwell of 1-2 minutes allows trapped air to escape, preventing cracks and improving pellet stability.
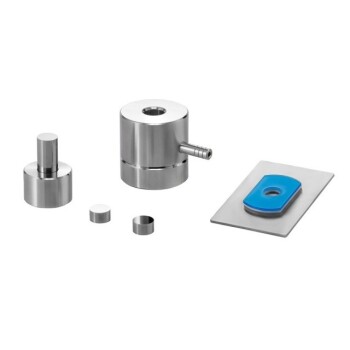
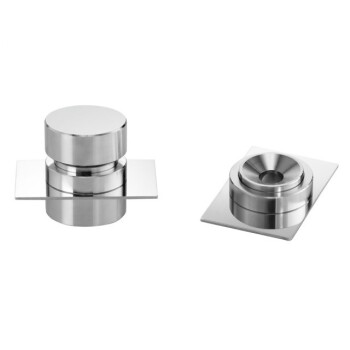
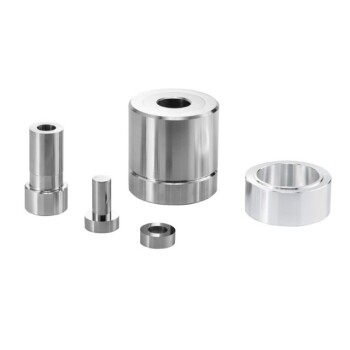
Die Set Selection and Care
The die size must be compatible with both your press and your XRF instrument's sample holder.
More importantly, the die's pressing surfaces must be kept immaculately clean and free of scratches. Any imperfection on the die surface will be transferred directly to your pellet, compromising your analytical surface.
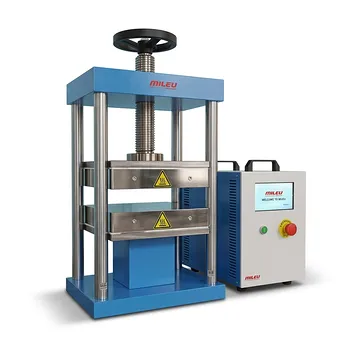
Press Type and Operation
The choice of press impacts throughput and consistency.
- Manual Presses are cost-effective but rely heavily on operator consistency.
- Hydraulic Presses offer excellent control over pressure and are the industry workhorse.
- Automated Presses provide the highest level of repeatability and throughput with minimal operator input, making them ideal for high-volume quality control labs.
Understanding the Trade-offs and Common Pitfalls
Even with a perfect checklist, issues can arise. Understanding them is key to troubleshooting your process.
Pellet Cracking or "Capping"
If a pellet cracks or the top surface flakes off (capping), it is often a sign of trapped air or excessive pressure. The solution is typically to reduce the final pressure or increase the dwell time to allow air to escape more slowly.
Binder Contamination
The binder itself can be a source of analytical error. Always use a binder that is free of the elements you are trying to measure in your sample. Run a "blank" by pressing a pellet of pure binder to check for background contamination.
The "Infinite Thickness" Requirement
Your pellet must be thick enough that the primary X-ray beam does not penetrate through it to the sample cup or holder below. If it does, your results will be incorrect. This is known as achieving "infinite thickness," and it is ensured by using a sufficient amount of sample powder and achieving high density through proper pressing.
Making the Right Choice for Your Goal
Your specific application should dictate the most critical points on your checklist. Use these recommendations as a starting point.
- If your primary focus is high-throughput quality control: Standardize on an automated press and a strict, documented procedure with logged parameters for pressure, time, and binder lot number.
- If your primary focus is research with varied materials: Use a flexible hydraulic press and prioritize method development, meticulously documenting the optimal grinding time, binder ratio, and pressure for each new material type.
- If your primary focus is low-volume, cost-effective analysis: A manual press can work, but your checklist must emphasize operator training and process verification to minimize human-introduced variability.
Ultimately, a robust pellet preparation checklist is the foundation of trustworthy XRF analysis.
Summary Table:
| Checklist Step | Key Parameter | Recommended Value |
|---|---|---|
| Sample Homogenization | Particle Size | <75 microns (200 mesh) |
| Binder Addition | Binder Ratio | 20% binder, 80% sample by weight |
| Pellet Pressing | Pressing Force | 15-40 tons |
| Pressing Control | Dwell Time | 1-2 minutes |
Ready to enhance your XRF analysis with reliable pellet preparation? KINTEK specializes in lab press machines, including automatic lab presses, isostatic presses, and heated lab presses, designed to meet the precise needs of laboratories. Our equipment ensures consistent pressure control and high throughput, helping you achieve accurate, repeatable results while saving time and reducing errors. Contact us today to discuss how our solutions can optimize your workflow and deliver superior performance for your specific applications!
Visual Guide
Related Products
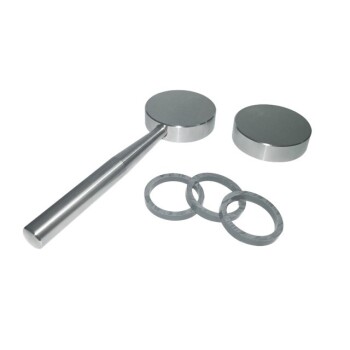
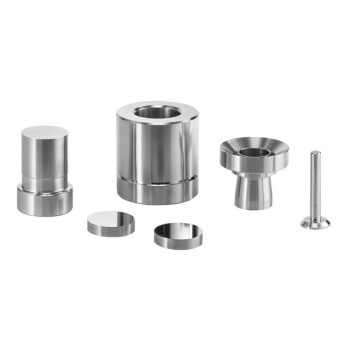
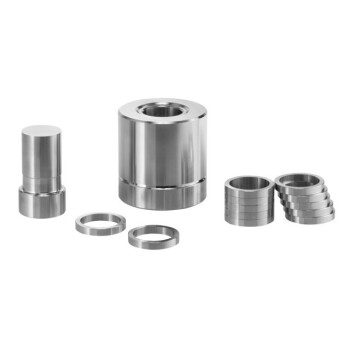
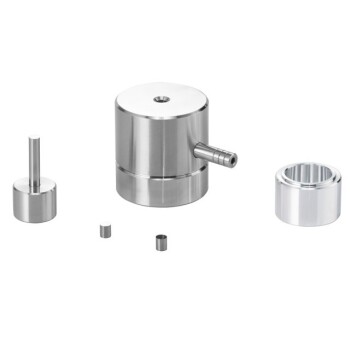
- XRF KBR Plastic Ring Lab Powder Pellet Pressing Mold for FTIR
- Lab XRF Boric Acid Powder Pellet Pressing Mold for Laboratory Use
- XRF KBR Steel Ring Lab Powder Pellet Pressing Mold for FTIR
- Laboratory Hydraulic Pellet Press for XRF KBR FTIR Lab Press
- Automatic Laboratory Hydraulic Press for XRF and KBR Pellet Pressing
People Also Ask
- What are specialized XRF pellet preparation presses designed for? Boost Lab Efficiency with High-Throughput Automation
- What factors should be considered when choosing a lab press for XRF pellet preparation? Ensure Accurate and Consistent Results
- What are the different types of XRF pellet preparation methods available? Manual, Hydraulic, and Automated Presses Explained
- Why are pellets used in XRF analysis, and what is their limitation? Boost Accuracy and Speed in Your Lab
- What are the different pellet pressing options for XRF sample preparation? Choose the Best Method for Accurate Analysis