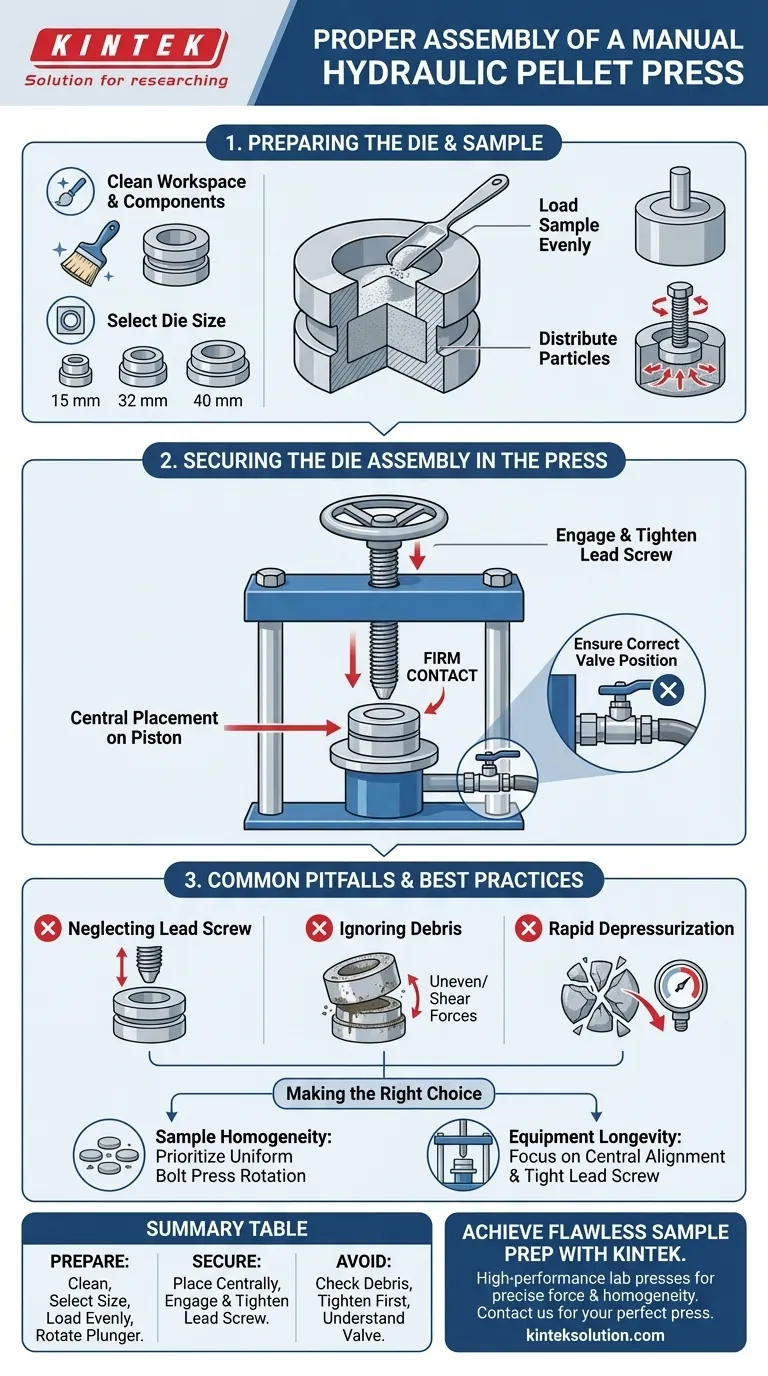
Proper assembly of a manual hydraulic pellet press begins with ensuring a clean workspace and selecting the correct die size, such as 15 mm, 32 mm, or 40 mm. You must evenly load the ground sample into the die cavity, insert the plunger or bolt press to distribute the material, and place the unit centrally on the press piston. Finally, rotate the upper lead screw or wheel until it makes firm contact with the die set to secure it for operation.
The mechanical integrity of the press and the homogeneity of your final pellet are determined during this setup phase. Ensuring the die is centrally aligned and physically secured by the lead screw before applying hydraulic pressure is the single most critical step for safety and success.
Preparing the Die and Sample
Before interacting with the hydraulic mechanism, you must prepare the "workpiece"—the die set containing your sample. This is where sample consistency is established.
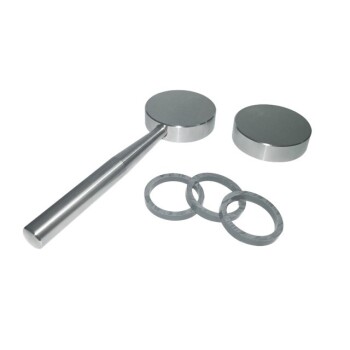
Selecting the Components
Start by verifying that the press cavity is free of debris.
Select the appropriate die size for your application (common sizes include 15 mm, 32 mm, or 40 mm).
Ensure all removable parts, such as the plunger and die body, are clean and dry to prevent cross-contamination.
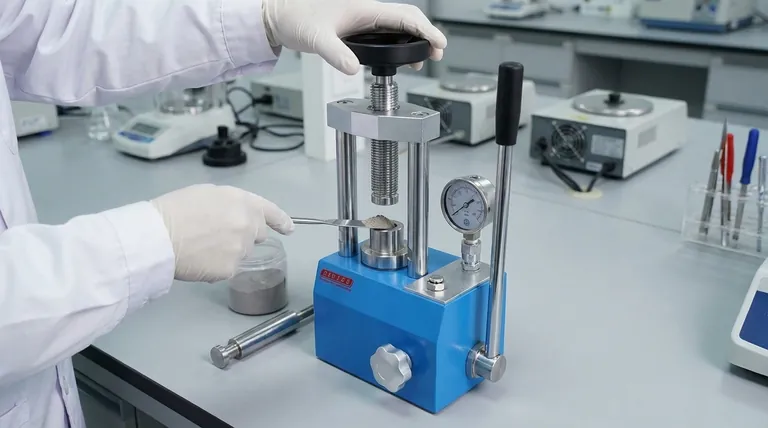
Loading the Sample
Place the ground sample mix into the die cavity.
Use a metal spatula to load the material, ensuring the distribution is as even as possible.
Uneven loading can lead to pellets with density gradients, which may crack upon ejection.
Distributing the Particles
Insert the bolt press (or plunger) into the die on top of the sample.
Rotate the bolt press gently.
This rotation helps distribute the sample particles uniformly across the bottom of the die, creating a flat surface for pressing.
Securing the Die Assembly in the Press
Once the sample is loaded, the die set must be integrated into the main hydraulic unit. This process aligns the force vectors.
Central Placement
Transfer the fully assembled die set onto the press.
Place it centrally on the piston.
Central alignment is vital; off-center loading can damage the piston seals and result in uneven force application.
Engaging the Lead Screw
Locate the lead screw (often controlled by a top wheel or handle) at the top of the press frame.
Slowly rotate the wheel to lower the lead screw's nose.
Continue turning until the nose physically touches the top of the die set.
Securing the System
Rotate the wheel to tighten the fit.
The goal is to secure the die set tightly between the piston (bottom) and the lead screw (top) so it cannot shift.
Ensure the hydraulic valve is in the correct position (often closed) to prepare for pressure generation, though actual pumping occurs later.
Common Pitfalls to Avoid
Even with a simple mechanism, specific errors during assembly can compromise the results or damage the equipment.
Neglecting the Lead Screw
A common mistake is failing to tighten the top lead screw against the die before pumping.
If there is a gap, the piston has to travel further to make contact, reducing the effective stroke and potentially causing instability.
Ignoring Debris
Failing to clean the workspace or the die components is a major risk.
Residual material from previous tests can cause the die to sit unevenly on the piston.
This creates shear forces rather than compressive forces, which can crack the die or the pellet.
Rapid Depressurization Setup
While not part of assembly, the setup for removal matters.
Ensure you understand how to operate the release valve before starting.
Releasing pressure too quickly after the test can shatter the pellet; knowing the valve's sensitivity is part of the "pre-flight" check.
Making the Right Choice for Your Goal
Your assembly technique should adapt slightly depending on whether you are prioritizing equipment safety or sample perfection.
- If your primary focus is Sample Homogeneity: Prioritize the rotation of the bolt press during the loading phase to ensure a perfectly flat particle distribution.
- If your primary focus is Equipment Longevity: Focus strictly on centering the die on the piston and ensuring the lead screw is tight to prevent mechanical misalignment.
A successful press cycle is defined by the preparation that precedes it; a centrally aligned, tightly secured die yields the most consistent data.
Summary Table:
| Assembly Step | Key Action | Critical Detail |
|---|---|---|
| Prepare Die & Sample | Select & clean die; load sample evenly. | Rotate plunger for uniform particle distribution. |
| Secure in Press | Place die centrally on piston; engage lead screw. | Tighten lead screw until firm contact with die set. |
| Avoid Pitfalls | Ensure no debris; tighten lead screw before pumping. | Prevents misalignment, shear forces, and pellet damage. |
Achieve flawless sample preparation with KINTEK's expertise.
Proper assembly is the foundation of reliable pellet pressing. KINTEK specializes in high-performance lab press machines, including automatic lab presses, isostatic presses, and heated lab presses, designed to meet the rigorous demands of your laboratory.
Our equipment ensures precise force application and unparalleled sample homogeneity, safeguarding both your results and your investment. Let our experts help you optimize your pressing process.
Contact KINTEK today to find the perfect press for your application and unlock consistent, high-quality pellets.
Visual Guide
Related Products
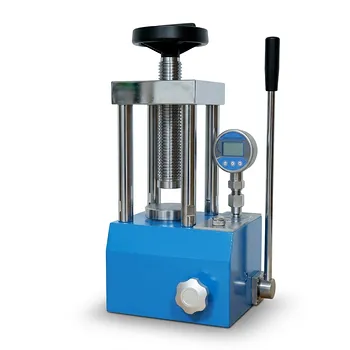
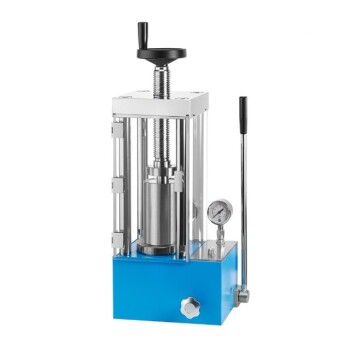
- Manual Laboratory Hydraulic Pellet Press Lab Hydraulic Press
- Manual Laboratory Hydraulic Press Lab Pellet Press
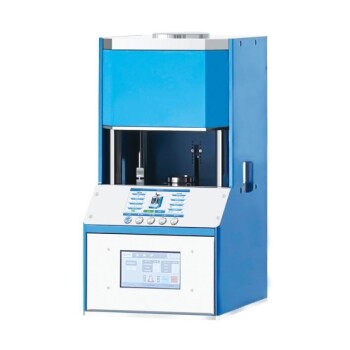
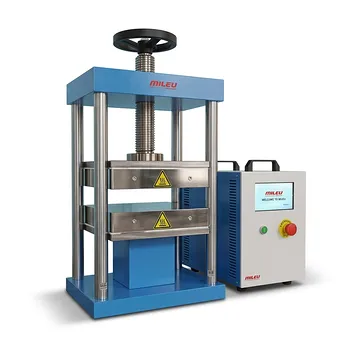
- Automatic Laboratory Hydraulic Press Lab Pellet Press Machine
- Automatic Laboratory Hydraulic Press for XRF and KBR Pellet Pressing
- Laboratory Hydraulic Pellet Press for XRF KBR FTIR Lab Press
People Also Ask
- How does a laboratory manual hydraulic press assist in powder canning? Maximize Density and Structural Integrity
- What is the primary purpose of manual lab hydraulic pellet presses? Achieve High-Precision Sample Preparation for Spectroscopy
- What is the purpose of initial axial molding using a lab hydraulic press? Optimizing Electrolyte Green Bodies
- What role does a lab hydraulic press play in researching squishy granular matter? Expert Insights into Material Physics
- What role does a lab hydraulic press play in molding recycled bricks? Achieve High-Density Material Structural Integrity