For a manual hydraulic pellet press, "assembly" typically refers to the process of preparing the die set with your sample and loading it into the press for operation, not building the press itself from individual components. This involves inserting the correct die, loading your powdered sample, and securing the entire die set centrally within the press before applying pressure.
The quality of your final pellet—and thus the accuracy of your scientific analysis—is determined less by the initial assembly of the press and more by the meticulous preparation of the die set and the controlled application and release of pressure during operation.
Understanding the Core Components
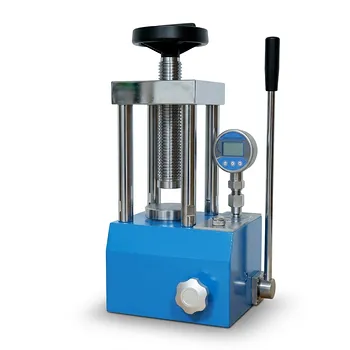
A manual hydraulic press is a fundamentally simple yet powerful device. It uses a hand-operated lever to generate immense force, making it a cornerstone for sample preparation in labs.
The Press Mechanism
The press operates on the principle of hydraulic multiplication. Pumping the handle forces oil through a system, driving a piston upward. This action applies a controlled, high force onto whatever is placed in the press. A release valve allows the pressure to be relieved slowly and safely.
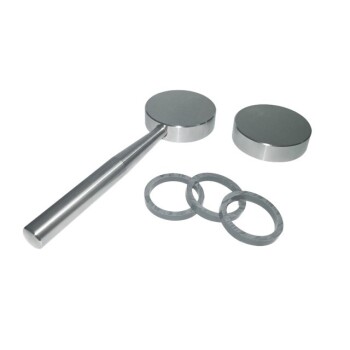
The Die Set
The die set is the "workpiece" you will be assembling and placing into the press. It typically consists of a die body, a base, and plungers. This is where your powdered sample is loaded and compressed into a solid pellet.
Step-by-Step Guide: From Powder to Pellet
Executing this process correctly is critical for creating uniform, high-quality pellets suitable for spectral analysis like X-ray fluorescence (XRF) or Fourier-transform infrared spectroscopy (FTIR).
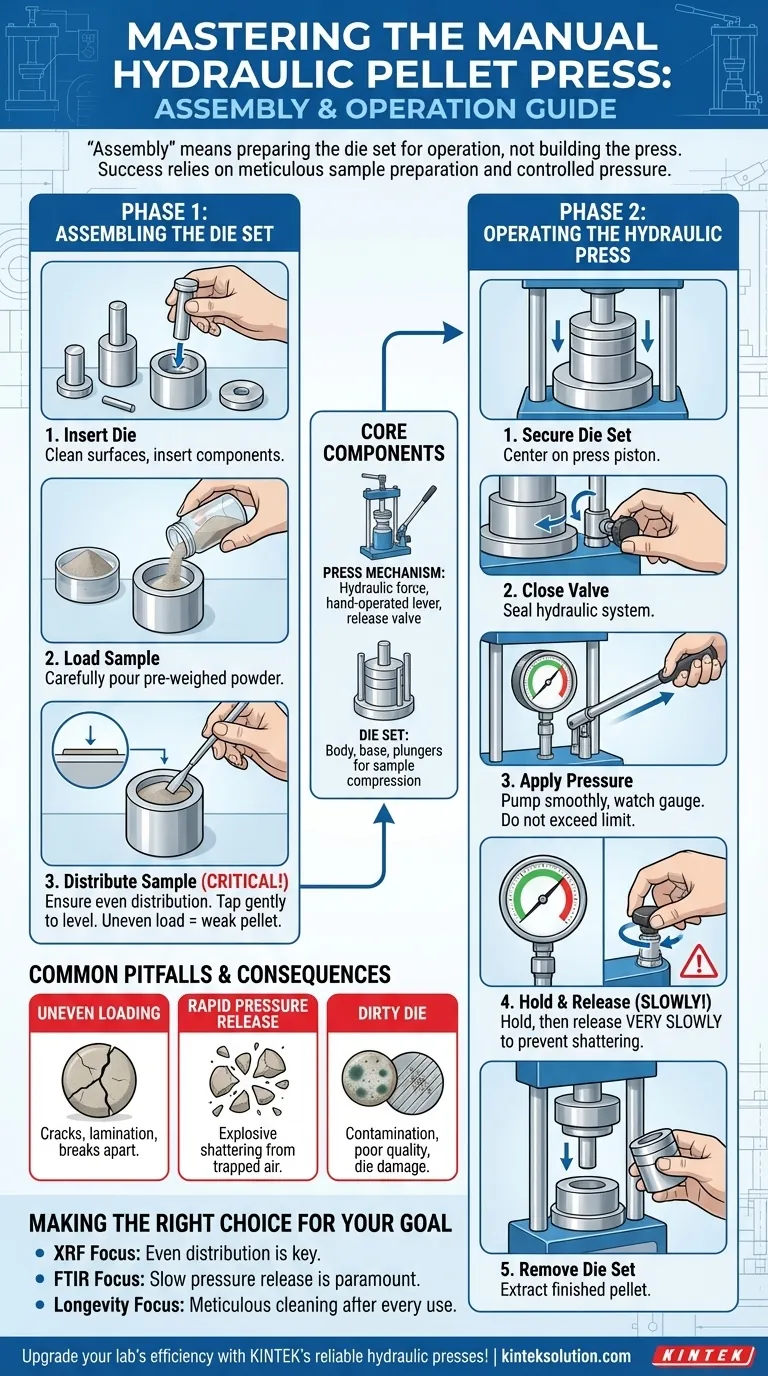
Phase 1: Assembling the Die Set
- Insert the Die: Begin by inserting the appropriate die components into the die body. Ensure all surfaces are clean and free of any residual material from previous use.
- Load the Sample: Carefully pour your pre-weighed powdered sample into the die cavity.
- Distribute the Sample: The single most important step for pellet quality is ensuring the powder is distributed evenly. Gently tap the die body or use a small, clean tool to level the surface of the powder. An uneven load will result in a weak or fractured pellet.
Phase 2: Operating the Hydraulic Press
- Secure the Die Set: Place the assembled die set onto the center of the press's lower piston. Ensure it is perfectly centered to receive a uniform application of force.
- Close the Valve: Tighten the pressure release valve by hand. This seals the hydraulic system, allowing it to build pressure.
- Apply Pressure: Begin pumping the handle. Apply pressure gradually and smoothly. Watch the force gauge to ensure you reach, but do not exceed, the recommended pressure for your material.
- Hold and Release: Once the target pressure is reached, hold it for a moment to allow the material to compact fully. Then, very slowly turn the release valve counter-clockwise to relieve the pressure. A sudden release will almost certainly shatter the pellet.
- Remove the Die Set: Once all pressure is released, you can safely remove the die set from the press to extract your finished pellet.
Understanding the Common Pitfalls
Many failed pellets are not due to the equipment, but to correctable errors in technique. Avoiding these common mistakes is key to consistent results.
The Risk of Uneven Loading
If the powder in the die is not perfectly level, the applied force will be concentrated on one area. This creates internal stress lines, leading to cracks, lamination, or a pellet that breaks apart upon extraction.
The Danger of Rapid Pressure Release
Releasing the pressure too quickly causes a rapid decompression of trapped air within the pellet. This explosive release of energy is a primary cause of pellet shattering. A slow, controlled release is non-negotiable.
The Impact of a Dirty Die
Residual material or oils from previous samples can contaminate your new pellet, compromising your analysis. Worse, it can score or damage the polished surfaces of the die plunger, leading to poor pellet quality and costly repairs. Always clean the die set thoroughly after each use.
Making the Right Choice for Your Goal
Mastering the press is about tailoring your technique to your specific analytical objective.
- If your primary focus is sample consistency for XRF: Your priority is precise sample weighing and achieving a perfectly even distribution of powder in the die before pressing.
- If your primary focus is creating clear pellets for FTIR: Your priority is the slow, controlled application and, most importantly, the extremely slow release of pressure to prevent fractures.
- If your primary focus is equipment longevity and data integrity: Your priority is the meticulous cleaning of the die set immediately after every use to prevent cross-contamination and damage.
Mastering this fundamental lab procedure is the first step toward generating reliable and accurate data.
Summary Table:
| Step | Key Action | Purpose |
|---|---|---|
| 1 | Insert die and load sample | Prepare die set with powdered material |
| 2 | Distribute sample evenly | Ensure uniform pellet density and prevent cracks |
| 3 | Secure die set centrally | Apply force uniformly for consistent compression |
| 4 | Apply pressure gradually | Compact sample without over-pressurizing |
| 5 | Release pressure slowly | Prevent pellet shattering from rapid decompression |
| 6 | Clean die after use | Avoid contamination and maintain equipment integrity |
Upgrade your lab's efficiency with KINTEK's reliable hydraulic presses! Specializing in automatic lab presses, isostatic presses, and heated lab presses, we deliver precision and durability for all your sample preparation needs. Whether you're in research, quality control, or materials testing, our equipment ensures consistent, high-quality pellets for accurate analyses like XRF and FTIR. Contact us today to discuss how KINTEK can support your laboratory goals and enhance your data integrity!
Visual Guide
Related Products
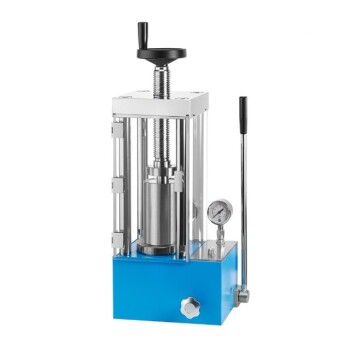
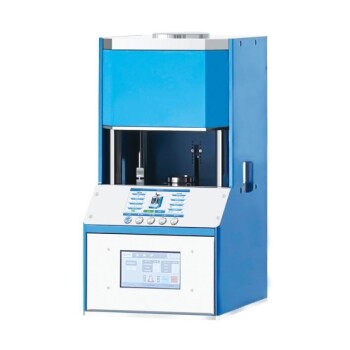
- Manual Laboratory Hydraulic Pellet Press Lab Hydraulic Press
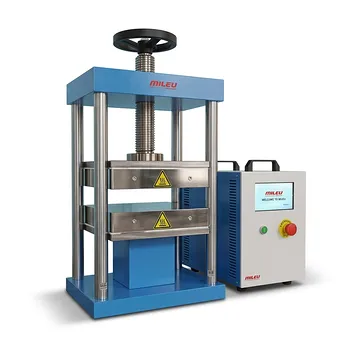
- Manual Laboratory Hydraulic Press Lab Pellet Press
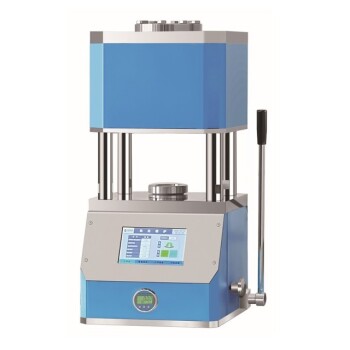
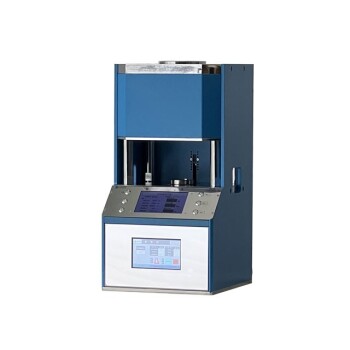
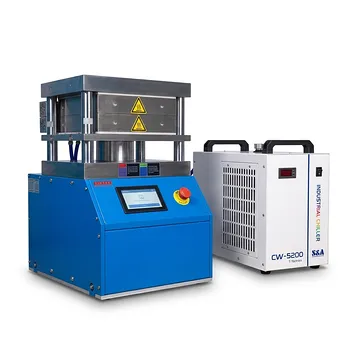
- Automatic Laboratory Hydraulic Press Lab Pellet Press Machine
- Automatic Laboratory Hydraulic Press for XRF and KBR Pellet Pressing
- Laboratory Hydraulic Pellet Press for XRF KBR FTIR Lab Press
People Also Ask
- What is the primary purpose of a manual lab hydraulic pellet press? Ensure Accurate Sample Prep for XRF and FTIR
- What is the purpose of initial axial molding using a lab hydraulic press? Optimizing Electrolyte Green Bodies
- What role does a lab hydraulic press play in molding recycled bricks? Achieve High-Density Material Structural Integrity
- What is the primary function of a laboratory hydraulic press in evaluating the ionic conductivity of Li6PS5X (LMSX)?
- Why is it important to know the required force when selecting a lab hydraulic press? Ensure Accurate Results and Avoid Damage