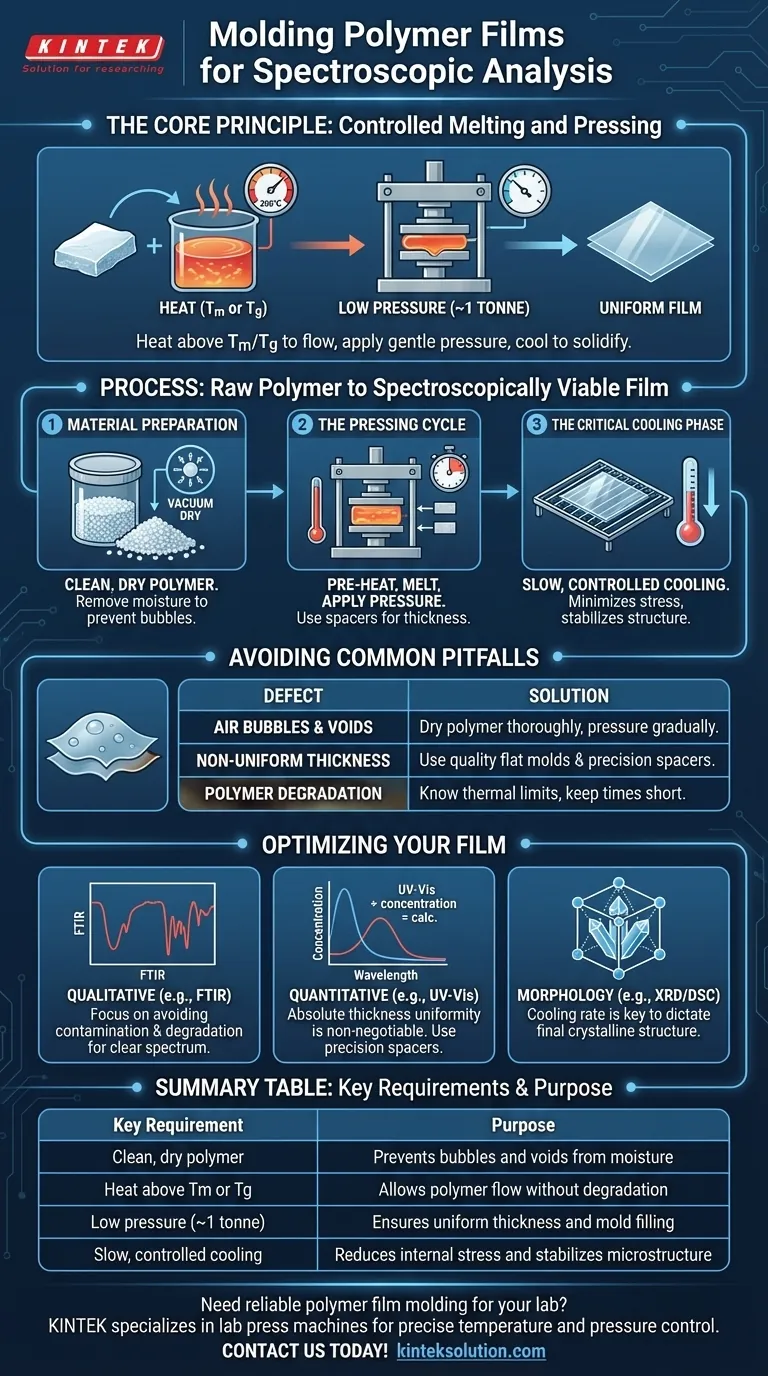
To mold a polymer film for spectroscopic analysis, you must first heat the polymer above its melting or softening point to allow it to flow. The molten polymer is then placed into a mold and subjected to low pressure, typically around 1 tonne, using a simple laboratory press. This process shapes the material into a thin, consistent film suitable for analysis.
The core challenge is not simply making a film, but creating one with the uniform thickness and optical clarity required for reliable spectroscopic data. Success depends on precisely controlling temperature and pressure to eliminate defects like air bubbles or thickness variations that would otherwise distort your results.
The Core Principle: Controlled Melting and Pressing
The foundation of creating a high-quality polymer film rests on a simple thermomechanical process. You are transforming a solid polymer into a temporary liquid state to reshape it, then cooling it back into a stable, solid film.
Achieving the Right Temperature
The temperature you use is the most critical variable. It must be high enough to allow the polymer to flow easily but low enough to prevent thermal degradation, which would alter the very chemistry you intend to measure.
For semi-crystalline polymers like polyethylene or polypropylene, you must heat well above the melting temperature (Tm). For amorphous polymers like polystyrene, you need to be significantly above the glass transition temperature (Tg).
Applying Gentle, Consistent Pressure
The purpose of pressure is to ensure the molten polymer completely fills the mold cavity and conforms to the shape of the mold plates.
The references correctly note that low pressure (around 1 tonne) is usually sufficient. Excessive pressure is counterproductive, as it can trap air, create internal stresses in the film, and potentially damage the equipment. A standard 2-tonne laboratory press provides more than enough force.
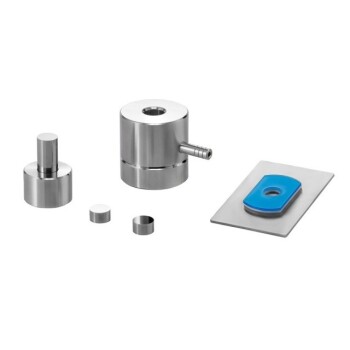
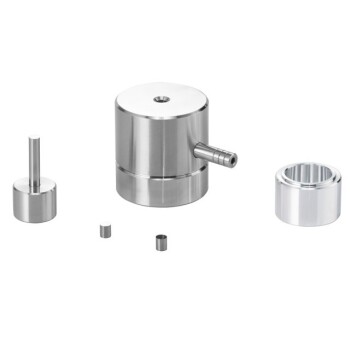
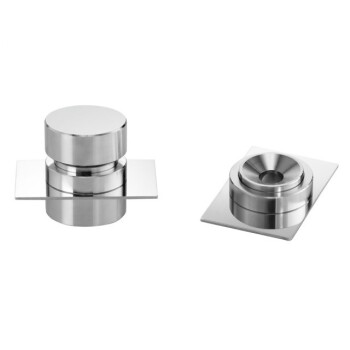
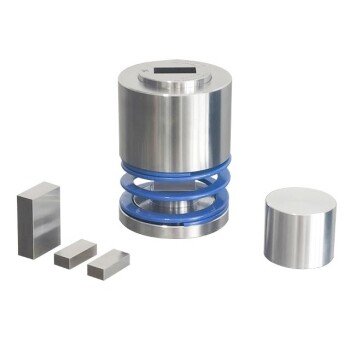
The Role of the Mold and Spacers
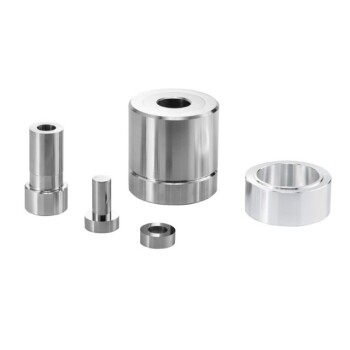
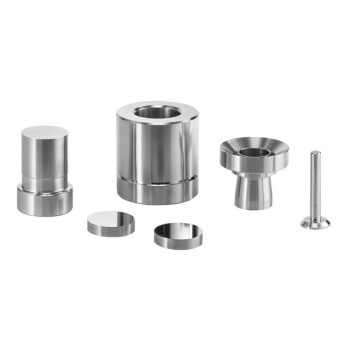
The mold itself defines the film's final quality. It typically consists of two flat, polished steel plates. For precise thickness control, shims or spacers of a known thickness are placed around the polymer.
When pressure is applied, the plates close down until they are stopped by the spacers, ensuring the resulting film has a perfectly uniform thickness across its entire area.
From Raw Polymer to Spectroscopically Viable Film
A repeatable process is key to producing consistent films. Following a structured cycle removes guesswork and minimizes common defects.
Step 1: Material Preparation
Always start with a clean, dry polymer. Any moisture present in the polymer pellets or powder will turn to steam upon heating, creating disastrous bubbles and voids in your final film. If needed, dry your material in a vacuum oven before pressing.
Step 2: The Pressing Cycle
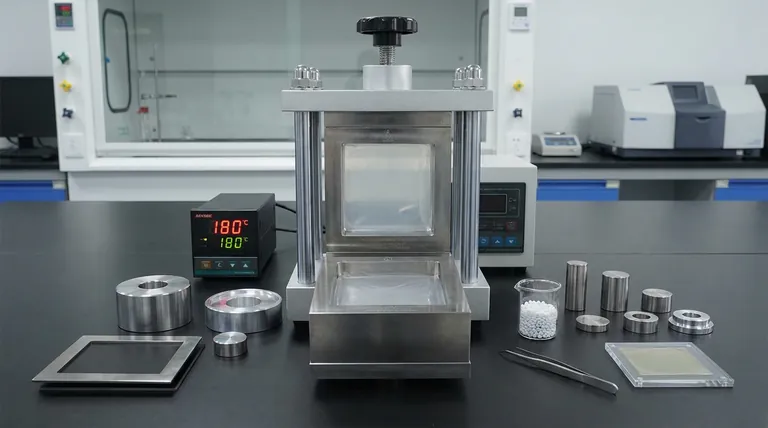
A typical cycle involves pre-heating, pressing, and cooling. Place the polymer and any spacers between the mold plates (often with non-stick sheets like aluminum foil or Kapton film) and insert them into the pre-heated press.
Allow the material to melt completely before applying pressure. A gentle initial "touch" pressure helps the material spread, followed by the main pressing step (e.g., 1 tonne for 1-2 minutes) to finalize the shape.
Step 3: The Critical Cooling Phase
How you cool the film is just as important as how you heat it. The cooling rate determines the final microstructure (crystallinity) of the polymer, which can directly affect its spectroscopic signature.
For most applications, a slow, controlled cooling process (either in the press with the heat off or on a benchtop) is preferred to minimize internal stress and produce a more stable, homogenous sample.
Understanding the Common Pitfalls
Achieving a perfect film requires anticipating and avoiding common issues that can render your sample useless for analysis.
Defect: Air Bubbles and Voids
This is the most frequent problem. Bubbles scatter light and create areas of zero signal, ruining optical clarity. It is almost always caused by trapped air or moisture in the starting material.
- Solution: Dry the polymer thoroughly and apply pressure gradually to allow air to escape.
Defect: Non-Uniform Thickness
Variations in thickness make quantitative analysis impossible, as the pathlength for light is inconsistent (violating the Beer-Lambert law).
- Solution: Use high-quality, flat mold plates and precision spacers. Ensure the press applies force evenly.
Defect: Polymer Degradation
Heating the polymer for too long or at too high a temperature will break its chemical bonds. You will no longer be analyzing your original material.
- Solution: Know your polymer's thermal stability limits and keep heating and pressing times as short as necessary.
Optimizing Your Film for Your Analysis
The ideal film characteristics depend on the specific analytical question you are asking. Tailor your preparation method to your goal.
- If your primary focus is qualitative identification (e.g., FTIR): Your main goal is to get a clear spectrum without interference peaks. Focus on avoiding contamination and polymer degradation.
- If your primary focus is quantitative measurement (e.g., concentration via UV-Vis): Absolute film thickness uniformity is non-negotiable. Using precision spacers and ensuring even pressure are your most critical steps.
- If your primary focus is studying polymer morphology (e.g., with XRD or DSC): The cooling rate is the most important variable to control, as it directly dictates the final crystalline structure of the film.
By mastering these fundamentals of heat, pressure, and cooling, you transform a simple polymer into a precise tool for generating reliable analytical data.
Summary Table:
| Step | Key Requirement | Purpose |
|---|---|---|
| Material Preparation | Clean, dry polymer | Prevents bubbles and voids from moisture |
| Temperature Control | Heat above Tm or Tg | Allows polymer flow without degradation |
| Pressure Application | Low pressure (~1 tonne) | Ensures uniform thickness and mold filling |
| Cooling Phase | Slow, controlled cooling | Reduces internal stress and stabilizes microstructure |
| Common Pitfalls | Avoid air bubbles, non-uniform thickness, degradation | Maintains optical clarity and spectroscopic accuracy |
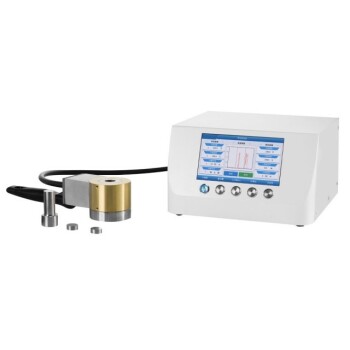
Need reliable polymer film molding for your lab? KINTEK specializes in lab press machines, including automatic lab presses, isostatic presses, and heated lab presses, designed to deliver precise temperature and pressure control for uniform, high-quality films. Enhance your spectroscopic analysis with our durable equipment—contact us today to discuss your laboratory needs and see how we can boost your efficiency!
Visual Guide
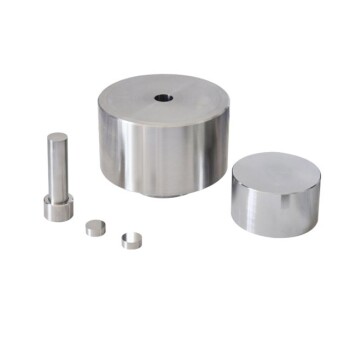
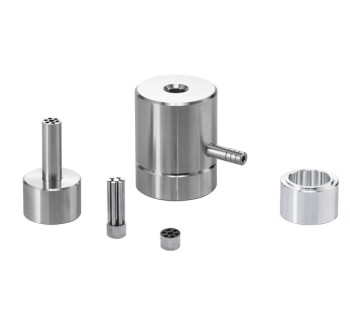
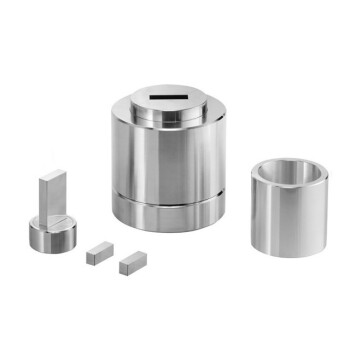
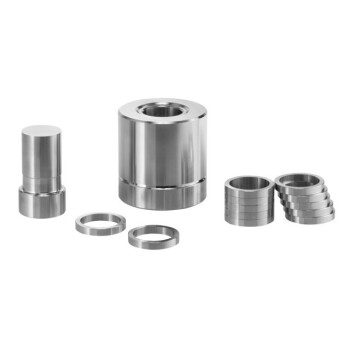
Related Products
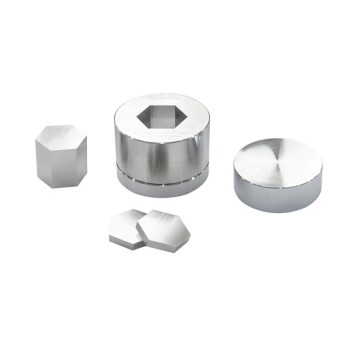
- Lab Polygon Press Mold
- XRF KBR Plastic Ring Lab Powder Pellet Pressing Mold for FTIR
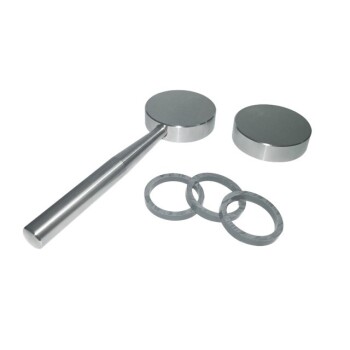
- Lab Round Bidirectional Press Mold
- Lab Isostatic Pressing Molds for Isostatic Molding
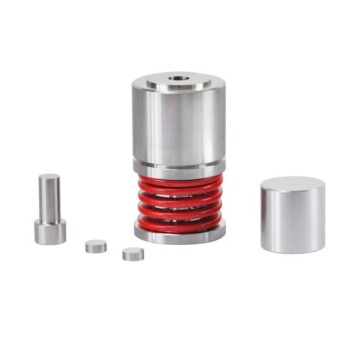
- Lab Anti-Cracking Press Mold
People Also Ask
- What is the significance of standardized molds in lab presses? Ensure Precise Seal Material Evaluation
- How does the geometry of laboratory molds influence mycelium-based composites? Optimize Density and Strength
- What is the purpose of incorporating cartridge heaters into a lab press mold for MLCC block compression? Optimize Results
- What is the function of a pressing tool in thermoplastic panels? Master Precision Shaping & Fusion Bonding
- What role do precision positioning and pressure molds play in single-lap joints? Ensure 100% Data Integrity