The application of a graphite or carbon coating is a fundamental requirement for accurate Laser Flash Method (LFM) analysis because it standardizes the optical properties of the sample. This coating maximizes the absorption of the laser's energy and ensures the detector measures the sample's actual thermal emission rather than reflected light.
The core function of the coating is to transform the sample into a near-perfect "black body." This eliminates measurement errors caused by surface reflectivity or roughness, ensuring the data reflects the material's true thermal diffusivity rather than surface artifacts.
Optimizing Energy Absorption
To measure thermal properties accurately, the sample must efficiently absorb the energy pulse provided by the laser.
Overcoming Natural Reflectivity
Many materials, particularly metal hydrides, possess naturally reflective or shiny surfaces. Without a coating, a significant portion of the high-energy laser pulse would simply bounce off the sample rather than penetrating it.
Maximizing Heat Transfer
Graphite and carbon coatings serve to "blacken" the surface. By darkening the material, you significantly increase the absorption rate of the laser energy. This ensures the sample receives the necessary thermal impulse to generate a readable signal.
Ensuring Signal Purity
The Laser Flash Method relies on an infrared detector monitoring the temperature rise on the rear face of the sample. The source of this signal is critical.
Isolating Thermal Emission
The detector must read the thermal emission (heat) radiating from the sample. It must not read light that has simply reflected off the surface.
If the surface is uncoated, the detector might pick up reflected laser light or ambient reflections. The carbon coating blocks these reflections, ensuring the captured signal originates entirely from the sample's temperature change.
Eliminating Surface Geometry Errors
Microscopic surface roughness can scatter light unpredictably, leading to noisy data. The coating creates a uniform layer that masks these imperfections. This standardization eliminates measurement errors typically caused by irregular surface topographies.
Common Pitfalls to Avoid
While the coating is essential, understanding the consequences of improper application is equally important for data integrity.
The Risk of Uncoated Samples
Attempting to measure shiny or rough samples without a coating will result in significant measurement errors. The data will likely indicate false thermal diffusivity values because the energy input was lower than calculated (due to reflection) or the signal was contaminated.
Consistency is Key
The reference emphasizes that the coating eliminates errors from roughness and reflection. Therefore, if the coating is applied unevenly or too thickly, it could introduce new variables. The goal is a thin, uniform layer that modifies optical properties without adding significant thermal mass.
Making the Right Choice for Your Goal
To ensure your LFM results are valid, approach sample preparation with the following priorities:
- If your primary focus is Measurement Accuracy: Ensure the coating is applied uniformly to completely blacken the surface, thereby maximizing the absorption rate and signal purity.
- If your primary focus is Troubleshooting Weird Data: Check if the sample surface is reflective or rough; if so, re-apply a carbon coating to eliminate reflection-based errors.
Proper surface preparation is not just a cosmetic step; it is the physical foundation of accurate thermal analysis.
Summary Table:
| Feature | Role of Graphite/Carbon Coating in LFM |
|---|---|
| Energy Absorption | Maximizes laser pulse intake by "blackening" reflective surfaces |
| Signal Integrity | Ensures IR detectors measure thermal emission, not reflected light |
| Surface Standardization | Eliminates measurement errors caused by roughness and geometry |
| Data Consistency | Transforms samples into near-perfect black bodies for accurate diffusivity |
| Error Prevention | Prevents false readings from low energy input or signal contamination |
Elevate Your Thermal Research with KINTEK
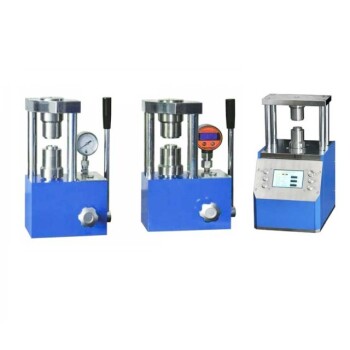
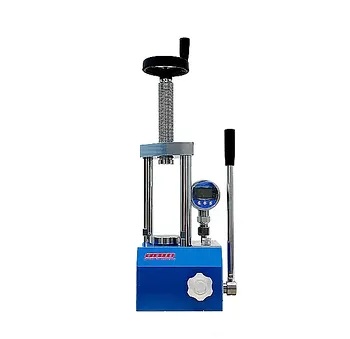
Precision in sample preparation is the foundation of reliable data. At KINTEK, we specialize in comprehensive laboratory solutions designed to support high-stakes research. Whether you are conducting battery research or advanced material science, our range of equipment—including manual, automatic, heated, multifunctional, and glovebox-compatible models, as well as cold and warm isostatic presses—ensures your samples meet the most rigorous standards.
Ready to enhance your lab's efficiency and measurement accuracy? Contact KINTEK today to discover how our expert pressing solutions can transform your material analysis workflow!
References
- Gabriele Scarpati, Julian Jepsen. Comprehensive Overview of the Effective Thermal Conductivity for Hydride Materials: Experimental and Modeling Approaches. DOI: 10.3390/en18010194
This article is also based on technical information from Kintek Press Knowledge Base .
Related Products
- Square Lab Press Mold for Laboratory Use
- Assemble Square Lab Press Mold for Laboratory Use
- XRF KBR Steel Ring Lab Powder Pellet Pressing Mold for FTIR
- Lab Anti-Cracking Press Mold
- Lab Infrared Press Mold for Laboratory Applications
People Also Ask
- Why is titanium (Ti) metal chosen for plungers in Na3PS4 electrolyte testing? Unlock a 'Press-and-Measure' Workflow
- What is the technical significance of using precision cylindrical molds for soil brick research? Achieve Data Accuracy
- What roles do high-purity graphite molds play during the Spark Plasma Sintering (SPS) of CrSi2? Optimize Your Process
- How to use a laboratory press for ideal neutron transmission? Perfect Your Iron Oxide Nanoparticle Samples
- Why Use Laboratory Presses and Precision Molds for Clay Specimen Prep? Achieve Scientific Precision in Soil Mechanics
