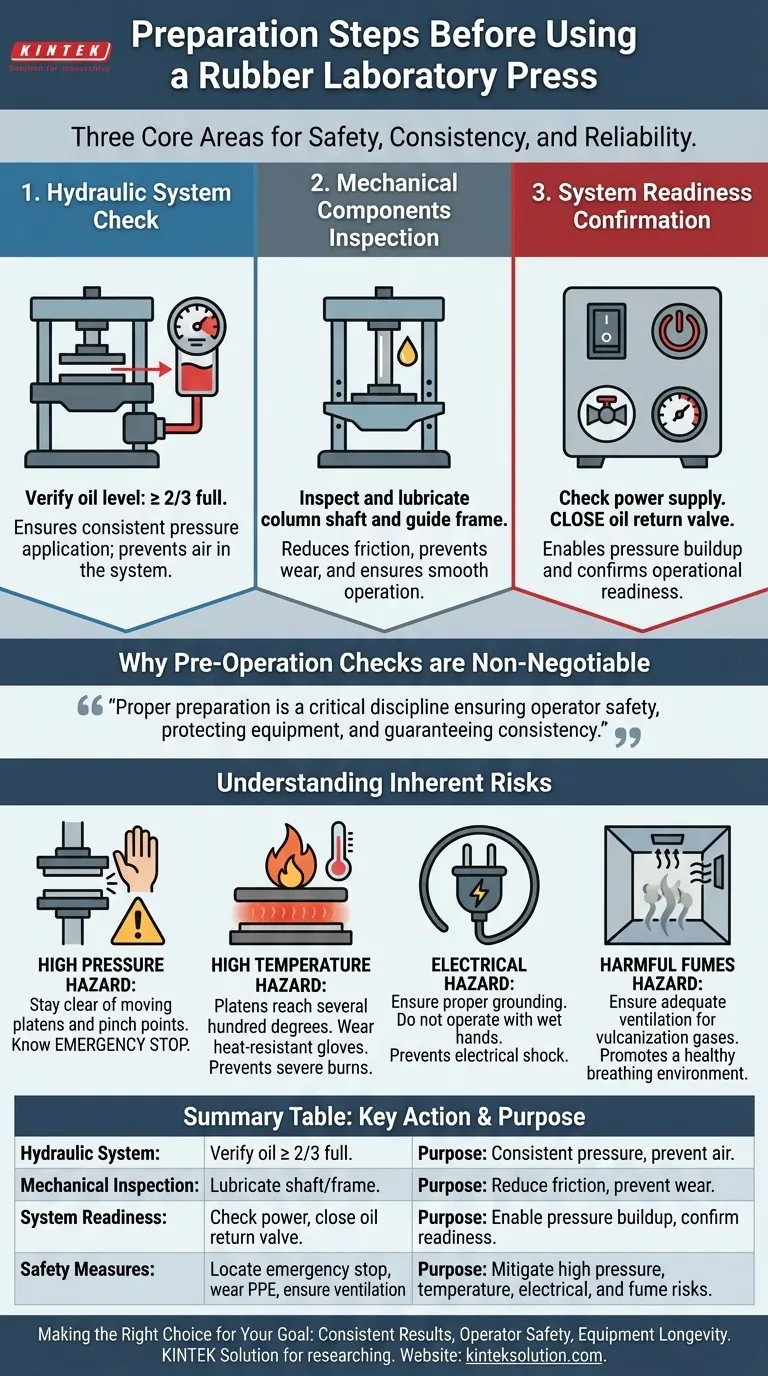
Before operating a rubber laboratory press, your preparation must focus on three core areas. First, verify the hydraulic system by checking that the oil level is at least two-thirds full. Second, inspect the mechanical components, ensuring there is adequate lubrication between the column shaft and guide frame. Finally, confirm the press is ready for operation by checking the power supply and closing the oil return valve to enable pressure buildup.
Proper preparation of a laboratory press is not merely a procedural formality. It is a critical discipline that directly ensures operator safety, protects the equipment from premature wear, and guarantees the consistency and reliability of your vulcanization or testing results.
Why Pre-Operation Checks are Non-Negotiable
The primary function of a laboratory press is to apply precise and uniform heat and pressure to a rubber sample. This process, known as vulcanization, transforms the material's properties. Any deviation in preparation compromises the entire experiment and introduces significant safety risks.
Ensuring Consistent Pressure Application
The hydraulic system is the heart of the press's force generation. Insufficient hydraulic oil can introduce air into the system, leading to spongy, inconsistent pressure application and preventing the press from reaching its setpoint.
Maintaining the oil level at or above two-thirds of the lower frame height ensures the pump has a constant supply, guaranteeing smooth and repeatable pressure cycles.
Preventing Mechanical Wear and Failure
The press platens move along a column shaft and guide frame. These components require proper lubrication to move smoothly and without friction.
Without it, you risk jerky movements, misalignment of the platens, and excessive wear on critical guide components. This not only ruins the sample but can lead to costly mechanical failure over time.
Confirming System Readiness
Before starting a cycle, you must ensure the system is in a "ready" state. This involves activating the main power and verifying all controls are at their zero or starting position.
Critically, the oil return valve must be closed. Leaving this valve open prevents the hydraulic system from building any pressure, as the oil will simply circulate back to the reservoir.
Understanding the Inherent Risks
A laboratory press combines high pressure, high temperature, and high voltage. Treating the equipment with respect and awareness is fundamental to safe operation.
The Hazard of High Pressure
The press generates immense force. Never place hands or any body parts between the platens or near any moving components during operation. Always be aware of pinch points.
Ensure you know the location of the emergency stop button before you begin any work. This is your most important safety control in the event of a malfunction.
The Hazard of High Temperature
The platens can reach several hundred degrees. Always wear appropriate heat-resistant gloves when handling molds or samples being inserted into or removed from the press.
Accidental contact with a heated platen can cause severe burns instantly.
The Hazard of Electrical Systems
Ensure the equipment is properly grounded to prevent electrical shock. Never operate the press with wet hands or in a wet environment. Any suspected electrical issues should be reported to a qualified technician immediately.
The Hazard of Harmful Fumes
The vulcanization process can release gases and fumes from the rubber compound. The work area must have adequate ventilation to safely exhaust these fumes and ensure a healthy breathing environment for the operator.
Making the Right Choice for Your Goal
Adopting a systematic pre-use protocol moves beyond simple habit and becomes a cornerstone of reliable scientific work and a safe laboratory environment.
- If your primary focus is consistent results: Treat the hydraulic oil level and lubrication check as the first step in ensuring your equipment can deliver the precise pressure profile your test requires.
- If your primary focus is operator safety: Make locating the emergency stop, confirming ventilation, and using proper personal protective equipment (PPE) a mandatory, non-negotiable routine.
- If your primary focus is equipment longevity: View lubrication and system checks as preventative maintenance that saves significant costs and downtime in the long run.
Thorough preparation is the foundation upon which accurate data and a safe workplace are built.
Summary Table:
| Preparation Step | Key Action | Purpose |
|---|---|---|
| Hydraulic System Check | Verify oil level is at least two-thirds full | Ensure consistent pressure application and prevent air in system |
| Mechanical Inspection | Lubricate column shaft and guide frame | Reduce friction, prevent wear, and ensure smooth operation |
| System Readiness | Check power supply and close oil return valve | Enable pressure buildup and confirm operational readiness |
| Safety Measures | Locate emergency stop, wear PPE, ensure ventilation | Mitigate risks from high pressure, temperature, electricity, and fumes |
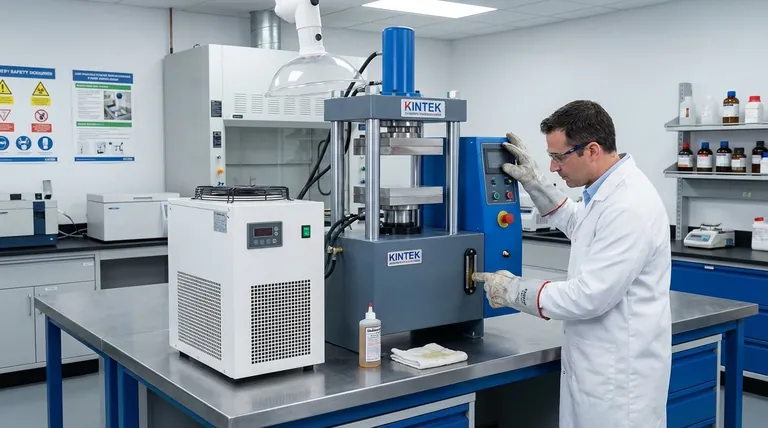
Ready to enhance your laboratory's efficiency and safety with reliable equipment? KINTEK specializes in high-quality lab press machines, including automatic lab presses, isostatic presses, and heated lab presses, designed to meet your precise vulcanization and testing needs. Our products ensure consistent results, operator safety, and long-term durability. Contact us today to discuss how we can support your laboratory goals and provide tailored solutions for your specific requirements!
Visual Guide
Related Products
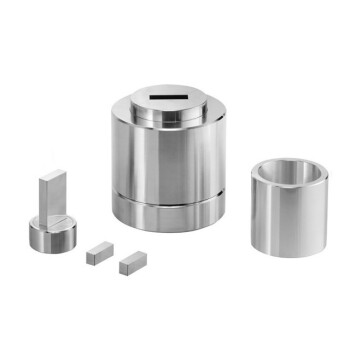
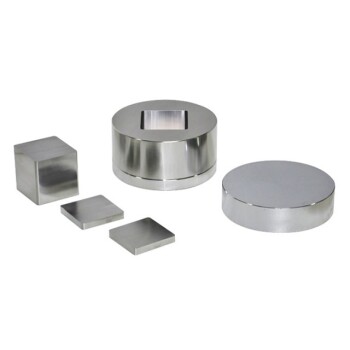
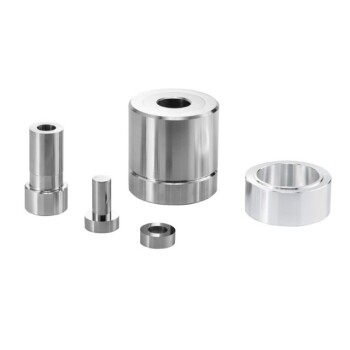
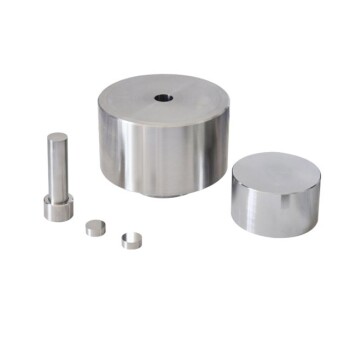
- Assemble Square Lab Press Mold for Laboratory Use
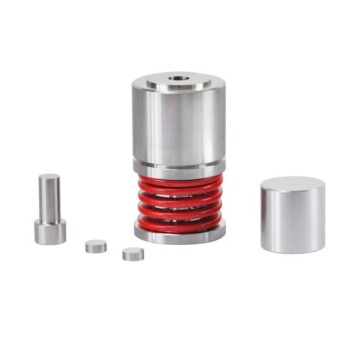
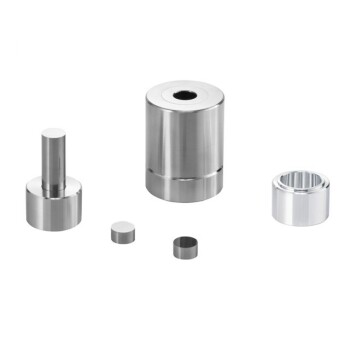
- Lab Round Bidirectional Press Mold
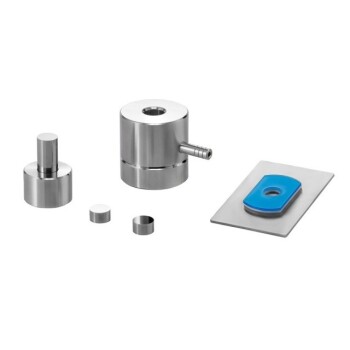
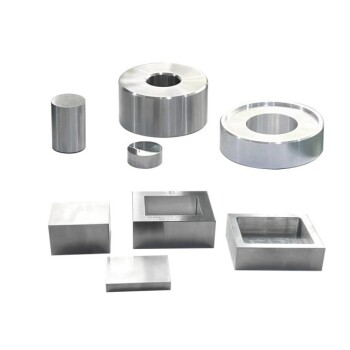
- Special Shape Lab Press Mold for Laboratory Applications
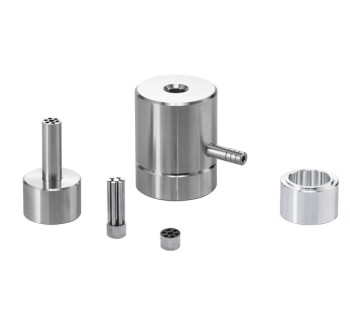
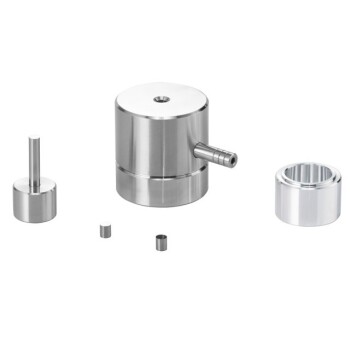
- Lab Infrared Press Mold for Laboratory Applications
- Square Lab Press Mold for Laboratory Use
People Also Ask
- Why is a high-performance laboratory molding press critical for in-situ electrolyte formation? Unlock Battery Success
- What is the role of a laboratory press in the preparation of ceramic targets used for PLD? Optimize Film Quality
- What is the role of a laboratory press in SrYb2O4 synthesis? Master Solid-State Diffusion for Pure Polycrystals
- What challenges are associated with recycling textiles, and how do laboratory presses help? Overcome Recycling Hurdles with Precision Tools
- What is the purpose of incorporating cartridge heaters into a lab press mold for MLCC block compression? Optimize Results