Regular cleaning of a manual hydraulic pellet press consists of systematically disassembling removable components, such as the die and plunger, and removing residual material with a soft brush or cloth. To maintain the equipment's precision, you must also wipe down the base and top plate, use compatible mild solvents for stubborn residue, and ensure every part is thoroughly dry before reassembly.
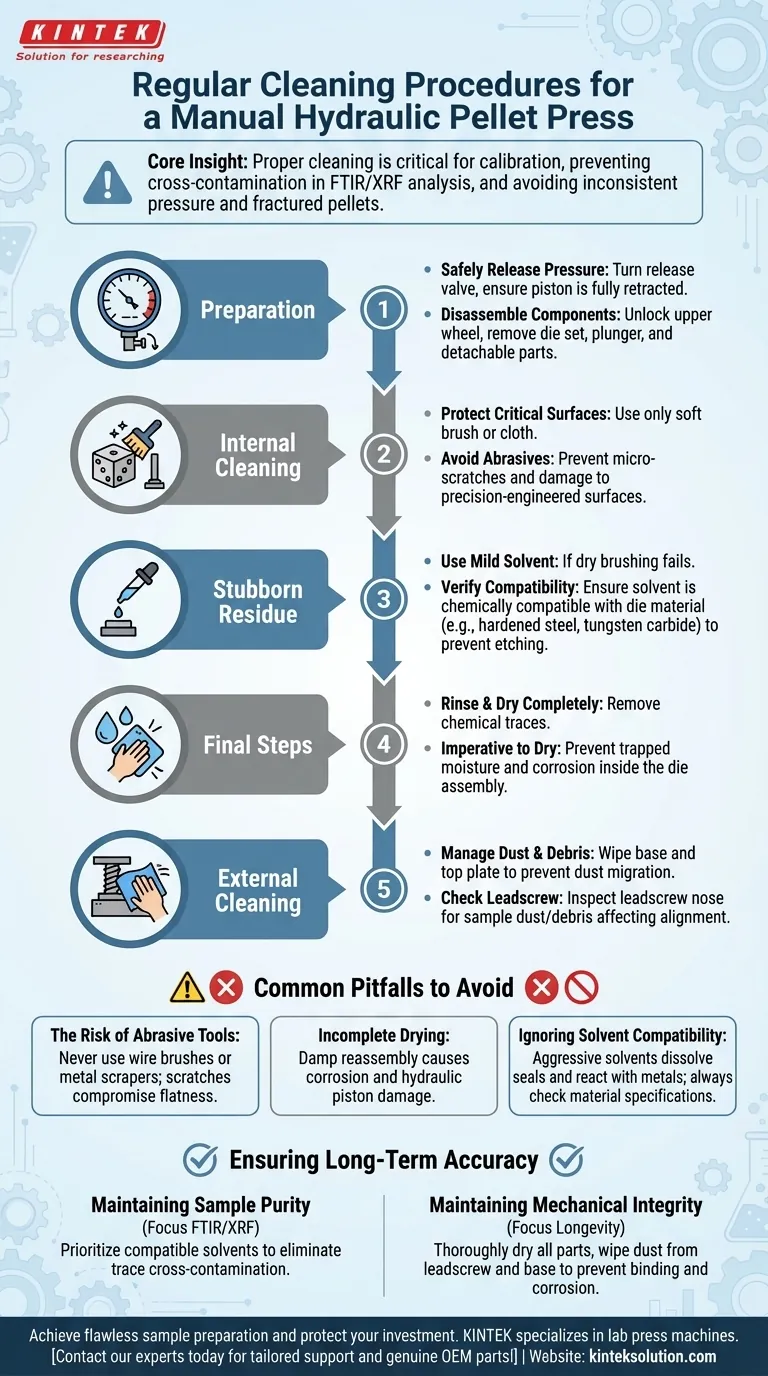
Core Insight: Proper cleaning is not merely about hygiene; it is a critical calibration step. Residue left on a die or plunger can introduce cross-contamination in sensitive FTIR/XRF analysis and alter the geometry of the press, leading to inconsistent pressure application and fractured pellets.
Preparing the Press for Maintenance
Safely Releasing Pressure
Before beginning any cleaning procedure, the system must be fully depressurized. Turn the release valve to disengage the hydraulic load, ensuring the piston has retracted.
Disassembling the Components
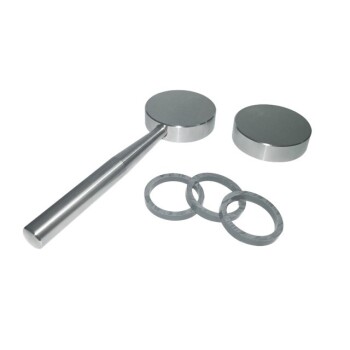
To access the parts requiring cleaning, you must first remove the die set. As noted in operational procedures, this often involves moving the upper wheel to unlock the mechanism. Once unlocked, remove the die, plunger, and any other detachable parts from the main cavity.
Cleaning the Internal Components
Protecting Critical Surfaces
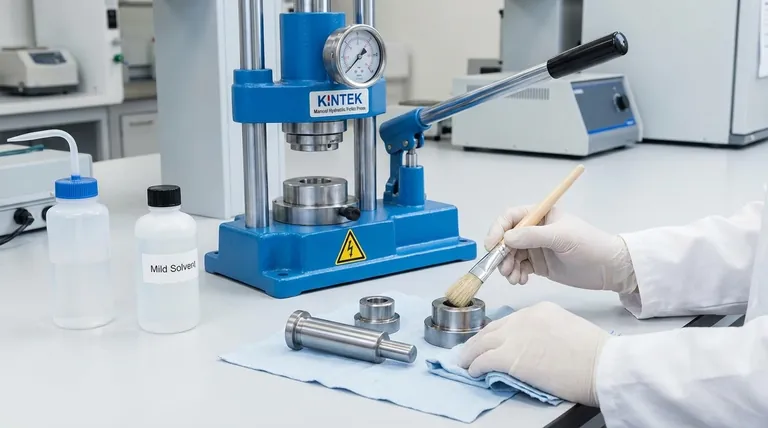
Clean the die and plunger using only a soft brush or cloth. The surfaces of these components are precision-engineered; using abrasive materials can cause micro-scratches that will transfer to future pellets, ruining their optical quality.
Handling Stubborn Residue
If dry brushing does not remove all material, you may use a mild solvent. However, you must verify that the solvent is chemically compatible with the die material (often hardened steel or tungsten carbide) to prevent etching or pitting.
Rinsing and Drying
After solvent application, rinse the components thoroughly to remove chemical traces. It is imperative to dry completely before proceeding; any trapped moisture can lead to corrosion inside the die assembly.
Cleaning the External Frame
Managing Dust and Debris
Wipe down the stationary parts of the press, specifically the base and top plate. Dust accumulation here can eventually migrate into the mechanical parts or the hydraulic piston area.
Checking the Leadscrew
While cleaning the frame, inspect the leadscrew nose—the part that touches the workpiece. Ensure it is free of sample dust or debris that could affect the alignment during the loading process.
Common Pitfalls to Avoid
The Risk of Abrasive Tools
Never use wire brushes or metal scrapers on the die or plunger. Even minor scratches can compromise the flatness of the pellet, which causes scattering issues in spectroscopic analysis like FTIR.
Incomplete Drying
Reassembling the press while components are damp is a frequent cause of equipment failure. Moisture trapped under high pressure accelerates oxidation, which can seize the die or permanently damage the hydraulic piston surface.
Ignoring Solvent Compatibility
Using aggressive solvents without checking compatibility can dissolve seals or react with the metal. Always refer to the material specifications of your die set before applying chemical cleaners.
Ensuring Long-Term Accuracy
Maintaining Sample Purity
If your primary focus is FTIR or XRF Analysis: Prioritize the use of compatible solvents on the die and plunger to eliminate trace cross-contamination between samples.
Maintaining Mechanical Integrity
If your primary focus is Equipment Longevity: Focus on thoroughly drying all parts and wiping dust from the leadscrew and base to prevent mechanical binding and corrosion.
Consistent maintenance ensures your manual hydraulic press continues to deliver the high pressure and reproducible results required for analytical precision.
Summary Table:
| Cleaning Step | Key Action | Critical Consideration |
|---|---|---|
| Preparation | Depressurize system & disassemble die set. | Ensure piston is fully retracted before starting. |
| Internal Parts | Clean die & plunger with a soft brush/cloth. | Avoid abrasives to prevent surface scratches. |
| Stubborn Residue | Apply a mild, compatible solvent if needed. | Verify solvent will not etch or damage the die material. |
| Final Steps | Rinse, dry completely, and reassemble. | Incomplete drying can cause corrosion and equipment failure. |
| External Frame | Wipe down base, top plate, and leadscrew nose. | Prevents dust migration into mechanical parts. |
Achieve flawless sample preparation and protect your investment. Proper cleaning is critical for obtaining accurate FTIR/XRF results and ensuring the longevity of your press. KINTEK specializes in lab press machines, including manual hydraulic pellet presses, serving precise laboratory needs. Let our expertise help you maintain optimal performance. Contact our experts today for tailored support and genuine OEM parts!
Visual Guide
Related Products
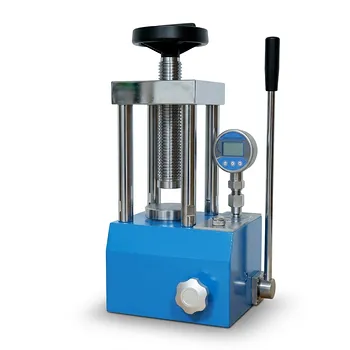
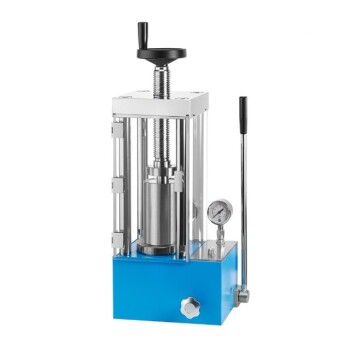
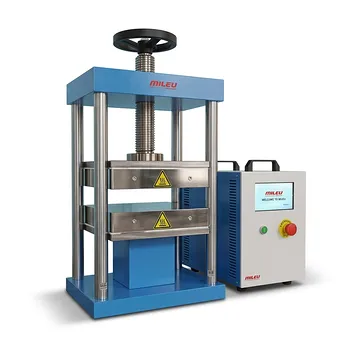
- Manual Laboratory Hydraulic Pellet Press Lab Hydraulic Press
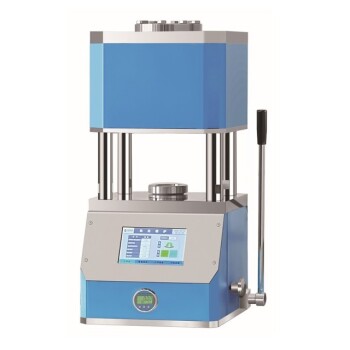
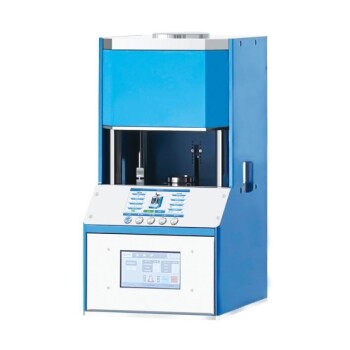
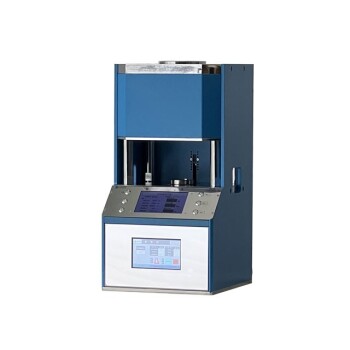
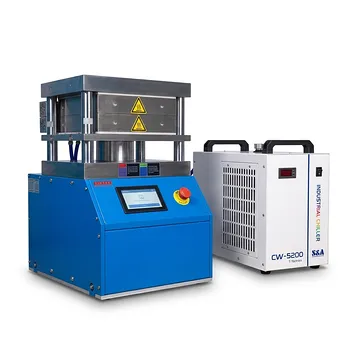
- Automatic Laboratory Hydraulic Press Lab Pellet Press Machine
- Manual Laboratory Hydraulic Press Lab Pellet Press
- Automatic Laboratory Hydraulic Press for XRF and KBR Pellet Pressing
- Manual Cold Isostatic Pressing CIP Machine Pellet Press
People Also Ask
- What is the purpose of initial axial molding using a lab hydraulic press? Optimizing Electrolyte Green Bodies
- What is the primary purpose of a manual lab hydraulic pellet press? Ensure Accurate Sample Prep for XRF and FTIR
- What role does a lab hydraulic press play in molding recycled bricks? Achieve High-Density Material Structural Integrity
- What role does a lab hydraulic press play in researching squishy granular matter? Expert Insights into Material Physics
- How does a laboratory manual hydraulic press assist in powder canning? Maximize Density and Structural Integrity